DIY Estate Sale Liquidation Made Simple
Our guide to DIY estate sale liquidation walks you through every step. Learn how to manage an online auction and maximize your returns without hiring a pro.
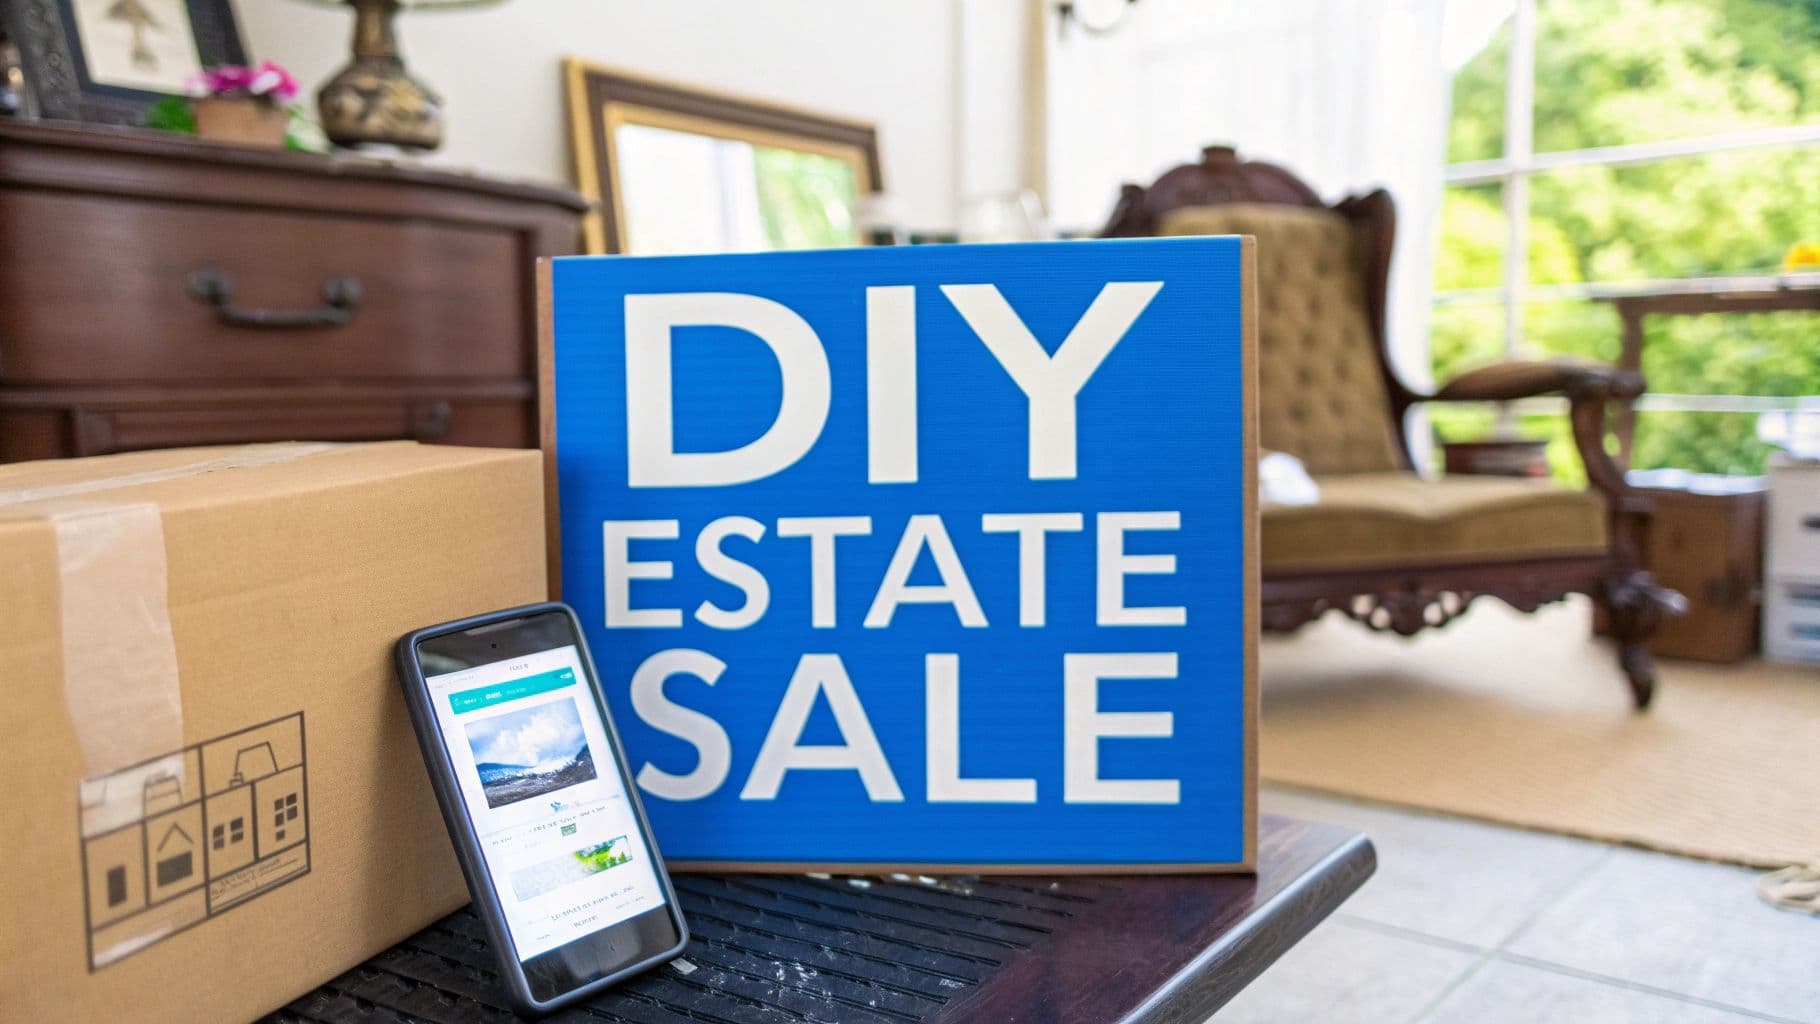
When you hear "estate sale liquidation," what comes to mind? For many, it's the daunting task of clearing out an entire home, often tied to a major life change like downsizing, moving, or handling a loved one's estate.
It’s about more than just having a garage sale. This is a complete process for converting a household's worth of personal property into cash in a single, organized event.
What Modern Estate Sale Liquidation Looks Like
Let's be honest, the thought of liquidating an entire home's contents can feel absolutely overwhelming. It’s easy to picture a chaotic, weekend-long yard sale that leaves you exhausted. But things have changed—a lot. Technology has completely transformed estate sales into a structured, manageable, and far more profitable process that you can run yourself.
This isn't just a niche trend. The market for liquidation services is growing, especially in North America where a high volume of assets are changing hands. Online auctions have exploded in popularity because they're simply a better, more efficient way to manage it all. If you're curious about the bigger picture, you can dig into the global market dynamics in recent industry reports.
Why People Need to Liquidate an Estate
The need for an estate sale usually stems from a handful of life's biggest transitions. You might be facing this task for very personal reasons, each bringing its own unique challenges.
- Downsizing: Many "empty nesters" and retirees realize they have a house full of possessions they no longer need. Liquidation is a practical step toward simplifying their lives.
- Relocation: If a new job requires a cross-country move, selling most of your household goods is often smarter and cheaper than paying to ship them.
- Managing an Inheritance: As an executor of an estate, liquidating the personal property is typically the fairest and most straightforward way to divide the assets among the heirs.
In every one of these situations, the goal is the same: turn a large number of items into cash, efficiently and with as little stress as possible. A DIY approach with a platform like DIYAuctions puts you in control, so you get the final say on every decision.
The DIY Auction Platform vs. Hiring a Pro
The biggest shift in estate liquidation is having the choice between the traditional route and a modern, DIY approach. Before you decide, it’s important to understand the key differences.
| Aspect | DIY Auction Platform | Traditional Estate Sale Company |
|---|---|---|
| Control | You are in full control of pricing, timing, and what gets sold. | You hand over control to the company; they make most decisions. |
| Commission | Lower fees, typically 10% or less (we cap ours at $1,000). | High commissions, often 35% to 50% of total sales. |
| Your Effort | You photograph and catalog items, and manage the pickup day. | Minimal physical effort from you; they handle everything on-site. |
| Timeline | Flexible and works around your schedule. | The company sets the schedule based on their availability. |
| Transparency | You see all bids and final sale prices in real-time. | You receive a final tally, but may not see individual sale data. |
While a traditional company handles the labor, you pay a very high price for that service in commissions. A DIY platform empowers you to keep significantly more of your money by taking on the management yourself, with powerful tools to make it simple.
The New, Smarter Way to Liquidate
Modern estate sales lean on technology to give you power and control. Instead of hiring a traditional company that takes a huge cut—often between 35% and 50% of your total gross sales—a DIY platform lets you manage the process and keep the lion's share of the profit.
It all breaks down into a series of clear, manageable steps. You'll create a digital catalog with photos and descriptions, then run a timed online auction that reaches a wide pool of motivated local buyers. The platform handles the tricky parts, like secure payment processing and marketing, freeing you up to focus on organizing the items and preparing for one easy pickup day.
This approach turns a monumental task into a structured project with a clear beginning, middle, and end.
Creating Your Liquidation Game Plan
Every successful estate sale I've ever seen started with a solid game plan. The work you put in before listing a single item is what separates a smooth, profitable auction from a stressful, chaotic mess. This is your chance to bring order to the home and set the foundation for everything that follows.
The first step is always the toughest: sorting through a lifetime of belongings. It can feel monumental, which is why we break it down. Go room by room, and commit to making a decision for every single item you touch.
The Four Essential Categories
The goal here is to touch each item only once. As you pick something up, decide its fate by assigning it to one of four piles. This decisive approach saves you from second-guessing yourself and keeps the entire project from stalling out.
- Sell: These are the items you'll be listing in your DIYAuctions sale. This is everything from the obvious—antique furniture, valuable art—to the not-so-obvious, like everyday kitchen gadgets and tools.
- Keep: These are the personal treasures, the items with sentimental value that you, your family, or other heirs have decided to hold onto. Get these items out of the way immediately. Move them to a closed-off room or, even better, off-site to avoid any mix-ups.
- Donate: Some things just won't fetch much at auction but are still perfectly good. Local charities are almost always thrilled to receive these items.
- Discard: This is for anything broken, damaged, or simply unsanitary that can't be sold or donated. You have to be realistic; holding onto junk just adds to the clutter and your workload.
My Two Cents: Don't ever assume an item's value. That dusty old lamp in the corner or that shoebox full of vintage postcards might look like trash to you, but they could be the exact thing a collector is hunting for. If you're on the fence, always put it in the "sell" pile. It's far better to research it and find out it's worthless than to toss out something valuable.
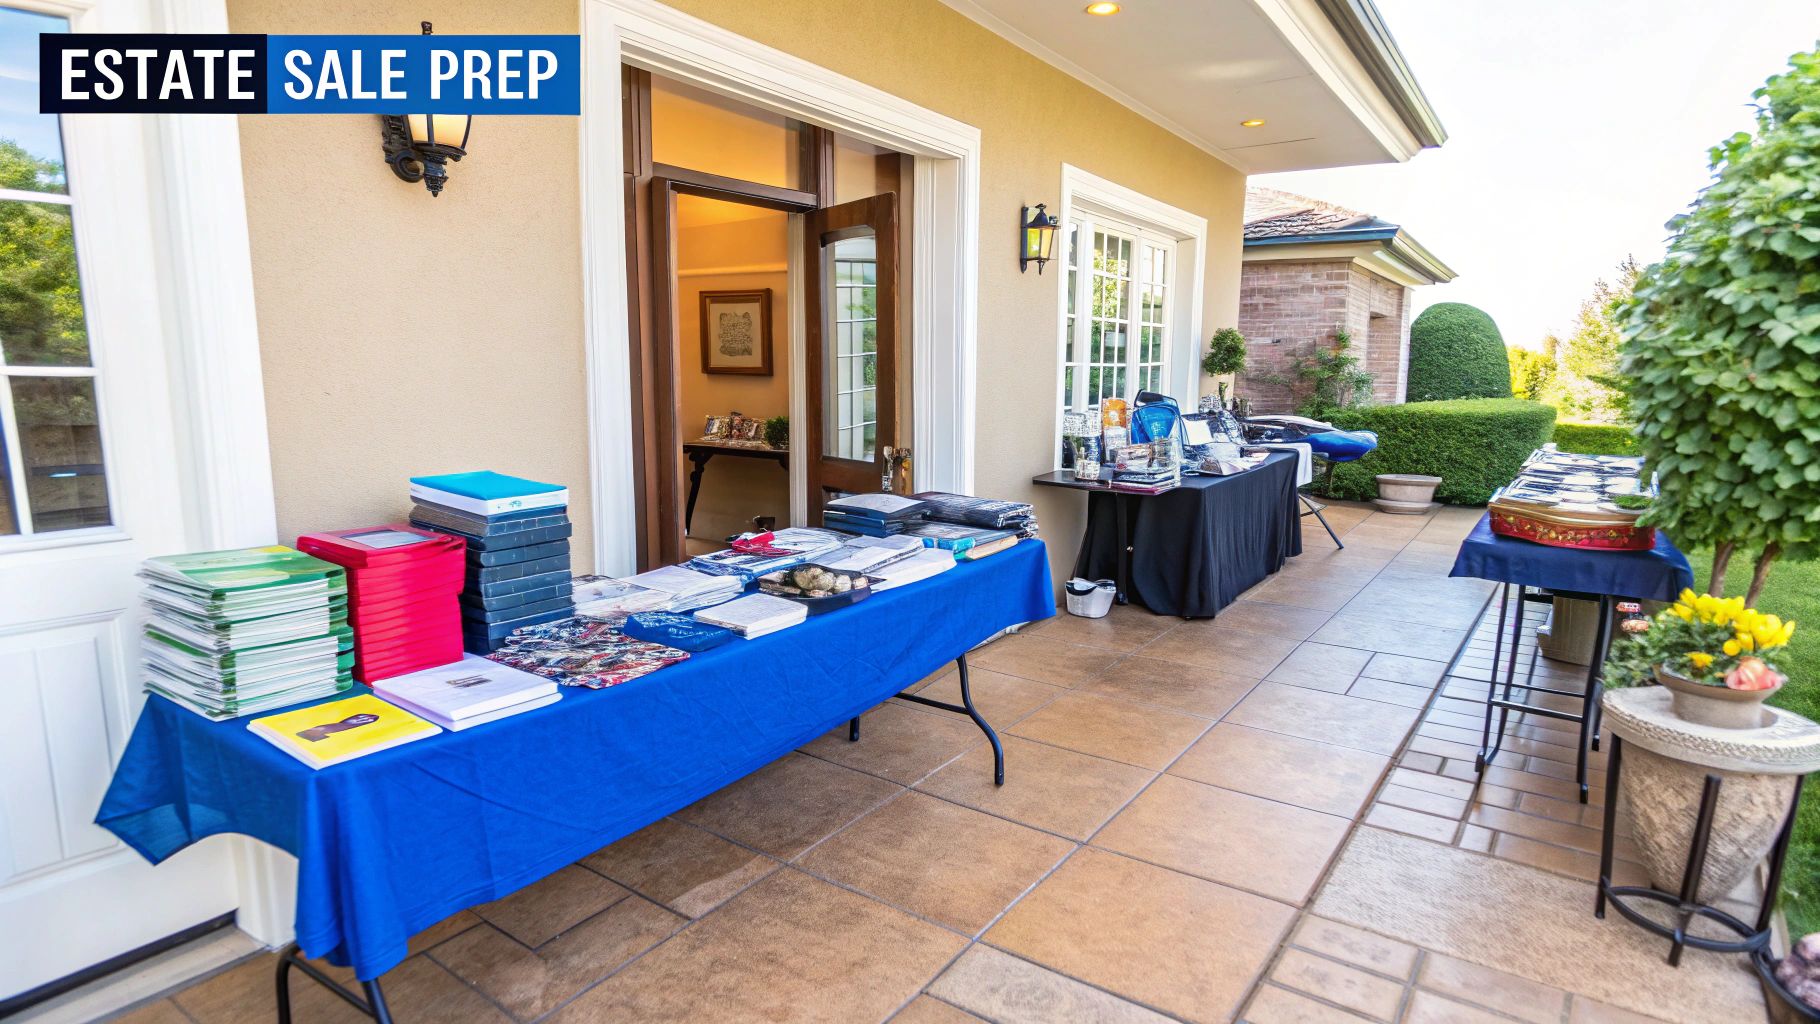
Setting Up Your Staging Area
Once the initial sort is done, you absolutely need a command center. This is your staging area—a dedicated space where you'll manage the entire auction process. Clear out the garage, an empty spare bedroom, or a section of the living room. This is where you'll photograph, measure, and organize items for your online catalog.
Having one designated zone keeps the rest of the house from becoming a disaster area and lets you work methodically. It also makes a world of difference on pickup day when you can group sold lots together for easy retrieval. The infographic below really drives home the importance of accurate pricing and presentation, which are key tasks you'll handle right here in your staging area.
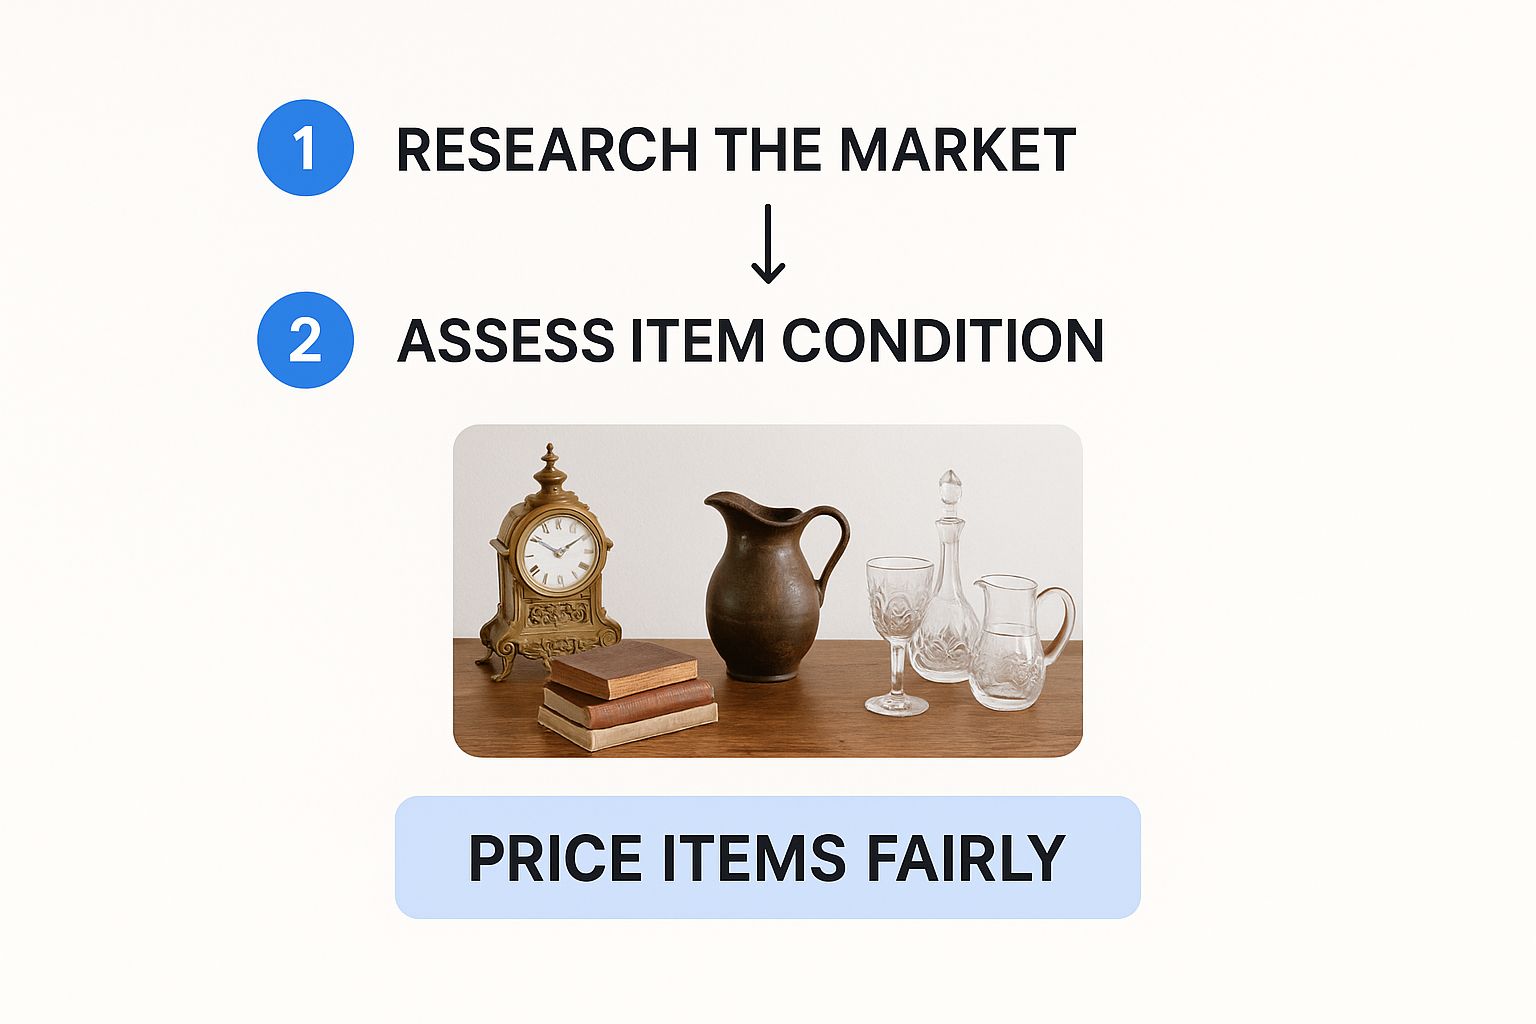
As the visual shows, presenting items well and pricing them fairly are the pillars of a great sale.
Creating a Realistic Timeline
If there's one mistake I see people make over and over, it's underestimating how long this all takes. Rushing the prep work will absolutely lead to bad photos, lazy descriptions, and, ultimately, lower bids. A sensible timeline is your best friend.
Think of your DIY auction project in three simple phases:
- Sorting & Prep (1-2 weeks): This is where the real grunt work happens. Give yourself plenty of time to sort, clean items, and get your staging area set up without the pressure of a looming deadline.
- Cataloging & Auction (7-10 days): This is the fun part—photographing items, writing descriptions, and launching the sale. We find a 7-10 day auction window is the sweet spot. It gives local buyers enough time to find your sale, browse, and get their bids in.
- Pickup & Wrap-Up (2-3 days): Plan for a single weekend day for all buyer pickups. I'd also budget an extra day or two for the final clean-out and to deal with any leftover items.
All in, this 3-4 week timeline is a very realistic target for an average-sized estate. Of course, you'll need to adjust it based on the sheer volume of items and your own schedule. The most important thing is to create a timeline that works for you, not against you.
How To Catalog and Photograph Items Like a Pro
If there’s one thing I’ve learned from years in this business, it’s this: the quality of your online listings is the single most important factor in your auction's success. This is where all that sorting and organizing you did really starts to pay off.
High-quality photos and clear, honest descriptions build bidder confidence. That confidence directly translates into more people bidding and, ultimately, higher final prices for your items.

Think of each listing as a digital salesperson working for you around the clock. A lazy, one-photo listing with a vague title essentially says, "I don't really care about this item." In contrast, a detailed listing with multiple photos tells bidders, "This is a quality piece worth your money." Let's get your listings to do the selling for you.
Mastering Photography Without Being a Photographer
Forget the fancy camera and expensive studio setup. Your smartphone is more than powerful enough to take fantastic photos for your auction, as long as you nail a few key details.
The biggest secret? Good lighting is everything.
Natural light from a nearby window is your best friend. It’s soft, it’s free, and it shows colors far more accurately than artificial light. Whatever you do, avoid using your phone’s built-in flash. It’s harsh, creates ugly shadows, and completely washes out important details.
Find a spot near a large window and create a simple, clean backdrop.
- You can drape a plain white or gray bedsheet over a chair or pin it to a wall.
- A large piece of poster board from any craft store works wonders.
- For smaller items, a clean, neutral-colored tabletop is perfect.
This simple setup instantly removes distracting backgrounds, making your item the hero of the shot. For a deeper dive into getting the entire house prepped, check out our guide on how to organize an estate sale.
Pro Tip: Always wipe down or dust items before you even think about photographing them. A little bit of cleaning can make a ten-dollar item look like a fifty-dollar find. Smudges and grime are instant turn-offs for bidders.
Composing the Perfect Shots
For every single item you list, your goal is to provide a complete visual story. Don't just snap one picture and move on. Bidders want to see everything—the good, the bad, and the ugly. A comprehensive photo gallery builds trust and dramatically cuts down on the number of questions you'll have to answer later.
Your Shot List for Every Item:
- The "Hero" Shot: A clear, well-lit photo of the entire item against your neutral background.
- Detail Shots: Get close-ups of any brand names, artist signatures, unique patterns, or special features.
- The "Flaw" Shot: Be upfront. Take an honest, close-up photo of any damage—a scratch, a chip, a stain. Showing imperfections is one of the best ways to build trust.
- Scale Shot: A photo that helps people understand the item's size. Placing a common object like a soda can or a ruler next to it provides crucial context.
- Functional Shots: If it’s a lamp, show it turned on. If it’s a music box, take a short video of it playing.
This level of detail answers questions before they're asked and shows everyone that you're a transparent and trustworthy seller.
Writing Descriptions That Sell
Your photos and words need to work together. The title's job is to grab attention with clear, searchable keywords, while the description provides the essential details a serious buyer needs to place a confident bid.
A great title usually follows a simple formula: Item Name + Brand/Artist + Style/Era + Key Feature.
- Poor Title: Old Chair
- Great Title: Vintage Mid-Century Modern Armchair by Drexel, Walnut Wood Frame
The description is where you fill in the rest of the story. Use a simple, scannable format—bullet points are your friend here.
Essential Information for Every Description:
- Condition: Be brutally honest. Use simple terms like "Excellent," "Good with minor wear," or "Fair with noticeable flaws." Then, briefly describe those flaws and mention that they're shown in the photos.
- Dimensions: Always include measurements (Length x Width x Height). For furniture, this is non-negotiable.
- Brand/Maker: Note any manufacturer marks, logos, or artist signatures you found.
- Provenance: If there’s a cool story behind an item, tell it! "This was my grandfather's favorite reading chair, purchased in 1962." Personal stories create an emotional connection and can genuinely increase bidding.
Setting the Right Starting Price
Your last step before listing an item is a bit of quick research. The goal isn't to become an expert appraiser overnight, but to find a reasonable starting point. Head to online marketplaces and search for "sold" listings of items like yours. This shows you what people are actually paying, not just what sellers are asking.
For most common household goods and collectibles, starting the auction at $1.00 is a powerful strategy. It completely removes bidder hesitation, encourages that critical first bid, and often creates a bidding war that drives the final price higher than you might have imagined. For genuinely high-value items, you can set a more conservative starting bid, but in most cases, it's best to let the market determine an item's true worth.
Running Your Online Auction Successfully
Once you've cataloged everything and your auction is live, your role shifts from setup to active management. This doesn't mean you need to be glued to your screen 24/7, but it does require some strategic check-ins to build bidder confidence and keep the momentum strong.
Think of your live online auction as a living event. Bidders will pop up with questions, new people will discover your sale each day, and the real action almost always heats up in the final hours. Your job is to foster a competitive and trustworthy environment that gets people excited to bid.
Mastering the Art of Timing
One of the most powerful things you can do is schedule your auction to end at the right time. While a 7-10 day auction gives you plenty of exposure, the final moments are where the magic really happens. A huge chunk of bidding—often called "bid sniping"—pours in during the last hour or even the last few minutes.
To capture this energy, you want your auction to close when people are most likely to be available and paying attention.
- Weekends: Sunday evenings are prime time. Most people are home, relaxed, and have the mental space to focus on an auction they’ve been watching all week.
- Weekdays: Evenings between 7 PM and 10 PM local time also work great. Bidders are done with work and dinner, often scrolling on their phones or computers.
Try to avoid ending a sale on a Friday night or during the 9-to-5 workday. You want as many bidders as possible tuned in for that final, exciting bidding war.
A well-timed closing can make a massive difference in your final results. The goal is to create a "can't-miss" event for your bidders. Ending on a Sunday at 8 PM taps into peak attention spans, which almost always leads to higher sale prices across the board.
Handling Bidder Questions Professionally
Throughout the auction, you're bound to get questions from potential buyers. How you handle these inquiries directly impacts how much they trust you—and whether they'll feel comfortable placing a high bid. Prompt, honest, and helpful responses are your best friend here. For a complete rundown of the entire process, check out our detailed guide to running an online estate sale.
Most questions fall into a few common categories. Being prepared with clear answers will save you time and build your reputation as a great seller.
Common Bidder Inquiries & How to Respond:
| Question Type | Your Goal | Sample Response |
|---|---|---|
| Item Condition | Reassure and Be Honest | "Thanks for asking! As noted in the description, there is a small chip on the back right corner, which you can see in photo #5. Otherwise, it's in excellent vintage condition with no other noticeable flaws." |
| Pickup Logistics | Be Clear and Firm | "Great question! The scheduled pickup is on Saturday between 9 AM and 2 PM at the address provided to winning bidders. Please be sure to bring your own packing materials and help for moving large items." |
| More Photos | Be Helpful (When Reasonable) | "I've just added two more photos to the listing showing the manufacturer's mark on the bottom of the vase. Thanks for pointing that out!" |
Responding within a few hours shows you’re on top of things and serious about your sale. This simple act of customer service can be the very thing that convinces someone on the fence to go for it. A professional approach to your estate sale liquidation shows respect for both the items and the buyers.
Keeping Your Sale Engaging
While the DIYAuctions platform handles a lot of the promotion for you, there are small things you can do to keep your sale engaging. If you answer a question about an item's dimensions, that information is now public for all other watchers to see, which often helps them make a bidding decision.
This isn't about constant work. It’s about smart, strategic management. By choosing the right end time and answering questions professionally, you create the perfect conditions for a successful online auction that maximizes your profits.
Coordinating a Smooth Pickup and Payment Process
So, your online auction was a hit. The bids are closed, the winners are declared, and now it's time for the final push: getting those items to their new owners and the money into your pocket. This is where all your hard work organizing everything really shines, turning what could be a frantic day into a surprisingly smooth operation.
The mission is simple: manage the flow of people and make sure every single item is paid for before it walks out the door. With a solid plan, pickup day is actually one of the easiest parts of the whole process.
Scheduling Pickup Windows Strategically
The secret to avoiding a mad dash at your front door is controlling the schedule. You’re not running an open house where people can just drop by. Instead, you'll have winning bidders schedule their specific pickup time directly through the DIYAuctions platform. This simple step prevents everyone from arriving at once.
For most sales, a single weekend day is all you need. A four-to-five-hour window—say, 9 AM to 2 PM on a Saturday—is usually the sweet spot. By having buyers book their arrival times, you can stagger the pickups throughout the day. This keeps the number of people at your property manageable at all times, making the entire estate sale liquidation feel organized and secure.
Preparing for a Flawless Pickup Day
On the big day, being prepared is everything. Before your first buyer is scheduled to arrive, do a final walkthrough. Gather all the sold items and group them together by the winner's name or lot number. The garage or a cleared-out living room is a perfect staging area.
Staging your sold items like this does two critical things:
- It makes the pickup process incredibly fast. When a buyer arrives, you just grab their things and go.
- It keeps buyers out of private areas of the home, which is essential for your family's privacy and peace of mind.
A Quick Checklist for Pickup Day:
- Have a charged phone or tablet handy to verify payments and check off winning lots in your dashboard.
- Keep a few extra boxes or bags on hand as a courtesy, even though buyers are told to bring their own.
- Make sure there's a clear path from your staging area to the exit, especially for bulky furniture.
- Put up a few simple signs directing buyers where to park and check in.
Managing Payments and Handling No-Shows
One of the biggest advantages of using a platform like DIYAuctions is that all payments are handled securely online before pickup day. Your only job is to confirm payment has been made before releasing an item. Never, ever hand something over until you see that "Paid" status in your dashboard.
This digital-first approach is a huge reason why the estate liquidation services market has grown into a $230.3 million industry in the U.S. Technology has made the entire process safer and more accessible for everyone. If you're curious about the numbers, you can dig into the full industry analysis from IBISWorld.
Once in a while, a buyer simply won't show up. It’s frustrating, but it’s an easy fix. Your auction terms and conditions should clearly state that items not collected by the deadline are forfeited. From there, you can offer the item to the runner-up bidder (this is called a "second chance offer") or just add it to your donation pile. Don't let one no-show throw off your rhythm.
Wrapping Up Your Estate Liquidation Project
Just because the last car has pulled away from the curb doesn't mean the job is done. The final stretch of any estate liquidation project is the wrap-up, and it’s just as important as the sale itself. This is where you tie up all the loose ends, ensuring a clean property and, most importantly, clear financials.
So, what do you do with the items that didn't sell? It's completely normal to have some things left over. The key is to have a smart plan to deal with them so they don't linger.
- High-Impact Donations: Charities like Habitat for Humanity ReStore or local shelters are almost always looking for furniture, appliances, and other household goods. The best part? Many will even come to you and offer free pickup for larger donations, saving you a ton of back-breaking work.
- Consignment Shops: Did a few high-value pieces, like designer bags or specific collectibles, not meet their reserve? A local consignment store can be a fantastic next step. They'll handle the selling for you in exchange for a cut of the final price.
- Specialty Recyclers: For old electronics, TVs, or other items that can't be donated, look for e-waste recycling events or services in your area. It’s the responsible way to dispose of them.
Your goal is to get the property completely empty. By being strategic with donations and consignment, you can often clear out everything that remains without having to pay a dime for junk removal. It turns a final chore into one last win.
Finalizing Your Financials
Once you've handled the leftovers, it’s time for the best part: seeing the fruits of your labor. The DIYAuctions platform makes this incredibly simple. With just a few clicks, you can generate a complete sales report.
This isn't just a single number; it's a detailed breakdown of your entire project from start to finish. You’ll see:
- Every single item that sold
- The final price for each lot
- Who the winning bidder was for each item
- Total gross revenue generated
- A clear accounting of any fees or commissions
- Your final net proceeds
This report is essential. It lets you easily reconcile all the payments and gives you a transparent, official record of the entire liquidation. If you're managing an estate for a relative, this document provides the clear accounting you need for heirs and any legal requirements. It’s the final piece of the puzzle, giving you a complete overview of your project’s success.
Common Questions About Estate Sale Liquidation
Jumping into your first DIY estate sale can feel like navigating a new city—a little confusing at first, but totally manageable once you have the map. Getting answers to the big questions upfront gives you the confidence to move forward and make the best choices for your sale.
Let's tackle some of the most common ones we hear from folks just like you.
How Long Does This Usually Take?
The timeline for a DIY liquidation really comes down to two things: the size of the estate and how much time you can dedicate to it. A good rule of thumb is to plan for two to four weeks from the moment you start sorting to the final pickup day.
I recommend setting aside one to two weeks just for sorting, photographing, and cataloging your items. Rushing this prep phase is a classic mistake that almost always leads to lower final bids. After that, a 7-10 day online auction gives bidders plenty of time to find your sale and compete. Tack on a couple of days for the pickup event and final clearing, and you're all set.
What Are the Biggest Mistakes People Make?
From my experience, the most costly mistakes are usually the simplest ones to avoid. It almost always boils down to poor photos, vague item descriptions, and not doing a quick value check on key pieces. These three things instantly erode bidder confidence and can slash your final profits.
Another common pitfall is a disorganized pickup day. When you've got dozens of people showing up, a little planning goes a long way to keep things from getting stressful. Oh, and one last thing: don't be too quick to throw things out! What looks like junk to you could be the exact quirky thing a collector is desperately searching for online. A quick Google search on anything that seems unique is always worth the effort.
For most common household goods and collectibles, starting the auction at $1.00 is a powerful strategy. It removes bidder hesitation, encourages that critical first bid, and often creates a bidding war that drives the final price higher than you might have imagined.
Should I Set a Higher Starting Price?
That $1.00 starting bid is a fantastic strategy for about 95% of the items in a typical estate. It builds excitement and gets things moving.
But you definitely want to protect your most valuable assets. For high-value items like fine jewelry, signed artwork, or a rare antique, setting a sensible starting bid or a reserve price is the smart move. You're not trying to give those away. A successful sale often uses a mix of both strategies—plenty of $1 starts to create a frenzy, with protective pricing on the crown jewels.
Of course, the costs involved also play a role in your strategy. You can see how much a DIY approach saves by reviewing a full breakdown of estate sale commission rates and how they compare.
More guides in Estate Sale Basics
June 24, 2026
Essential Sales Performance Metrics for Auctions
Stop guessing. Learn essential sales performance metrics for your estate or online auction. Track what truly matters for profitability.
Read guideJune 23, 2026
Mastering Chain of Custody Procedures for Estate Sales
Learn to establish and maintain proper chain of custody procedures for estate sales and asset transfers. Our guide covers documentation, logs, and legal tips.
Read guideJune 22, 2026
Maximize Profit: Understanding Payment Processing Fees 2026
Master payment processing fees for your estate sale. Learn costs, see examples, and find strategies to boost profit in 2026.
Read guideGet the estate sale pricing guide
Enter your email for pricing ranges, planning notes, and a clearer path to launch.