Your Guide to DIY Estate Sale Organizers
Considering a DIY approach over traditional estate sale organizers? Our guide offers actionable steps for inventory, pricing, and managing a successful sale.
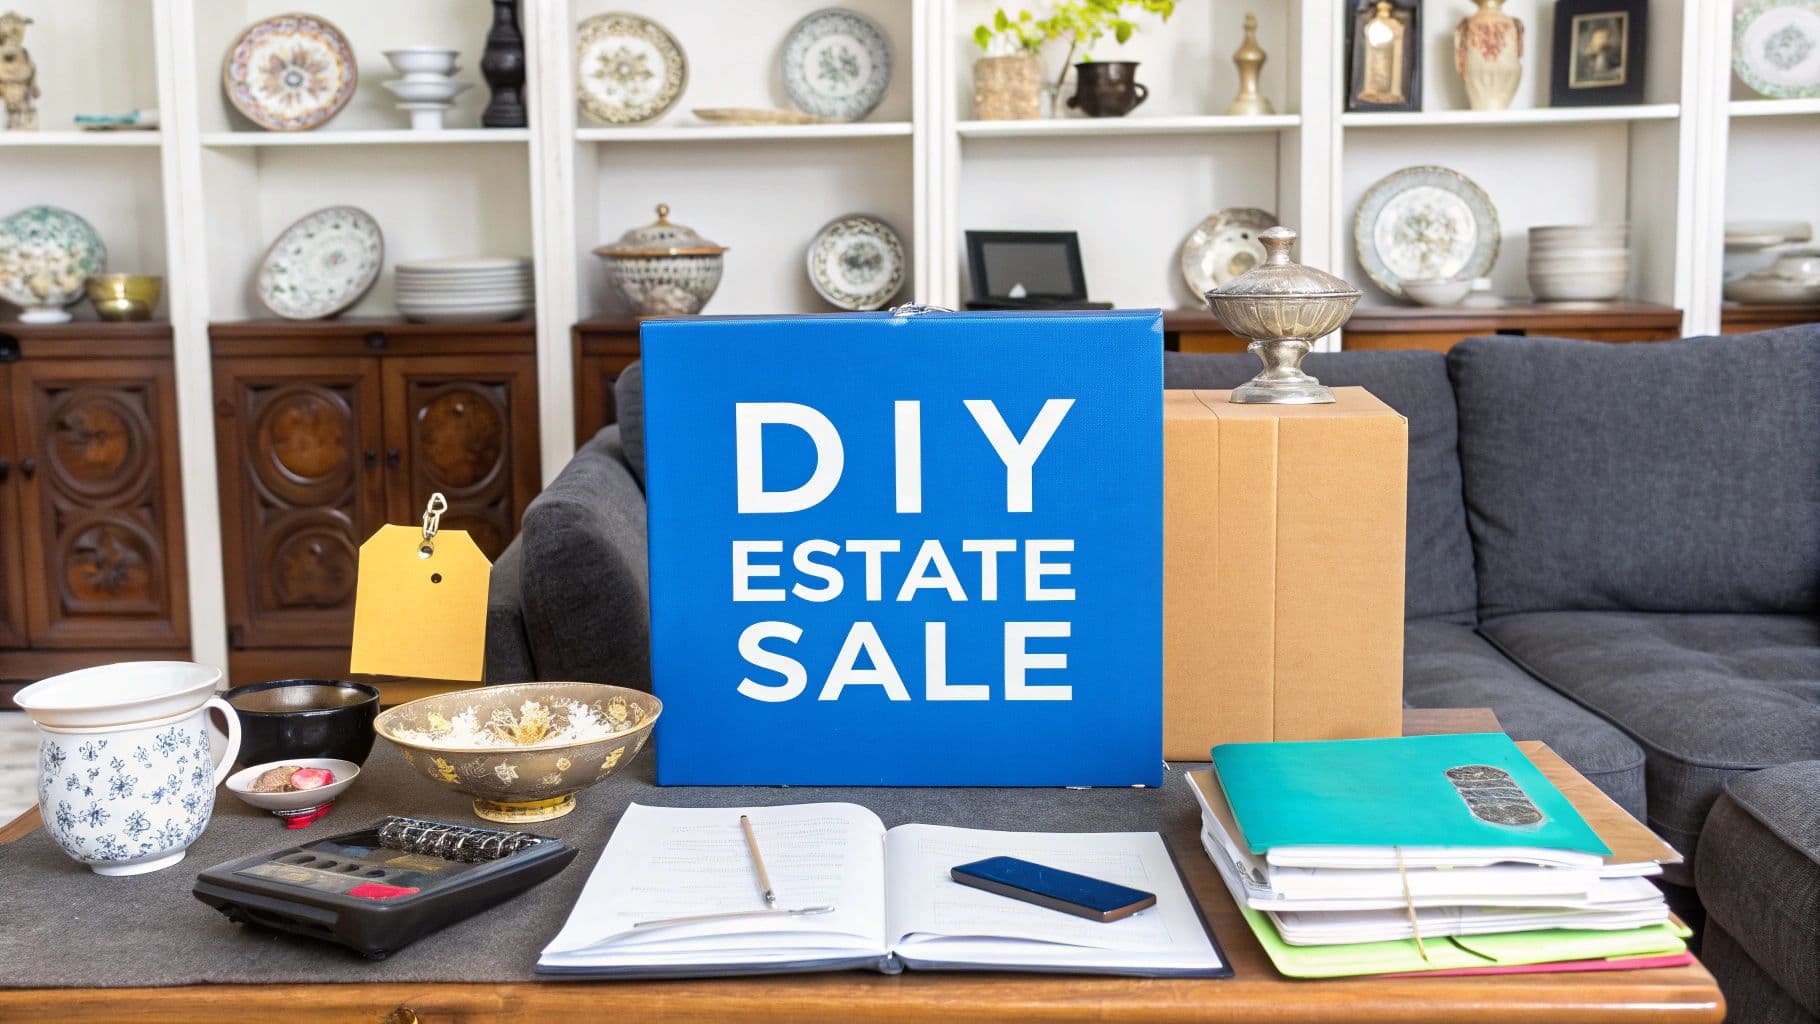
When you’re faced with clearing out a home, the sheer scale of the task can feel paralyzing. It’s no wonder so many families immediately think of hiring professional estate sale organizers. But what if you could run the entire sale yourself, keeping full control and avoiding those hefty commission fees? This isn't just a fantasy; modern, easy-to-use online tools are making the DIY approach a truly viable option.
Rethinking the Role of Estate Sale Organizers
Sorting through a loved one's belongings is a deeply emotional process, tangled up with countless logistical hurdles. The traditional path is to bring in a professional company that steps in and handles everything—from taking inventory and setting prices to marketing the sale and managing the crowd on the day.
While there’s no denying the value of that service, it comes at a steep price. Most estate sale companies charge a commission between 30% and 50% of the total revenue. That’s a massive slice of the proceeds gone before you see a dime.
But that’s not the only way anymore. The game has changed. Digital platforms now put the power right back in your hands, letting you take the reins of the sale yourself. By managing your own auction, you have the final say on everything. You decide what sells, what the prices should be, and how to tell the story behind each special piece. For many, this hands-on involvement becomes a meaningful part of the grieving process, ensuring a loved one’s legacy is treated with the personal touch it deserves.
The Modern DIY Advantage
Stepping into this role doesn't mean you’re flying solo. A platform like DIYAuctions is designed to be your co-pilot, giving you all the structure and tools you need to succeed without eating up your profits. The benefits are pretty clear:
- You Keep the Money: Instead of forking over a huge commission, you keep the vast majority of the proceeds. That extra cash can make a real difference when it comes to settling estate expenses or distributing funds to heirs.
- Total Transparency: You see everything, every step of the way. You know exactly which items sold, who the buyers were, and what they paid. No more wondering about hidden fees or where the money went.
- Work at Your Own Pace: Forget the rigid, high-pressure timeline an outside company imposes. A DIY sale lets you work on your own schedule, giving you and your family the space to sort through memories at a pace that feels comfortable.
At the end of the day, the goal is to clear the home respectfully and efficiently. Going the DIY route with the right tools gives you the power to hit that goal on your own terms. It turns a daunting task into something you can actually manage—and even feel good about.
This guide is here to walk you through it all, step by step. We’ll show you how to plan and run a successful sale on your own, giving you the confidence to navigate both the emotional and logistical sides of the process. You really can be your own best estate sale organizer.
Building a Strong Foundation for Your Sale

A great estate sale doesn't just happen. It’s the result of smart, upfront planning that happens long before the first bid is ever placed. Think of this prep phase as your chance to get organized and turn what feels like a massive project into a series of small, manageable wins.
The first step is usually the toughest, emotionally speaking: going through a lifetime of belongings. It's so much more than just sorting objects; it's about navigating memories. Give yourself the time and space to work through it without feeling rushed.
Your Four-Category Sorting System
To keep from getting overwhelmed, you need a system. A simple, visual approach is best. I always recommend using colored labels or designating four specific zones in a room to categorize every single item. This framework makes decisions faster and keeps you moving forward.
- Sell: These are the items that will become the inventory for your online auction.
- Keep: Heirlooms, personal mementos, and anything you genuinely want to take with you. Just be careful this pile doesn't become a way to simply move clutter from one house to another.
- Donate: Good, usable items that might not bring in much money but can make a real difference for a local charity. Don't forget to get a receipt for tax time.
- Discard: Anything that's broken beyond repair, expired, or truly unusable.
This method helps you focus and make one decision at a time. While you’re sorting, be extra vigilant about finding and securing personal documents, photos, and any other sensitive papers. You don't want those getting mixed in with the sale items.
My best piece of advice? Tackle one room at a time. Finish the garage completely before you even think about the kitchen. Checking a whole area off your list gives you a huge sense of accomplishment and the momentum you need to keep going.
Set a Timeline That Actually Works for You
This is where a DIY sale has a huge advantage over hiring a traditional company that might rush you. You get to set the pace. A realistic schedule needs to account for sorting, creating your inventory, taking photos, and promoting the sale.
On average, plan for a four to six-week timeline from the day you start sorting to the final pickup day. This gives you a comfortable buffer for any surprises that pop up. For a more detailed guide, our estate sale checklist breaks it all down week-by-week to keep you on schedule.
It's also crucial to define what "success" looks like for you. Is the main goal to clear out the house by a specific date? Or is it to get the highest possible price for a few key valuables? Knowing your primary objective will guide every decision you make along the way.
Gather Your Supplies Before You Start
There's nothing more frustrating than getting into a good workflow only to realize you have to stop and find packing tape. Get your toolkit ready before you dive in. It makes everything run smoother.
Here's a quick list of what you'll need:
- Boxes and Bins: You'll need more than you think for sorting everything into your categories.
- Packing Materials: Bubble wrap, packing paper, and tape for safely wrapping sold items.
- Cleaning Supplies: A quick wipe-down or polish can make a huge difference. A clean item almost always sells for more than a dusty one.
- A Good Camera: Your smartphone camera is perfect for this. Just make sure your pictures are bright, clear, and show the item from a few different angles.
- Labels or Markers: Anything that helps you clearly mark your "sell," "keep," "donate," and "discard" piles.
By laying this groundwork first, you’re doing more than just organizing a house. You're setting yourself up for a sale that's less stressful, more profitable, and completely under your control.
Mastering Inventory and Strategic Pricing
The financial success of your sale really boils down to two things: building a detailed inventory and pricing everything strategically. This is where you, as a DIY estate sale organizer, get to shine. You’ll be blending careful documentation with some smart market research to get the best possible return on your items.
Think of your inventory as the foundation of your entire sale, not just a simple list. A well-documented catalog gives you total control and shows buyers you’re serious, giving them the confidence they need to bid. When you use a platform like DIYAuctions, this whole process feels methodical instead of chaotic.
Creating a Powerful Item Catalog
Let’s start with the basics. For every single item you plan to sell, you need clear, well-lit photos from multiple angles. If it’s a piece of furniture, that means showing the front, back, sides, and close-ups of any unique details or flaws. A blurry photo or a listing with just one picture can seriously tank bidder interest and the final sale price.
Next up, write a description that’s both accurate and appealing. Don't just say "wood chair." Instead, try something like, "Mid-Century Modern Walnut Dining Chair with Original Upholstery." And always, always be transparent about an item's condition. Point out any scratches, chips, or signs of wear right in the description. Honesty builds trust and saves you from headaches and disputes later on.
To keep things running smoothly, it's a good idea to lean on some essential inventory management best practices from the get-go. Getting organized from the start prevents logistical nightmares on pickup day.
This level of detail isn't just busywork; it's what separates a mediocre sale from a wildly successful one. For a deeper dive, check out our complete guide on inventory management best practices.
The infographic below really drives home how crucial it is to present and price your vintage finds thoughtfully to attract the right kind of buyers.
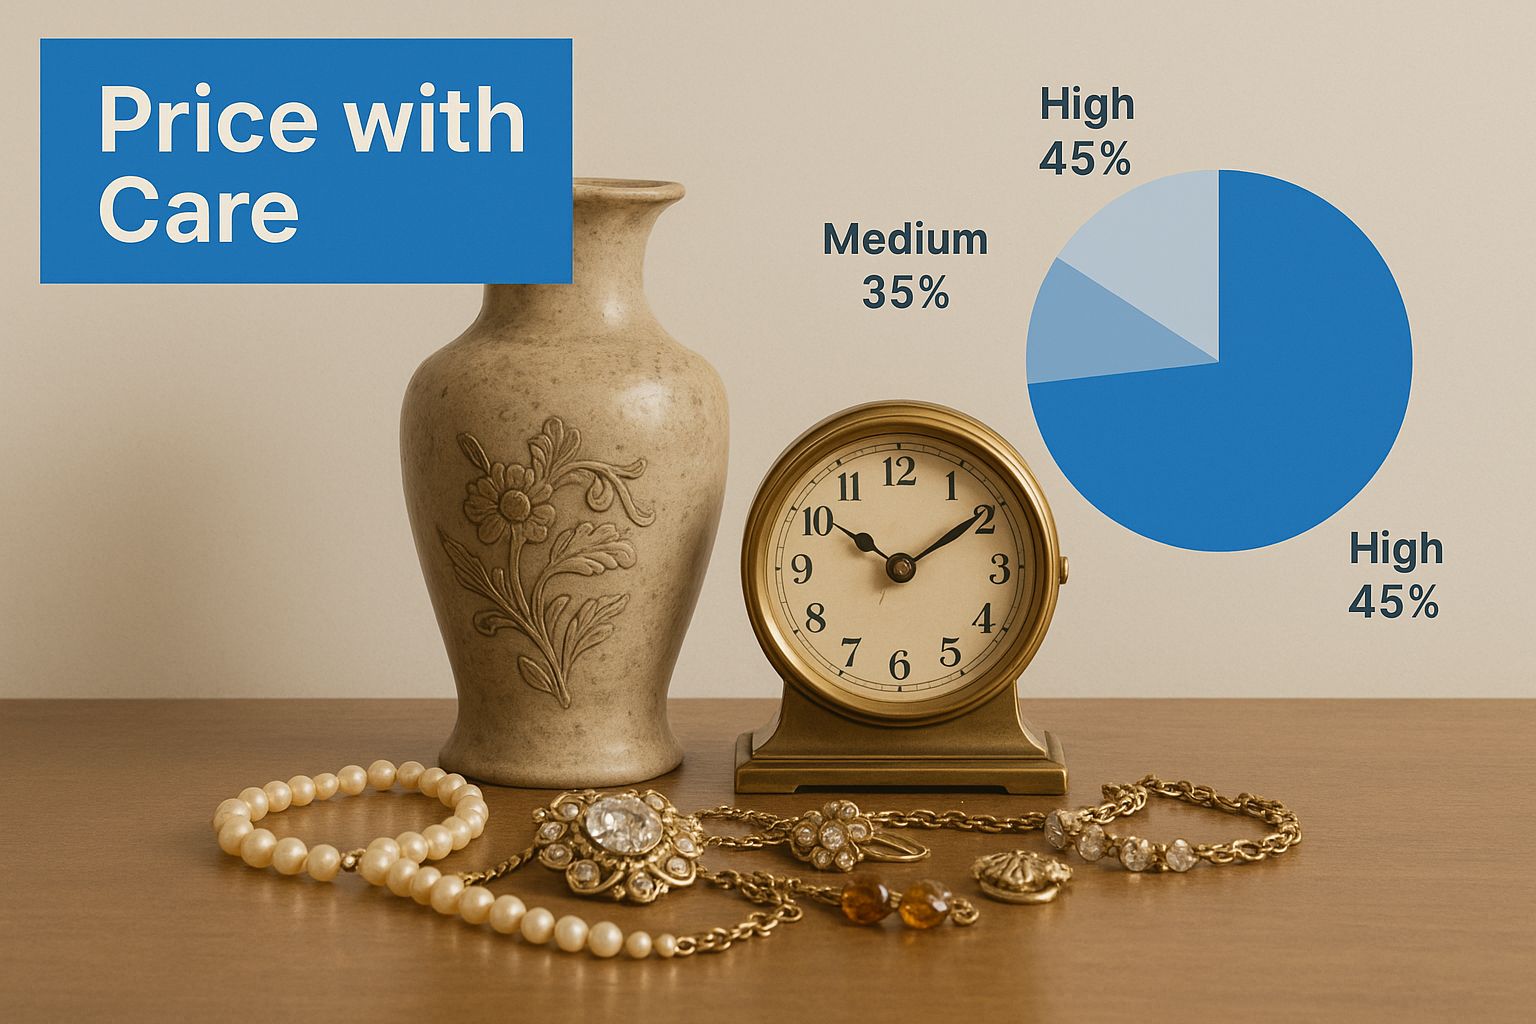
As you can see, a little extra effort in presentation can turn everyday belongings into highly sought-after assets for your sale.
Setting Prices That Sell
I get it—pricing can feel like the most intimidating part of this whole process. But it doesn't have to be. Your goal is to find that perfect sweet spot where you aren't asking too much, but you're also not leaving money on the table. A little bit of research goes a very long way here.
Online marketplaces are your best friend. Spend some time on sites like eBay (make sure to check the "sold" listings), WorthPoint, and even Facebook Marketplace to see what similar items have actually sold for. This data-driven approach takes all the guesswork out of it.
For instance, pricing a set of antique Limoges china is a totally different ballgame than pricing a modern KitchenAid mixer. For the china, you’d research the specific pattern and maker, looking at past auction results for complete sets in similar condition. For the mixer, you'd just check prices for used models on a few different sites and price yours competitively based on its age and working condition.
A word of caution: It's so easy to price things based on sentimental value. A buyer will only ever pay what the market says an item is worth, so you have to stay objective. Your emotional connection is priceless, but the market value is a hard number.
To help you get started, here's a look at some common pricing strategies for different types of items you might find in an estate.
Pricing Strategy Comparison
| Item Category | Recommended Strategy | Pricing Rationale | Example |
|---|---|---|---|
| Antique Furniture | Research Comparable Sales & Set Reserve | Protects high-value items from being undersold while letting the market dictate the final price. | A 19th-century mahogany dresser might be researched on auction sites. Set a starting bid of $100 with a confidential reserve of $450. |
| Collectible Glassware | "Buy It Now" or High Starting Bid | Serious collectors often know the value and may prefer to purchase outright rather than wait for an auction to end. | A rare piece of Fenton glass could be listed with a "Buy It Now" price of $75, based on recent online sales. |
| Everyday Kitchenware | Low Starting Bid ($1) | Generates excitement and encourages bidding wars on common items, often leading to a fair market price. | A full set of Pyrex mixing bowls could start at $1, attracting multiple bidders who drive the price up. |
| Used Electronics | Competitive "Buy It Now" | Buyers for used electronics are typically price-sensitive and compare against new models. A clear, competitive price works best. | A 5-year-old 55" Samsung Smart TV might be priced at a firm $150 "Buy It Now," which is attractive compared to new models. |
Ultimately, the right strategy depends on the item. Mixing and matching these approaches within the same auction is a great way to maximize your overall returns.
Deciding on Bidding and Buy It Now Options
The online auction format gives you incredible flexibility. You can set a low starting bid to get people excited or use a "Buy It Now" price for things that have a clear, established market value.
Here are a few options you can play with:
- Low Starting Bid: This is a fantastic way to generate buzz. A starting bid of just $1 can attract a ton of eyes to your sale and often sparks bidding wars on popular items.
- Reserve Price: Got something really valuable? A reserve price is your safety net. It’s a confidential minimum price, and the item won’t sell unless the bidding reaches that amount.
- Buy It Now (BIN): This is perfect for buyers who know what they want and don’t want to wait. You can offer a BIN price right alongside the auction, giving someone the chance to snag it immediately.
Right now is a great time to be running an estate sale. Shoppers are finding that they can get items for 30% to 70% less than new retail prices, which is a huge draw. This has also fueled a lot of reseller activity—professionals are buying in bulk to avoid paying inflated retail prices, which helps you move a higher volume of inventory.
By combining a fantastic, detailed catalog with smart, well-researched pricing, you’ll be set up to run a sale that truly honors the value of the items while hitting all of your financial goals.
Launching and Promoting Your Online Auction
You’ve done the hard work of creating a fantastic inventory with smart pricing. Now it's time to launch your online auction and get it in front of motivated bidders. This is where you switch hats from a curator to a marketer.
Fortunately, setting up your sale on a platform like DIYAuctions is incredibly straightforward. The system walks you through the key decisions: choosing the start and end dates, setting bidding increments, and outlining the pickup details. Think of these settings as the "house rules" that create a fair and easy-to-understand event for your buyers.
Don't underestimate the power of a great sale description. Instead of a generic title like "Estate Sale," get creative. Try something more compelling, like "A Collector's Treasury of Mid-Century Modern Finds" or "The Lifetime Collection of a Beloved Local Woodworker." A little storytelling transforms a simple sale into an event people feel they can't miss.
Setting the Stage for Bidding Success
The technical details of your auction setup can make or break its success. Clear, simple rules prevent bidder confusion and encourage more people to jump in. When a sale feels professional and trustworthy, people bid with more confidence.
Here are the core elements you’ll want to define:
- Auction Duration: We've found that a 7 to 10-day auction is the sweet spot. This is long enough to build buzz and let people find your sale, but short enough to create a healthy sense of urgency.
- Bidding Increments: These are the minimum amounts a bid can be raised. Keep them logical (e.g., $1 for items under $20, $5 for items up to $100) to encourage active, competitive bidding without scaring people off.
- Soft Close: This is a must-have feature. It prevents "sniping" by automatically extending the auction by a few minutes if a bid is placed in the final moments. This ensures the person who is truly willing to pay the most wins the item, maximizing your final sale price.
For a complete walkthrough on the setup process, our guide on https://www.diyauctions.com/learn/how-to-do-an-online-auction offers detailed, step-by-step instructions.
Your sale's description is your first and best marketing tool. Share a brief, heartfelt story about the collection. Was the previous owner an avid gardener? A passionate reader? Personal details create an emotional connection that makes the items feel more special and valuable.
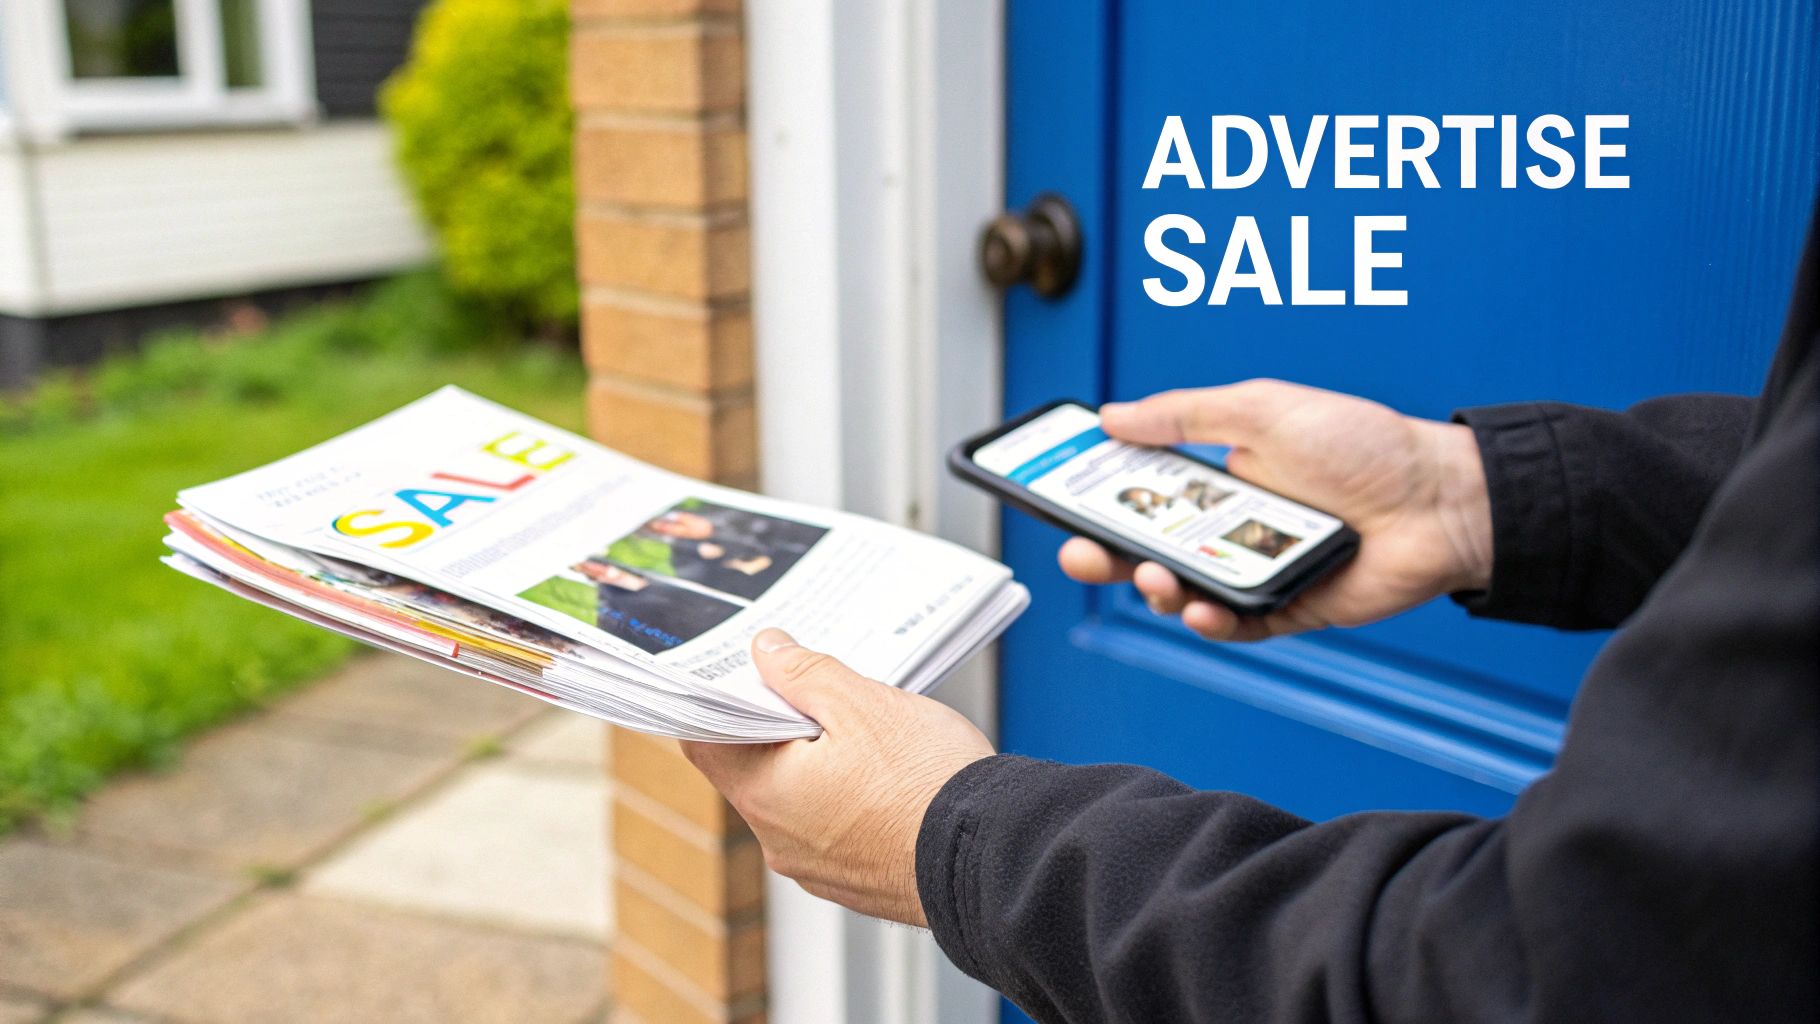
Spreading the Word Across Multiple Channels
Once your auction is live, don't just sit back and wait for buyers to show up. Proactive promotion is what separates a good sale from a great one. You need to get the word out where your target audience is already spending their time.
Social media is a powerhouse for local promotion, especially Facebook. With its Marketplace feature and countless hyper-local community groups, it's the perfect place to find engaged buyers in your area.
Crafting a social media post that gets attention is simple:
- Lead with your best photos. Pick 5-10 images of your most unique, valuable, or interesting items.
- Write a punchy caption. Announce the auction, mention a few key pieces, and include a clear call to action with a direct link to your sale page.
- Post strategically. Share your post in relevant local groups, like "Your Town's Buy/Sell/Trade," neighborhood pages, and even niche collector groups (think "Vintage Pyrex Lovers" or "Antique Tool Collectors").
As you're putting your sale together, it helps to explore proven strategies for increasing e-commerce sales. Even though you're not a big retailer, the same principles of great presentation and smart promotion absolutely apply.
And don't forget about the power of old-school online classifieds! Websites like Craigslist or your local newspaper’s site often have dedicated sections for auctions and estate sales that attract serious, ready-to-buy shoppers.
This multi-channel approach guarantees you're reaching the widest possible audience of interested bidders. You’re tapping into a massive consumer appetite for secondhand goods—a trend that a well-promoted DIY auction is perfectly positioned to capture.
Alright, the final bids are in and your auction has officially closed. Take a moment to celebrate—that's a huge accomplishment! But don't pop the champagne just yet. The next phase, handling payments and pickups, is where a well-organized sale really shines. This is your chance to finish strong and leave buyers with a great impression.
Getting this last part right comes down to two things: clear communication and solid organization. The second your auction ends, winning bidders get an automated email from DIYAuctions congratulating them. This email is your first, best chance to tell them exactly what happens next and head off any confusion before it starts.
Making Pickups and Payments Painless
One of the biggest reliefs of using a platform like DIYAuctions is that payment collection is handled for you. No more chasing down payments or dealing with the hassle of cash and checks on-site. This frees you up to focus on what really matters: running a smooth and orderly pickup day.
Whatever you do, don't just tell everyone to show up on Saturday. That's a recipe for chaos. The secret is to schedule staggered pickup times. You can use a simple online scheduling tool that lets buyers book a specific slot. This prevents a mad dash and makes the entire experience safer and much less stressful for everyone involved.
Your pre-pickup instructions should be crystal clear:
- Give them the full pickup address and any quirks about parking.
- Remind them to bring help for heavy items. You're not a moving service!
- Tell them to bring their own boxes and bubble wrap.
A smooth pickup day is the signature of a pro-level sale. Your goal is to get buyers in and out, happily and safely, with their new treasures. It’s the final handshake of the transaction and makes all your hard work worth it.
Your Pickup Day Game Plan
When the big day arrives, a little prep goes a long way. Before your first appointment, do a final walkthrough. Group items together by buyer and stick a label on everything with the buyer's name and lot number. This one small step will save you a ton of time and prevent any "who bought what" mix-ups.
Think of yourself as a logistics manager for the day. It’s smart to have a small toolkit on hand with a screwdriver and pliers for that one table leg that needs to come off. A tape measure is also a great idea—buyers almost always want to double-check that their new dresser will actually fit in their truck.
Setting the stage like this turns a potentially frantic day into a calm, methodical process. When a buyer arrives for their slot, you can greet them, confirm their purchase, and walk them right to their items. Easy peasy.
What About No-Shows and Leftovers?
It happens. Despite your best efforts, you might get a no-show. This is why having a clear policy in your auction terms from the start is so important. If a buyer ghosts you, you can offer the item to the next bidder in line or simply relist it. DIYAuctions can help you navigate these rare but frustrating situations.
After all the winners have come and gone, you'll probably have some unsold items left. That’s completely normal for any sale. You’ve got a few good options here:
- Donate: Many local charities will pick up furniture and other goods for free and give you a tax receipt.
- Consign: Got some high-end art or designer furniture left? A local consignment store might be interested.
- Buyout Service: For a quick clear-out, some companies will buy all the remaining contents of the home for a lump sum.
The estate sale business is a big deal, pulling in around $230.3 million in revenue in 2024, thanks to an aging population and a busy housing market. This just goes to show how vital organizers—both pros and DIY-ers like you—are. You can dig into the numbers in this industry report.
By seeing these final steps through, you'll get the house completely cleared out, officially wrapping up your successful DIY estate sale.
A Few Common Questions About DIY Estate Sales
Jumping into the driver's seat of your own estate sale is empowering, but it’s completely normal to have questions pop up along the way. Even the most organized person runs into situations that need a bit of know-how.
Let’s walk through some of the most common things people ask. Getting these details straight from the start will save you headaches later and help you run a much smoother, more successful sale.
What Are My Legal Responsibilities?
Your biggest legal and ethical duty is simple: be honest. You have to represent your items accurately. If you know that beautiful armchair has a wobbly leg or a vintage stereo only works on and off, you need to say so right in the item description.
Being upfront about flaws isn't a bad thing; it builds trust. Misrepresenting something, on the other hand, just leads to unhappy buyers, refund demands, and a whole lot of unnecessary stress. Transparency is always your best bet.
Beyond that, you’re also responsible for making sure the pickup day is reasonably safe.
- Clear the pathways. Make sure there aren't boxes, cords, or rugs people can trip over.
- If you’re selling something heavy from a second-floor bedroom, tell the buyer to bring help.
- Most importantly, state clearly in your auction terms that you are not liable for accidents on the property.
Adding this simple disclaimer is a crucial layer of protection. It sets the ground rules before anyone even places a bid.
Do I Need to Worry About Taxes?
Taxes can feel intimidating, but for the vast majority of estate sale items, it's a non-issue. The key concept here is the "cost basis"—what was originally paid for an item.
Think about it: most of the things in a home have gone down in value since they were bought. That dining room table might sell for $200, but it probably cost $1,500 new. Since you're selling it for less than its original cost, there's no profit or "gain" to tax. This applies to almost all typical household goods.
But what about items that have appreciated? That’s where you need to pay closer attention. This usually includes things like:
- Fine art
- Rare antiques
- High-end jewelry
- Specialized collectibles
If you sell a piece of art for $5,000 that was originally purchased for $500, that $4,500 difference could be a taxable capital gain.
When you're dealing with items that might have significantly increased in value, your best move is to talk to a tax professional. They can give you clear advice for your specific situation so you can be sure you're handling everything correctly.
How Do I Handle Very Valuable Items?
When you come across authenticated artwork, fine jewelry, or other high-ticket items, you need to be a bit more strategic. A DIY online auction is fantastic for 95% of a household's contents, but these special pieces often need a different stage to truly shine.
For anything you suspect is highly valuable, start by getting a professional appraisal. An appraiser not only gives you a certified value but can also authenticate the item, which gives potential buyers a huge boost of confidence. With that in hand, you might decide to sell it through a specialized auction house that can reach a global network of serious collectors.
If you do want to include a valuable piece in your DIYAuctions sale, make sure you use a reserve price. A reserve is a secret minimum price you set. If the bidding doesn't reach that number, the item doesn't sell. It’s the perfect safety net to prevent a precious heirloom from selling for far less than it’s worth.
More guides in Estate Sale Basics
July 6, 2026
How to Sell Stuff Online and Make Money: A 2026 Estate Guide
Learn how to sell stuff online and make money with our step-by-step guide. Maximize profit from estate sales, downsizing, or decluttering with expert tips.
Read guideJuly 5, 2026
Estate Sales Annapolis: Maximize Profit in 2026
Our 2026 guide covers local rules, pricing, and marketing for estate sales annapolis. Maximize profit with a DIY online auction!
Read guideJuly 2, 2026
Net Proceeds Calculator for Your Estate Sale: A DIY Guide
Use our guide as a net proceeds calculator for your estate sale. Learn to track income, deduct all costs, and maximize your final profit from start to finish.
Read guideGet the estate sale pricing guide
Enter your email for pricing ranges, planning notes, and a clearer path to launch.