Mastering the Estate Sale Tag for Max Profit
Unlock the secrets to a profitable event with the right estate sale tag. Learn how to design, price, and manage tags to boost sales and stay organized.
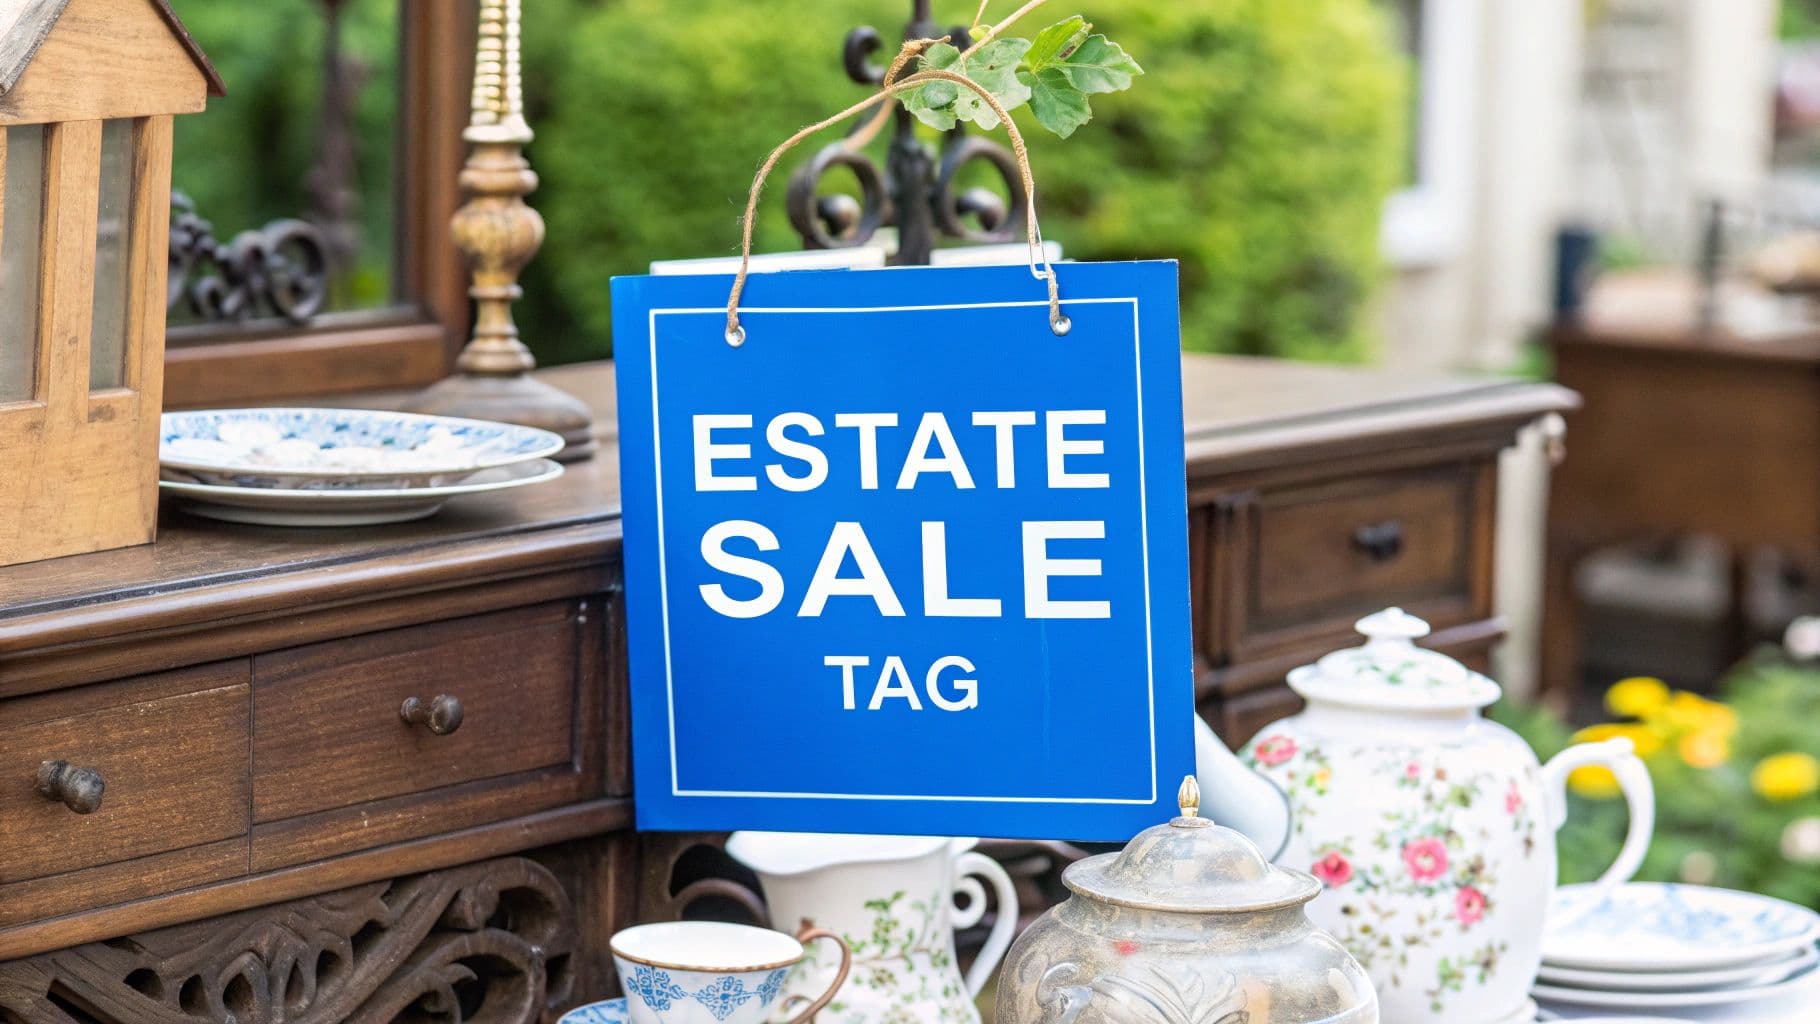
An effective estate sale tag is more than just a piece of paper—it’s the most critical tool for a profitable event. Think of it as your silent salesperson, working on every single item in the home. A well-executed tag does more than just show a price; it builds buyer confidence, cuts down on haggling, and creates a smooth, organized shopping experience that keeps people buying.
Why Your Tagging Strategy is Your Secret Weapon
That small tag is the backbone of your entire sale. A smart tagging system is what separates a chaotic, money-losing weekend from a profitable, organized event. It immediately sets a professional tone the moment a shopper picks something up.
Good tags do more than just communicate a price. They build trust and prevent that frustrating back-and-forth of endless price negotiations. When pricing is clear and consistent, buyers feel they're being treated fairly, which often leads them to purchase more. It also dramatically speeds up the checkout line, preventing annoying bottlenecks and keeping the whole sale moving.
The Foundation of a Successful Sale
Think of each estate sale tag as a tiny instruction manual. It tells the buyer what the item is, how much it costs, and maybe even a little bit about its history. This simple detail can turn a basic transaction into a much more engaging experience for the shopper.
For you, the organizer, it's the heart of your inventory control. This is especially true for bigger events. The average estate sale can last two to three days and might involve selling anywhere from 300 to 500 individual items.
The psychology is simple: When shoppers see professional, easy-to-read tags, they perceive the items themselves as more valuable and the sale as more legitimate. This perception directly translates into higher returns.
A cohesive tagging strategy is the key to a well-run event. By standardizing how you price and label everything, you create an environment where buyers can shop with confidence. For a deeper dive into setup, our guide to masterful estate sale organization provides essential tips for getting your event ready. It’s the first step toward turning clutter into cash.
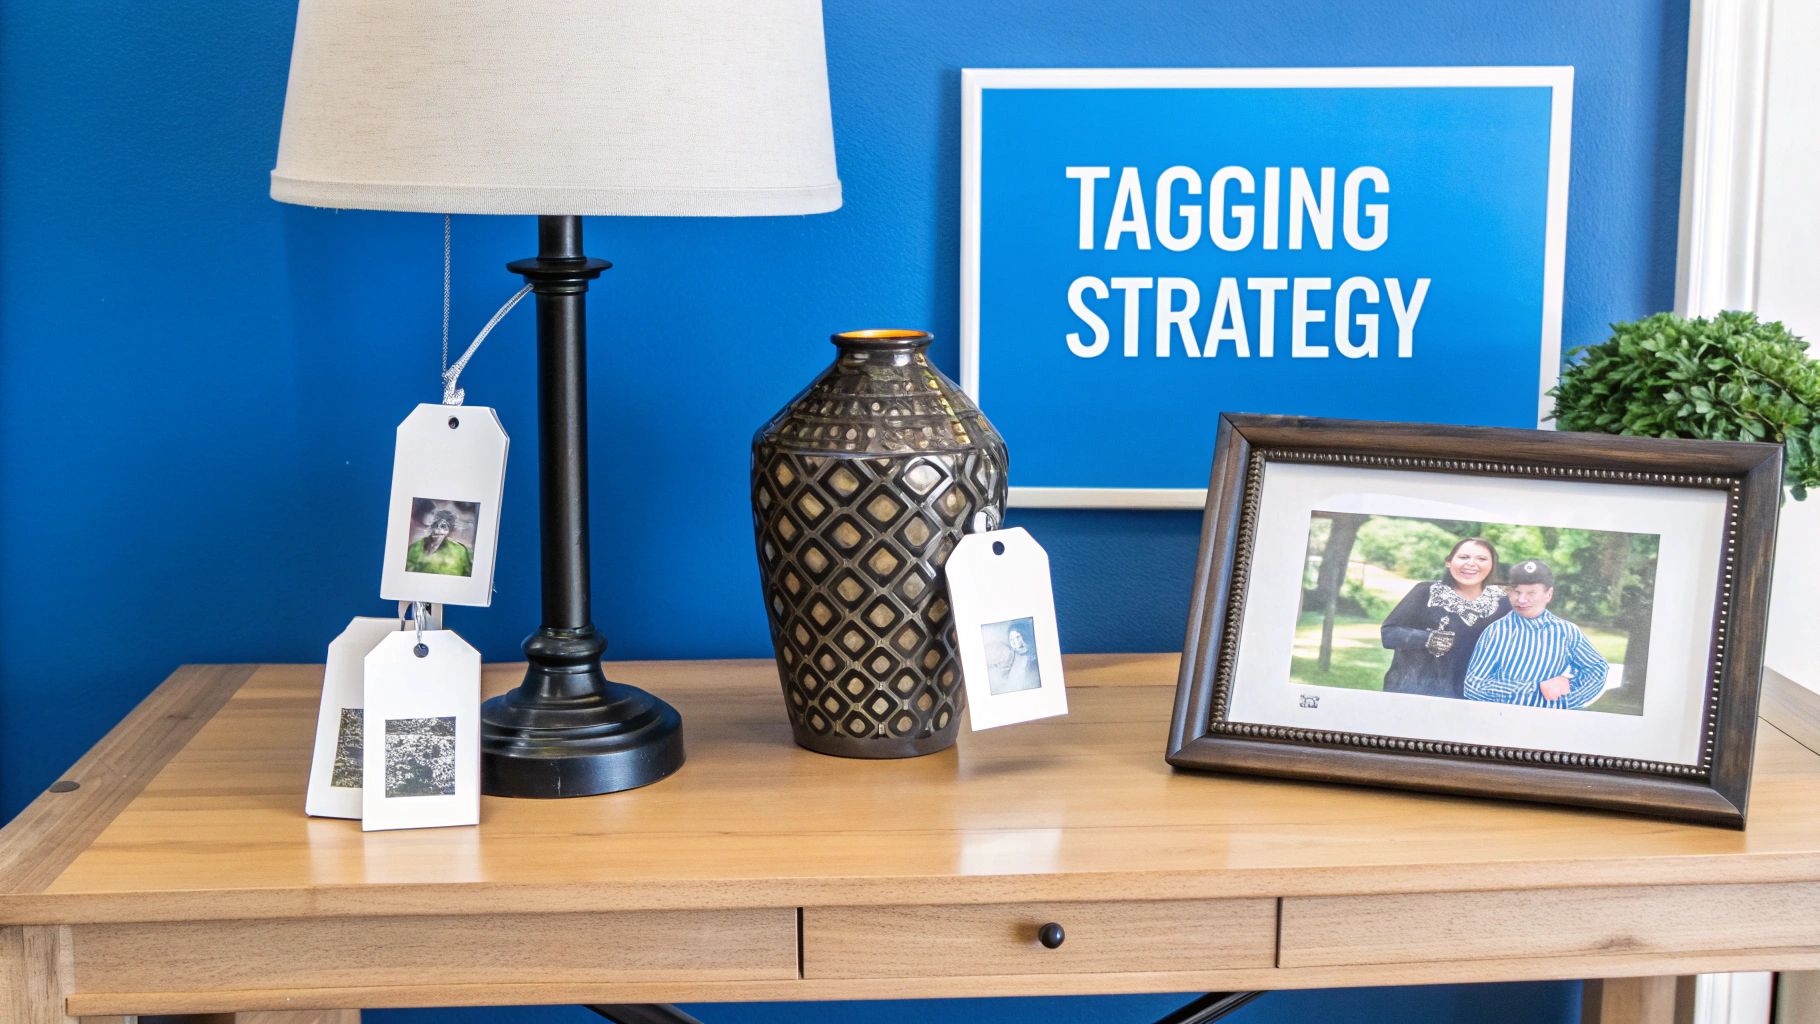
Designing Tags That Sell and Organize
The design of your estate sale tag is the bedrock of an organized, profitable event. A well-designed tag does more than just state a price; it prevents confusion, builds shopper confidence, and turns a house full of belongings into a manageable inventory. Think of it as a tiny data hub for every single item you're selling.
At a minimum, every tag needs three crucial pieces of information. The first is a unique inventory number to track what's sold. Second, a clear, easy-to-read price. Lastly, a brief item description (like "blue ceramic vase") helps your checkout team quickly confirm the tag belongs to the item in hand—a simple but effective way to deter tag-switching.
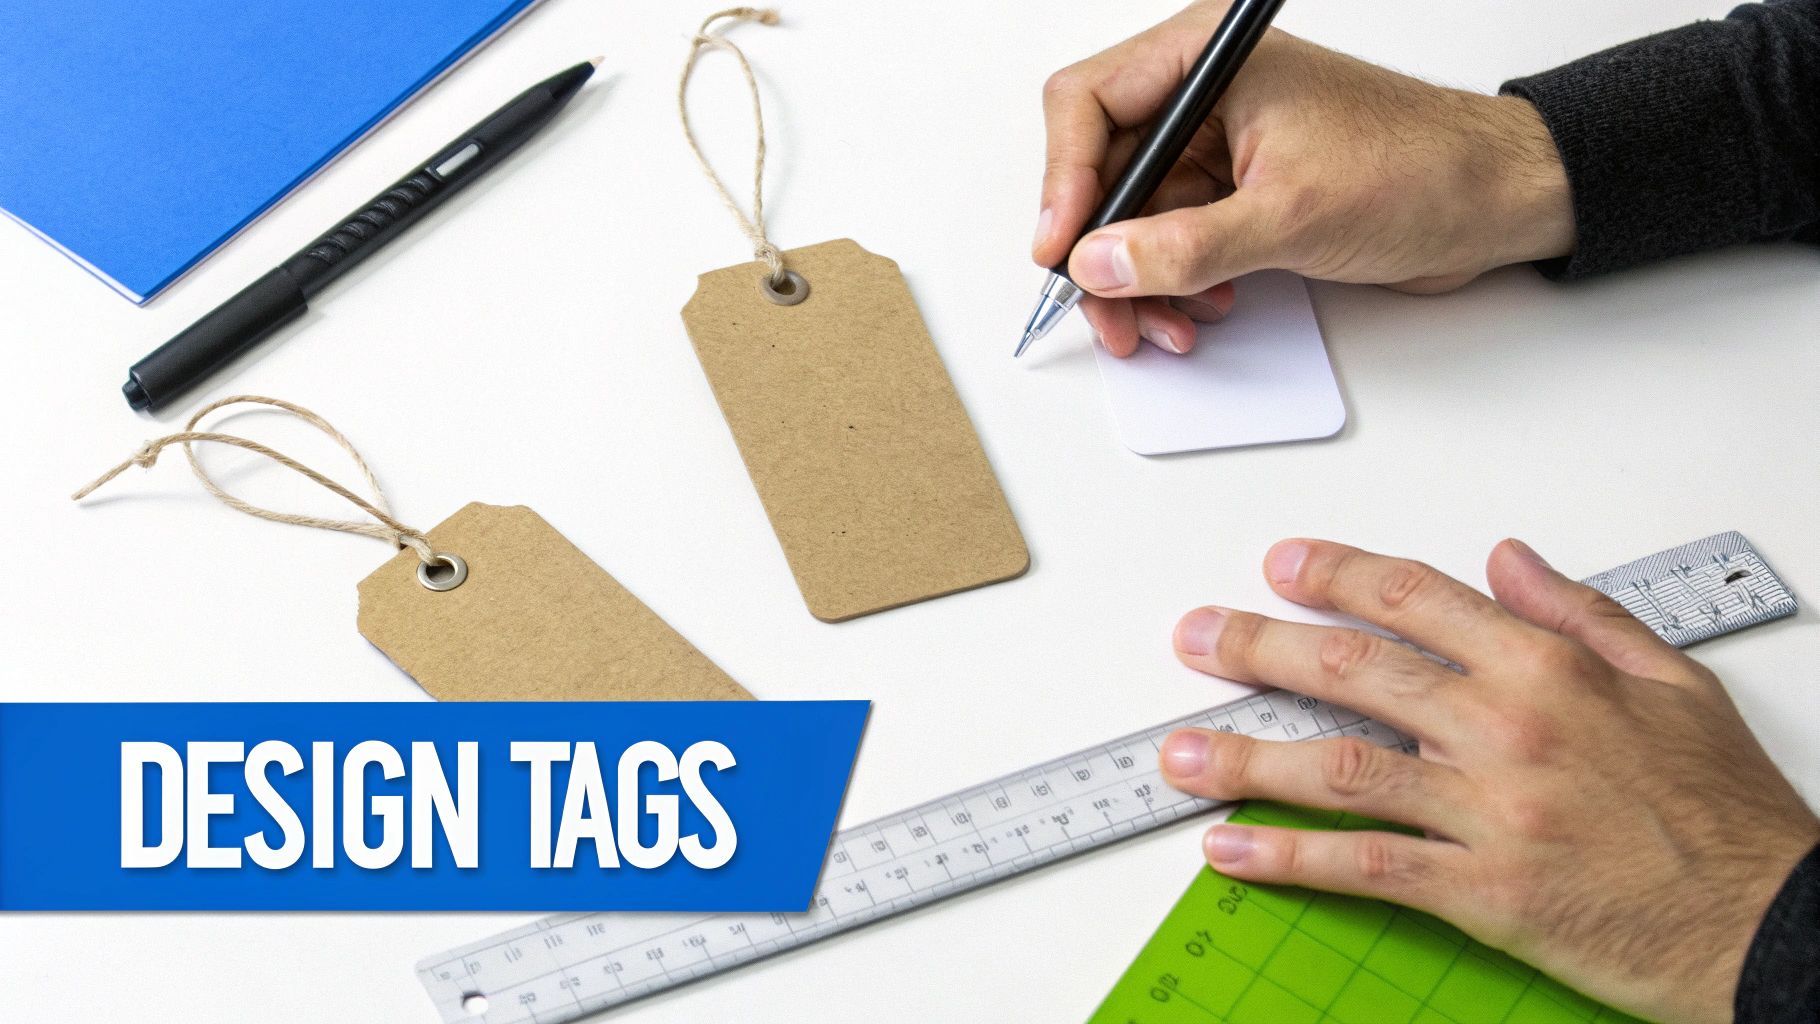
Choosing The Right Materials
The material you choose for your tags has a surprisingly big impact on your sale's efficiency. While plain cardstock is cheap, it tears easily, especially when shoppers are digging through bins or brushing past furniture. You can also burn hours cutting and punching holes, time that is much better spent on pricing and staging.
A professional, pre-strung, multi-part perforated tag is the industry standard for a good reason. The reinforced hole prevents tearing, the string saves you a ton of prep time, and the perforated stub gives you an instant sales record at checkout.
If you want a truly polished look that reflects the quality of the items you're selling, you might even consider outside help. Exploring professional label printing services can give your sale a professional edge and ensure your tags hold up under pressure.
To really nail this down, it helps to understand what each part of the tag does.
Anatomy of an Effective Estate Sale Tag
Here’s a breakdown of the key elements that make a price tag work for you, not against you.
| Element | Purpose | Pro Tip |
|---|---|---|
| Inventory Number | Tracks sales and provides a unique ID for each item. | Start at 100 or 1000 so all numbers have the same digit count, which helps with sorting. |
| Price | Clearly communicates the cost to the buyer. | Write big and legibly. $25.00 is much clearer from a distance than a tiny "25." |
| Item Description | Prevents tag switching and confirms the item at checkout. | Keep it short but specific: "Lenox China Teacup," not just "cup." |
| Firm/Discount Info | Manages shopper expectations and sale-day discounts. | Use a small symbol or colored dot. Avoid writing "FIRM" in big letters, which can feel aggressive. |
Getting these details right from the start prevents countless headaches at the checkout table.
Smart Design Choices
Beyond the basics, a few simple design choices can make a world of difference. Always use a fine-tipped permanent marker that won't smudge or bleed if it gets a little damp. An illegible price is a guaranteed way to frustrate both shoppers and your staff.
A color-coding system is another pro-level move that's easy to implement. A small colored dot in the corner can communicate a lot without cluttering the tag:
- Red Dot: Price is firm, no negotiations.
- Green Dot: Item is 25% off on Saturday.
- Yellow Dot: Item is 50% off on Sunday.
This system makes discount periods a breeze. It lets shoppers easily spot deals without you having to re-price hundreds of items overnight. An effective tag is truly your best tool for keeping the sale moving smoothly from the first customer to the last.
Strategic Pricing and Inventory Systems
Even the most beautiful tag is useless without a smart strategy behind it. When it comes to pricing, you’re walking a tightrope. Price things too high, and they’ll sit there all weekend. Go too low, and you’re just giving money away.
Your first move should always be quick, targeted research. For that antique dresser or set of collectible plates, hop on an auction site and look up sold listings. That’s the key—you want to know what people are actually paying, not just what sellers are asking.
For everyday stuff like kitchen gadgets or tools, put yourself in the shoes of a bargain hunter. What would make them grab it without a second thought? A solid rule of thumb is pricing items at 25-30% of their original retail value if they're in good shape. The goal here is to liquidate, not to get top dollar for every last spatula.
Building a Smart Inventory System
Your price tags are more than just a price—they're the heart of your inventory system. The best defense against the chaos of a busy sale is a simple, logical numbering system. Trust me, it’s a lifesaver.
One of the most effective methods I've seen is assigning number blocks to different rooms. It’s incredibly straightforward and makes tracking everything so much easier.
- Living Room: Items 100-199
- Kitchen & Dining: Items 200-299
- Bedrooms: Items 300-399
- Garage & Outdoors: Items 400-499
With this system, a glance at a tag instantly tells you where the item came from. This makes your end-of-day accounting a breeze. You can quickly see which rooms were most profitable and spot if a high-value item from, say, the living room is missing from your sales log.
A professional system does more than just organize; it builds trust. When buyers see you're running a tight ship, it signals that the sale is well-managed and gives them the confidence to spend more.
This professional touch really matters. Sales run by seasoned companies can generate anywhere from $15,000 to $50,000, and they often see 40–60% higher buyer turnout than DIY events.
To get your system running smoothly, it helps to review some best practices for inventory management. And for a deeper dive into valuation, our comprehensive estate sale pricing guide offers more specific techniques to help you price every single item with confidence.
Where to Place Tags for Maximum Visibility
A great-looking tag is useless if a shopper can’t find it. The final, crucial step is the physical placement of your tags—this directly impacts how easily people can shop and how quickly your stuff sells. You want the price to be the first thing a buyer sees, creating a smooth, no-fuss experience.
How you attach a tag is just as important as where it goes. Your number one rule? Protect the item. Never, ever slap an adhesive sticker on antique wood furniture or the cover of a valuable book. You'll risk pulling off the finish or tearing the paper when it's removed.
How to Secure Tags Without Causing Damage
Your attachment method has to match the item's material and fragility. A one-size-fits-all approach is a recipe for damaged goods and unhappy customers.
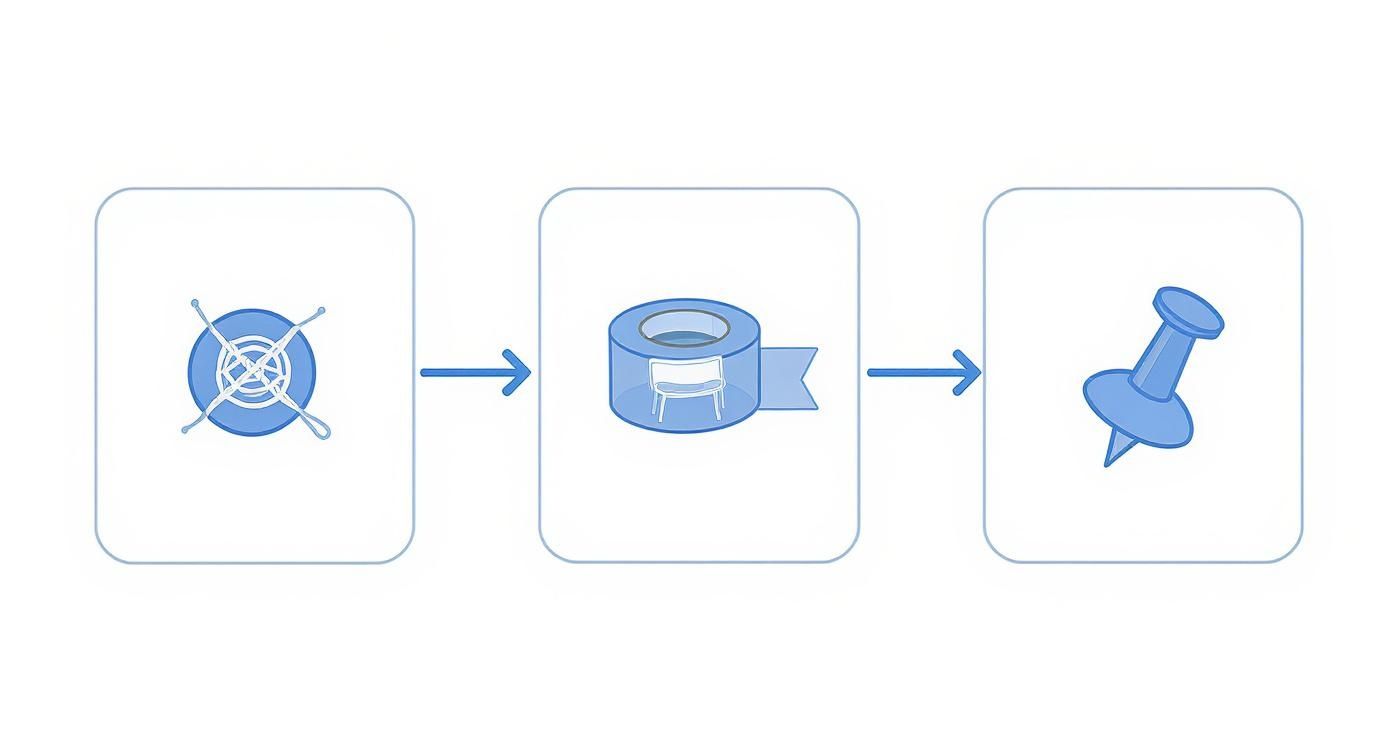
- String or Twine: This is your best friend for delicate or oddly shaped items. Just loop pre-strung tags through the handle of a teacup, around the stem of a wine glass, or through the rungs of a chair. Easy.
- Painter’s Tape: Got a finished wood surface like a dresser or dining table? Use low-tack painter's tape. It holds the tag on securely but peels off cleanly without leaving gunk behind or ruining the varnish.
- Safety Pins: These are perfect for attaching tags to clothes, linens, curtains, and any other textiles. They’re way more secure than straight pins and won’t snag the fabric.
The real pro-move here is consistency. When a shopper learns to look for the tag on the inside cover of every book or the top right corner of every picture frame, they spend less time hunting and more time buying.
This simple habit of creating a predictable system builds shopper confidence and keeps the line moving. For big-ticket items, like a designer purse or a piece of workshop machinery, think about adding a larger, more prominent sign nearby. It helps draw extra attention and you can list key features right next to your standard price tag.
Managing Your Tags and Discounts During the Sale
Once the doors open, your tagging system transforms. It’s no longer just about preparation—it's the very engine that powers your sale. This is where a simple but brilliant method like the 'pull tag' system really shines.
When you use perforated tags, your checkout team simply tears off the bottom stub for each item sold. Just like that, you have an instant, physical sales log. This completely sidesteps the need for clunky manual entry at a crowded checkout table, which means lines move faster and shoppers stay happy. Those collected stubs are your proof of every transaction, making your end-of-day accounting a breeze.
As you can see, choosing the right way to attach tags is a small detail that makes a big difference. A bit of string is perfect for delicate glassware, while a small pin works wonders on fabrics. The goal is to make sure your tags stay put without leaving a single mark on your merchandise.
Handling Discounts and Negotiations
When it comes to the later days of the sale, a clear discount strategy is your best friend for moving the last of your inventory. A common and effective approach is offering 25% off on the second day, followed by 50% off on the final day. There’s no need to run around re-tagging everything; just post signs and apply the discount at the register.
But what about items you've marked "firm"? You'll inevitably get offers. A polite but direct response is the way to go.
Here’s a script I’ve found works well: "I really appreciate your offer! We've priced this piece at its firm value for the first day, but it will be included in the discount tomorrow if it's still here."
This little script does wonders. It acknowledges the buyer's interest without giving in, setting clear expectations while keeping the tone friendly.
After the sale is over, don't just toss those pull-tag stubs! They’re not just for counting cash; they're pure data. A quick analysis will show you exactly which categories were your bestsellers. For a deeper dive into turning this sales data into smarter future planning, check out these inventory management best practices. This is the kind of insight that turns a good sale into a great one next time around.
Common Questions About Estate Sale Tags
Even with the best plan, you're going to run into weird situations that make you second-guess your tagging strategy. Figuring out these common sticking points before the doors open can save you a world of headaches when the sale is in full swing.
Having a clear answer ready builds confidence in your system and keeps things moving smoothly.
How Can I Prevent People From Switching Price Tags?
This is a classic concern, but honestly, it's pretty easy to manage with the right kind of tag. Your best defense is a two-part tag that includes a short, specific item description on the stub you keep.
When a customer brings an item to checkout, your cashier can do a quick check: does the description ("blue floral vase") match the item in their hand? This simple step stops tag-swapping in its tracks. Using permanent ink and attaching the tag securely also makes it much harder to tamper with. Some old-school pros even write the price in a second, hidden spot on the tag as a backup.
What Is the Best Type of Tag to Use?
Always, always go for multi-part or perforated tags made from sturdy cardstock. Look for ones with a reinforced hole—it really does prevent tearing. Pre-strung tags are also a huge time-saver and, in my opinion, are well worth the small extra cost.
The goal is to choose a tag that works for you, not against you. A durable, perforated tag makes checkout a breeze and is way harder for shoppers to accidentally rip off (or "accidentally" remove) compared to flimsy paper tags or stickers that lose their stick.
Should I Use a Color-Coding System?
Absolutely. It’s one of the simplest and most effective tricks in the book for managing discounts without re-tagging hundreds of items. A small colored dot sticker can communicate a ton of information at a glance.
Here’s a common setup:
- Red Dot: Price is firm. No negotiations on this one.
- Blue Dot: Item is reserved for a family member to pick up.
- Yellow Dot: This item will be 50% off on the final day.
It's so much easier to announce, "Everything with a yellow dot is now half-price!" than to go around and manually change every single tag. This keeps your discount strategy organized, and just as importantly, makes it crystal clear for your shoppers.
More guides in Estate Sale Basics
June 24, 2026
Essential Sales Performance Metrics for Auctions
Stop guessing. Learn essential sales performance metrics for your estate or online auction. Track what truly matters for profitability.
Read guideJune 23, 2026
Mastering Chain of Custody Procedures for Estate Sales
Learn to establish and maintain proper chain of custody procedures for estate sales and asset transfers. Our guide covers documentation, logs, and legal tips.
Read guideJune 22, 2026
Maximize Profit: Understanding Payment Processing Fees 2026
Master payment processing fees for your estate sale. Learn costs, see examples, and find strategies to boost profit in 2026.
Read guideGet the estate sale pricing guide
Enter your email for pricing ranges, planning notes, and a clearer path to launch.