A Modern Guide to the Perfect Estate Sales Tag
Transform your sale with a powerful estate sales tag system. Learn proven strategies for design, pricing, and digital integration for a seamless auction.
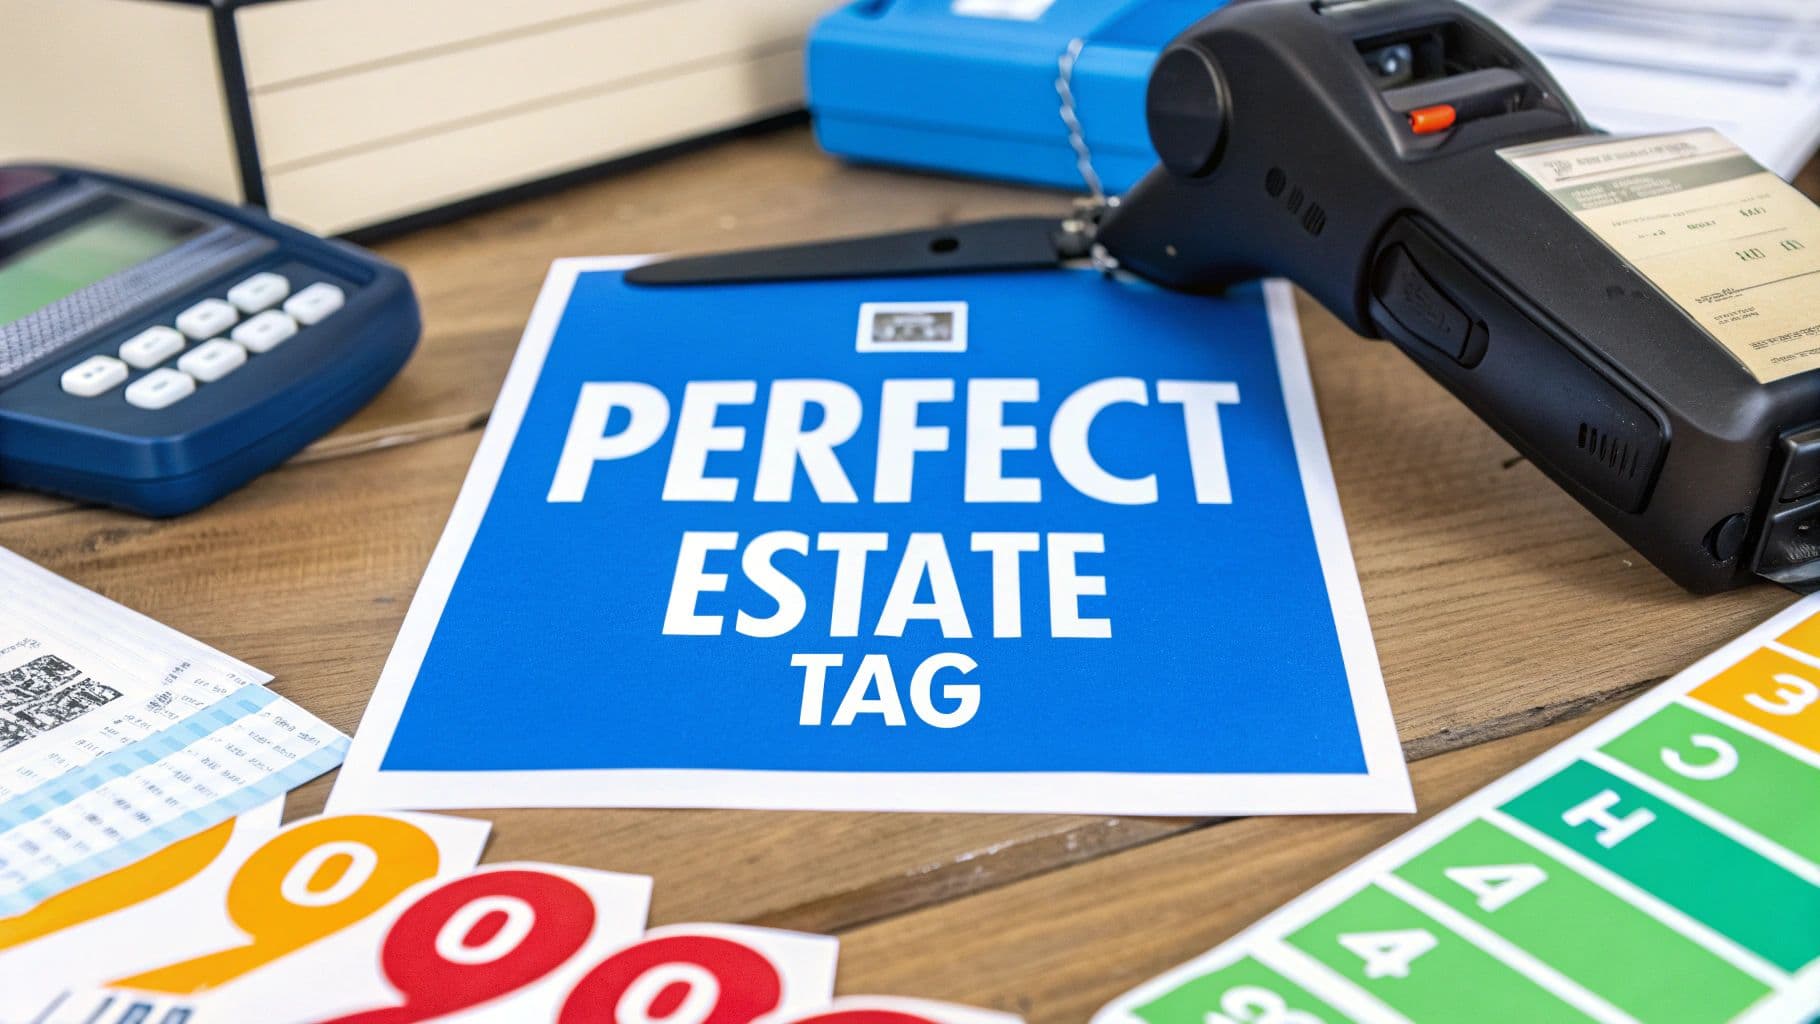
An estate sale tag is so much more than a price sticker. Think of it as the central nervous system for your entire event. A well-thought-out tagging system is what separates a chaotic, confusing sale from a smooth, professional, and profitable one.
Why Your Estate Sales Tag Strategy Matters
Let's stop thinking about tags as simple labels and start seeing them for what they are: your on-the-ground command center. A great tagging strategy prevents the classic estate sale chaos—pricing confusion, checkout bottlenecks, and endless questions from shoppers. It builds a foundation of trust and efficiency that buyers absolutely notice and appreciate.
On the flip side, poorly executed tagging can be a disaster. It leads directly to lost sales from unclear prices, frustrating delays for everyone, and even security risks like tag swapping. A smart approach directly boosts buyer confidence and your final take-home earnings. Before we get into the nitty-gritty, it's worth getting a good overview of more about estate sales and how they operate from top to bottom.
From Simple Stickers to Profit Centers
A great estate sale tag communicates everything a buyer needs to know at a single glance. When customers can easily find the price, see key item details, and understand any special conditions (like "price firm" or "as-is"), they're far more likely to make a confident purchase. This kind of clarity is absolutely critical, especially when you're coordinating online bids with in-person pickups through a platform like DIYAuctions, where consistency is everything.
You can just picture it: a busy sale with shoppers everywhere. Clear, well-organized tags are what allow people to browse efficiently and make decisions.
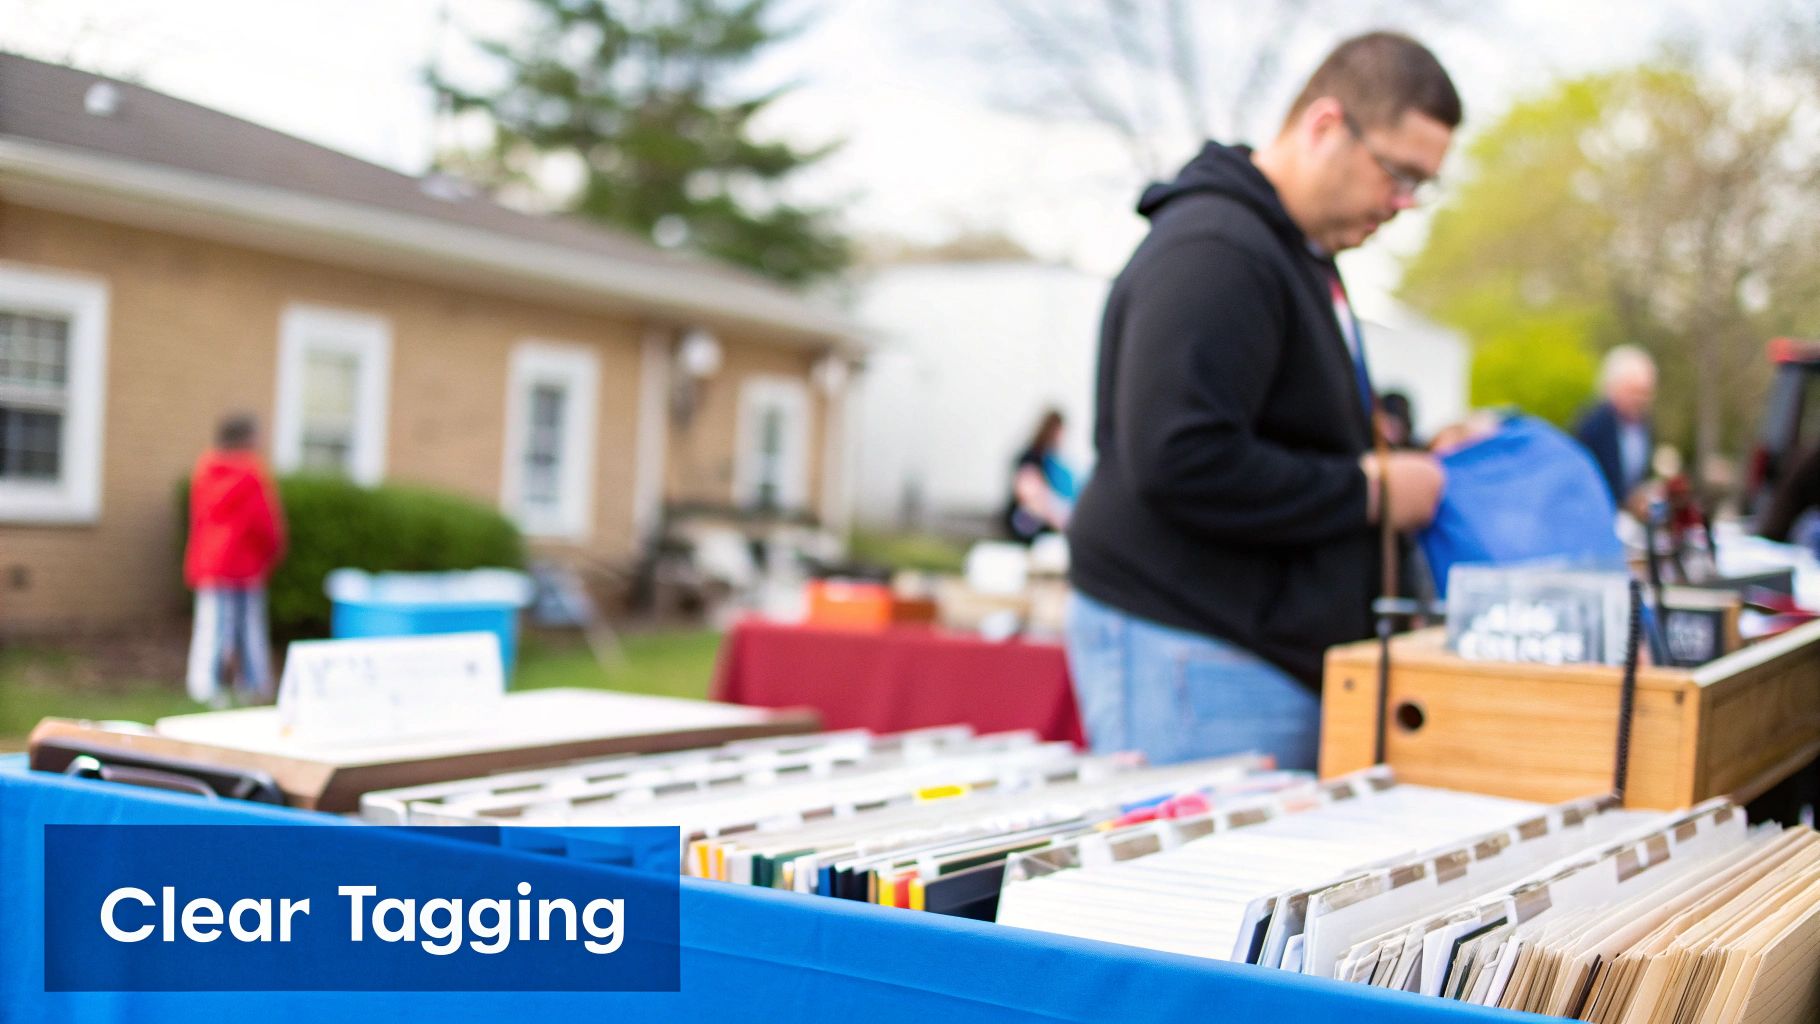
The photo above perfectly illustrates how visible, easy-to-read tags let shoppers assess items on their own, without having to track you down for every single question. This doesn't just make for a better customer experience; it frees you up to actually manage the sale.
Your tagging system isn't just an organizational tool; it’s a direct reflection of your sale's professionalism. A clear, consistent tag tells buyers you are organized, trustworthy, and serious about the process, encouraging them to spend more.
This is especially true when dealing with high-value goods. Today’s buyers are actively looking for quality items, from fine art to designer furniture and collectibles. A professional tagging and inventory system signals that you're handling these valuable assets with the care they deserve.
Ultimately, your tagging strategy connects directly to strong https://www.diyauctions.com/learn/inventory-management-best-practices, which is the cornerstone of maximizing your returns.
Designing a Tag That Actually Works
Let’s get practical. A good estate sale tag does more than just show a price—it’s a silent employee that communicates vital information at a glance. When you get the design right, you prevent confusion, speed up the checkout line, and ultimately put more money in your pocket.
Forget about fancy, over-the-top designs. Clarity is king. Your goal is a tag that’s simple, scannable, and consistent. Every single tag needs a few core elements to ensure both you and your buyers know exactly what’s going on.
Core Components of Every Tag
Think of these as the non-negotiables. If you miss one, you’re creating a future headache for yourself during the busiest part of the sale.
- Unique Item Number: This is your tag’s most important job. It’s the direct link between a physical item and your records, especially your online catalog on a platform like DIYAuctions. A simple 001, 002, 003 sequence is perfect.
- Clear Price: Make it big. Make it bold. Use a dark pen. The last thing you want is a shopper squinting to see if that lamp is $15 or $75.
- A Short Description: Just a few words are all you need. "Vintage Blue Glass Vase" or "Oak End Table" does two things: it confirms the price belongs to that item and helps prevent tag swapping.
- Key Notes: This is your space for critical details. A simple "As-Is" on a wobbly chair or "Price Firm" on a high-value collectible manages expectations right from the start.
You don't need to be a graphic designer to pull this off. A basic template made in a free tool like Canva is all it takes to look professional and stay organized.
The Power of a Color-Coding System
Once you’ve nailed the basics, color-coding is where you can get strategic. It’s a dead-simple visual shortcut that gives you incredible control over your sale without saying a word.
Imagine a packed house on a Saturday morning. Instead of fielding the same questions over and over ("Is this negotiable?"), your colors do the talking for you. This simple trick dramatically cuts down on confusion and keeps the line moving at checkout.
A smart color system acts as a silent salesperson, answering shoppers' questions about pricing flexibility before they even have to ask. This simple visual cue keeps the sale flowing and gives you effortless control over negotiations.
Here’s a real-world example of a color system you could use:
| Tag Color | Meaning | On-Site Action |
|---|---|---|
| Blue | Price is negotiable. | Shoppers know they can make a reasonable offer. |
| Yellow | Price is firm. | Prevents haggling on items with set values. |
| Green | Belongs to a consignor. | Helps you easily track sales for different parties. |
| Red Dot | 50% off on the final day. | A quick way to mark down items without re-tagging everything. |
This kind of visual shorthand isn't just for buyers. It empowers your team—even if it's just family helping out for the weekend—to know the rules for every item at a glance. It’s a small detail that makes a world of difference when you’re managing the chaos of a busy event.
Connecting Your Tags to Your Online Catalog
This is where the rubber meets the road—where your physical tags and your digital catalog come together. That simple, unique number you put on each tag is the critical link between the antique lamp in the living room and its online listing on DIYAuctions. Getting this right is what makes a sale feel seamless and professional for everyone involved.
A clean, sequential numbering system is your best friend here. Just start at 001 and go up from there. It seems obvious, but it prevents a world of confusion later. That number on the physical estate sales tag must perfectly match the item ID in your online catalog. No exceptions. This ensures that when an item sells, you know exactly which one it is.
Elevating the Buyer Experience with QR Codes
Want to take your sale to the next level? Add QR codes to your tags. A quick scan with a smartphone can take a shopper from looking at the item in person directly to its detailed online listing. It's a small touch that makes a huge difference.
This simple bit of tech makes the whole experience more interactive. Buyers can immediately see more photos, read the full story behind an item, check the current bid, and even place their own bid right there on the spot. It turns passive browsing into active buying.
By linking your physical tags to an online catalog, you give buyers instant access to more information. A well-placed QR code can turn a moment of curiosity into a confident purchase, boosting both engagement and your final sale prices.
Imagine a shopper looking at a vintage dresser. The tag has the price, but a quick QR scan pulls up its history, precise measurements, and close-up photos of the drawer pulls they might have missed. That extra context is often the final nudge someone needs to decide "I have to have this."
Mapping Your Tags to DIYAuctions Listings
Think of your physical tag as the headline and your online listing as the full story. The information needs to be consistent, with the unique item number acting as the bridge between them.
This simple diagram breaks down the three core parts of a great estate sale tag.
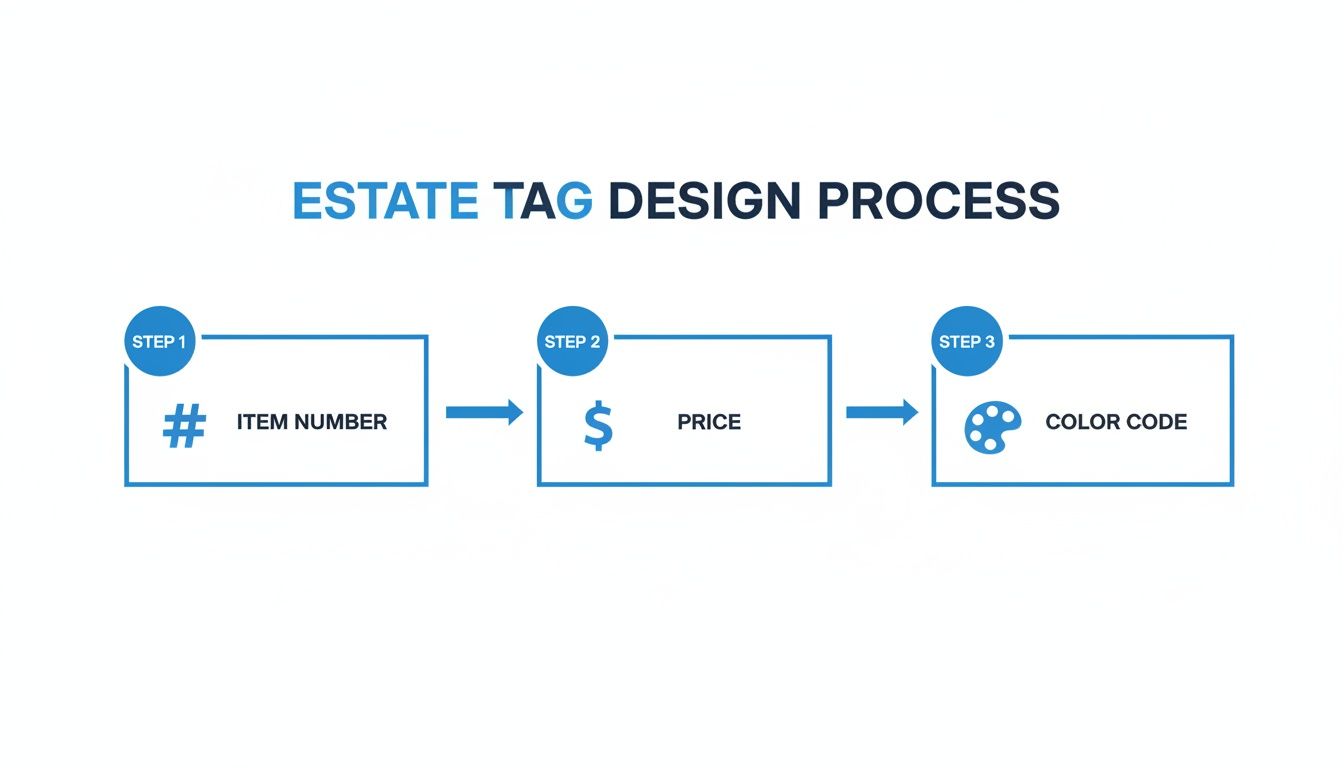
As you can see, it all starts with that unique number, followed by a clear price and a color code for at-a-glance organization. Here’s a more detailed look at how each piece of your tag corresponds directly to your digital listing.
Mapping Tag Information to Your DIYAuctions Listing
See how information on a physical tag corresponds directly to fields within a DIYAuctions online item listing to ensure perfect consistency.
| Physical Tag Element | DIYAuctions Listing Field | Purpose and Best Practice |
|---|---|---|
| Unique Item Number | Item ID / Lot Number | The primary key linking the physical and digital item. Must be identical. |
| Short Description | Item Title | Use a concise title on the tag (e.g., "Mid-Century Armchair") and expand in the listing. |
| Price | "Buy Now" or Starting Bid | Ensure the price on the tag matches the online price to maintain buyer trust. |
| Color Code/Notes | Item Description | Mention any special conditions (e.g., "Price Firm," "As-Is") in the description. |
| QR Code | N/A (Links to Listing) | Add the unique listing URL to a QR code generator and place the image on your tag template. |
This systematic approach guarantees accuracy and builds shopper confidence. If you're just getting started, exploring the features of a dedicated online auction application can give you a great feel for setting up your digital catalog effectively. In the end, it’s that consistency between the physical and digital that makes your sale feel buttoned-up and professionally run.
Printing and Assembling Tags Without the Headache
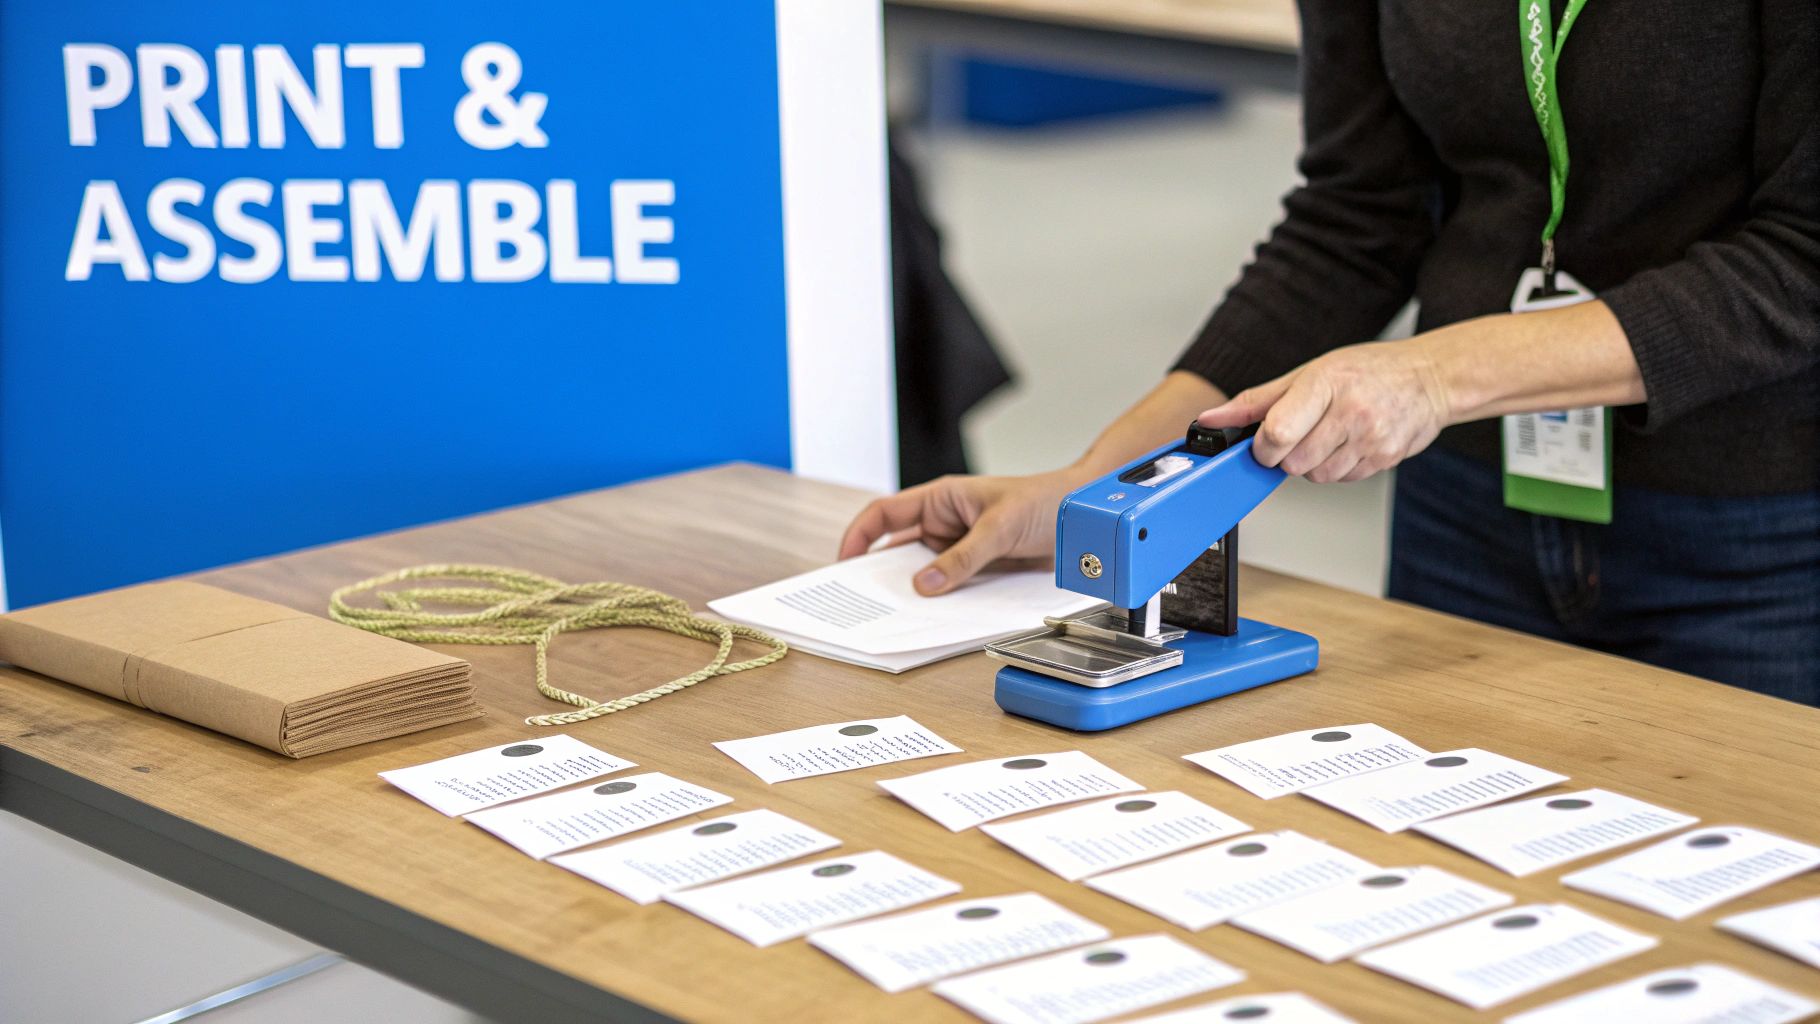
With your design locked in and your numbering system sorted, it's time to bring your tags to life. This is where all that digital planning becomes a real, tangible tool for running a smooth sale. You’ve got a couple of solid options for printing, and the best choice really comes down to your budget and how polished you want the final product to be.
Printing them yourself at home on heavy cardstock is easily the most direct, budget-friendly route. It gives you total control, which is great for any last-minute changes or additions. For a more professional feel that will stand up to hundreds of hands touching them, a service like Vistaprint is a great alternative. The quality is a noticeable step up, and it saves you a ton of time cutting everything out.
Gathering Your Assembly Supplies
Whether you print at home or have it done professionally, you’ll need a few key tools to get your tags assembled and ready to go. My advice? Get everything laid out before you start. Think of it as your own mini production line.
Here’s your basic toolkit:
- A Quality Paper Punch: Don't go cheap on this. A sturdy, sharp hole punch will give you a clean cut every single time, especially on thicker cardstock.
- Durable String or a Tagging Gun: Classic string is versatile and works for just about anything. But if you’re dealing with a lot of clothing or linens, a tagging gun is an absolute lifesaver.
- Smudge-Proof Pens: For any handwritten prices or notes, a fine-point permanent marker is non-negotiable. You can't have prices smudging or becoming illegible halfway through the sale.
If you find yourself running sales often, it might be worth investing in dedicated equipment. This ultimate guide to label printer machines is a fantastic resource for figuring out what tools could really speed up your process.
Pro Tips for Attaching Tags
How you attach an estate sales tag is just as important as what's on it. The goal is simple: make it secure without damaging the item you’re trying to sell.
A smart attachment strategy does more than just hold a tag in place—it protects your merchandise and shows buyers you care about the items. It’s a small detail that speaks volumes about the quality of your sale.
You'll want to change up your method based on what you're tagging:
- For delicate antiques like porcelain or glassware, loop your string loosely around a handle, leg, or base.
- For fabrics like clothing, curtains, or upholstered furniture, the tagging gun is your best friend. It’s incredibly fast and leaves a tiny, non-damaging hole, usually right in a seam or existing label.
- For books or framed art, I always recommend low-tack, removable stickers. Place them on the back of a book or the glass of a frame to avoid any damage to paper or wood finishes.
Organizing Your Pickup Day for a Smooth Finish
All that careful tagging and organizing really pays off on pickup day. This is where your system shines, turning what could be a frantic scramble into a smooth, professional experience for every single buyer. The whole operation runs on that unique number you placed on each estate sale tag.
When a buyer arrives, the process is wonderfully simple. They'll show you their digital receipt from DIYAuctions, which lists the exact item numbers they've won. Your team can then walk right to each item by matching those numbers to your physical tags. It completely removes the guesswork and makes sure everyone leaves with precisely what they paid for.
Establishing a Secure Pickup System
To keep things secure and avoid any mix-ups, you need a solid verification process. One of the most effective methods I've seen involves using two-part perforated tags for more significant items. When a buyer comes to collect their purchase, you just tear off the bottom half of the tag—the part with the matching item number.
You hang onto this stub as a physical record that the item was picked up. This creates an undeniable paper trail, confirming the right person took the right item. It’s a tiny step that adds a huge layer of security and accountability to your sale.
Your pickup day workflow is the final impression you leave. A fast, accurate, and secure process not only prevents costly mistakes but builds a reputation that brings people back to your future sales.
It also makes a massive difference if you arrange items strategically beforehand. Grouping everything by category (like all kitchenware in the dining room) is good, but arranging items in numerical order is even better. It can drastically cut down on how long it takes to find things. When someone shows up for items #112, #113, and #245, you’ll know exactly where to go.
Preventing Errors and Managing Flow
As the pickup window gets busy, keeping your staging area organized is absolutely essential. I always recommend designating a specific spot near an exit for all the sold and paid-for items. This simple trick prevents them from getting mixed back in with unsold inventory and makes the final handoff quick and painless.
A few more tips that always help:
- Set up a Check-Out Station: Have a dedicated table where you can greet buyers, check their receipts on a phone or tablet, and pull their corresponding tag stubs.
- Bring in Help: If you’re expecting a lot of winners, having at least one person dedicated to retrieving items while another manages the check-out line is a lifesaver.
- Keep Things Moving: Gently remind buyers in your pickup instructions to bring their own boxes and packing materials and to have their vehicles ready to load.
A smooth operation is especially important in a hot market. For example, recent shifts in monetary policy are creating a more active buyer environment, meaning you could see a higher volume of transactions. You can find more insights on these global real estate market trends at Redpincompany.com and see how they might impact buyer turnout. Being organized ensures you can handle that extra demand without breaking a sweat.
And when all the items are finally gone, our comprehensive estate cleanout checklist will guide you through the final steps of wrapping everything up.
Common Questions About Estate Sale Tags
Even the most organized sale runs into odd situations. It's just part of the process. Having a game plan for these common tagging headaches will save you a ton of stress when you're in the thick of it.
Think of it as troubleshooting before the trouble starts. From pricing a massive set of china to managing those final-day discounts, knowing how you'll handle these scenarios keeps your sale professional and running smoothly.
How Should I Tag a Set of Items Like Dishes?
When you’re selling a set—like a full dinner service—the last thing you want is for pieces to get separated. The best approach is to use one primary estate sales tag for the whole collection.
Make that main tag count. It should clearly state the total price and exactly what's included (e.g., "$120 – Dinner Service for 8, 42 Pieces"). Attach this tag to the most prominent item in the set, like the serving platter. Then, to keep everything together, place small stickers with just the unique item number on a few other key pieces. This simple trick prevents a single teacup from getting sold on its own by mistake.
In your DIYAuctions listing, make sure you photograph the entire set together and list out every single piece in the description. Total clarity prevents any confusion for your buyers.
What Is the Best Way to Handle Discounts?
Avoid the temptation to scribble over prices with a marker. Messy, crossed-out tags look unprofessional and can lead to arguments at the checkout table. A far cleaner way to manage sale-wide discounts is with brightly colored dot stickers.
It's simple: just announce that all items with a red dot are now 50% off. Buyers can see it at a glance, and it’s incredibly easy for your team to track.
A consistent discount system, like colored dots, maintains the integrity of your original pricing and makes final-day markdowns fast and efficient. It avoids the sloppy look of handwritten changes and ensures every buyer gets the correct price.
This is even easier for your online listings. Inside your DIYAuctions dashboard, you can just edit the price directly. The change happens instantly for all online shoppers, keeping your in-person and digital prices perfectly in sync.
What Do I Do with Tags for Paid Online Items?
Once an item sells online, you need to make sure it doesn't get accidentally sold again to someone in person. This happens more than you'd think.
The moment you get a "sold" notification from DIYAuctions, go find the item. The most effective method is to place a big, bold "SOLD" sticker or a dedicated sold tag right over the original price. I also like to jot down the buyer's name or invoice number on that sold tag.
Then, immediately move the item to a designated "sold/pickup" area, well away from the main sales floor. This system is absolutely essential for running a smooth, single-day pickup event and prevents those awful mix-ups that disappoint buyers.
Should I Remove Tags from Unsold Items After the Sale?
Yes, absolutely. Once your sale is over, take the time to pull the tags off any unsold merchandise. It’s a critical final step.
Think about it—if you decide to donate the items, take them to another venue, or even just keep them, the old tags will only cause confusion down the line. Spending a few minutes to remove them gives each item a clean slate for its next chapter and helps you wrap up your event in an organized, tidy way.
More guides in Estate Sale Basics
July 6, 2026
How to Sell Stuff Online and Make Money: A 2026 Estate Guide
Learn how to sell stuff online and make money with our step-by-step guide. Maximize profit from estate sales, downsizing, or decluttering with expert tips.
Read guideJuly 5, 2026
Estate Sales Annapolis: Maximize Profit in 2026
Our 2026 guide covers local rules, pricing, and marketing for estate sales annapolis. Maximize profit with a DIY online auction!
Read guideJuly 2, 2026
Net Proceeds Calculator for Your Estate Sale: A DIY Guide
Use our guide as a net proceeds calculator for your estate sale. Learn to track income, deduct all costs, and maximize your final profit from start to finish.
Read guideGet the estate sale pricing guide
Enter your email for pricing ranges, planning notes, and a clearer path to launch.