A Guide to Running a Profitable Home Appliance Auction
Turn your used appliances into cash. Our guide to running a profitable home appliance auction shows you how to prep, list, and sell for the highest bids.
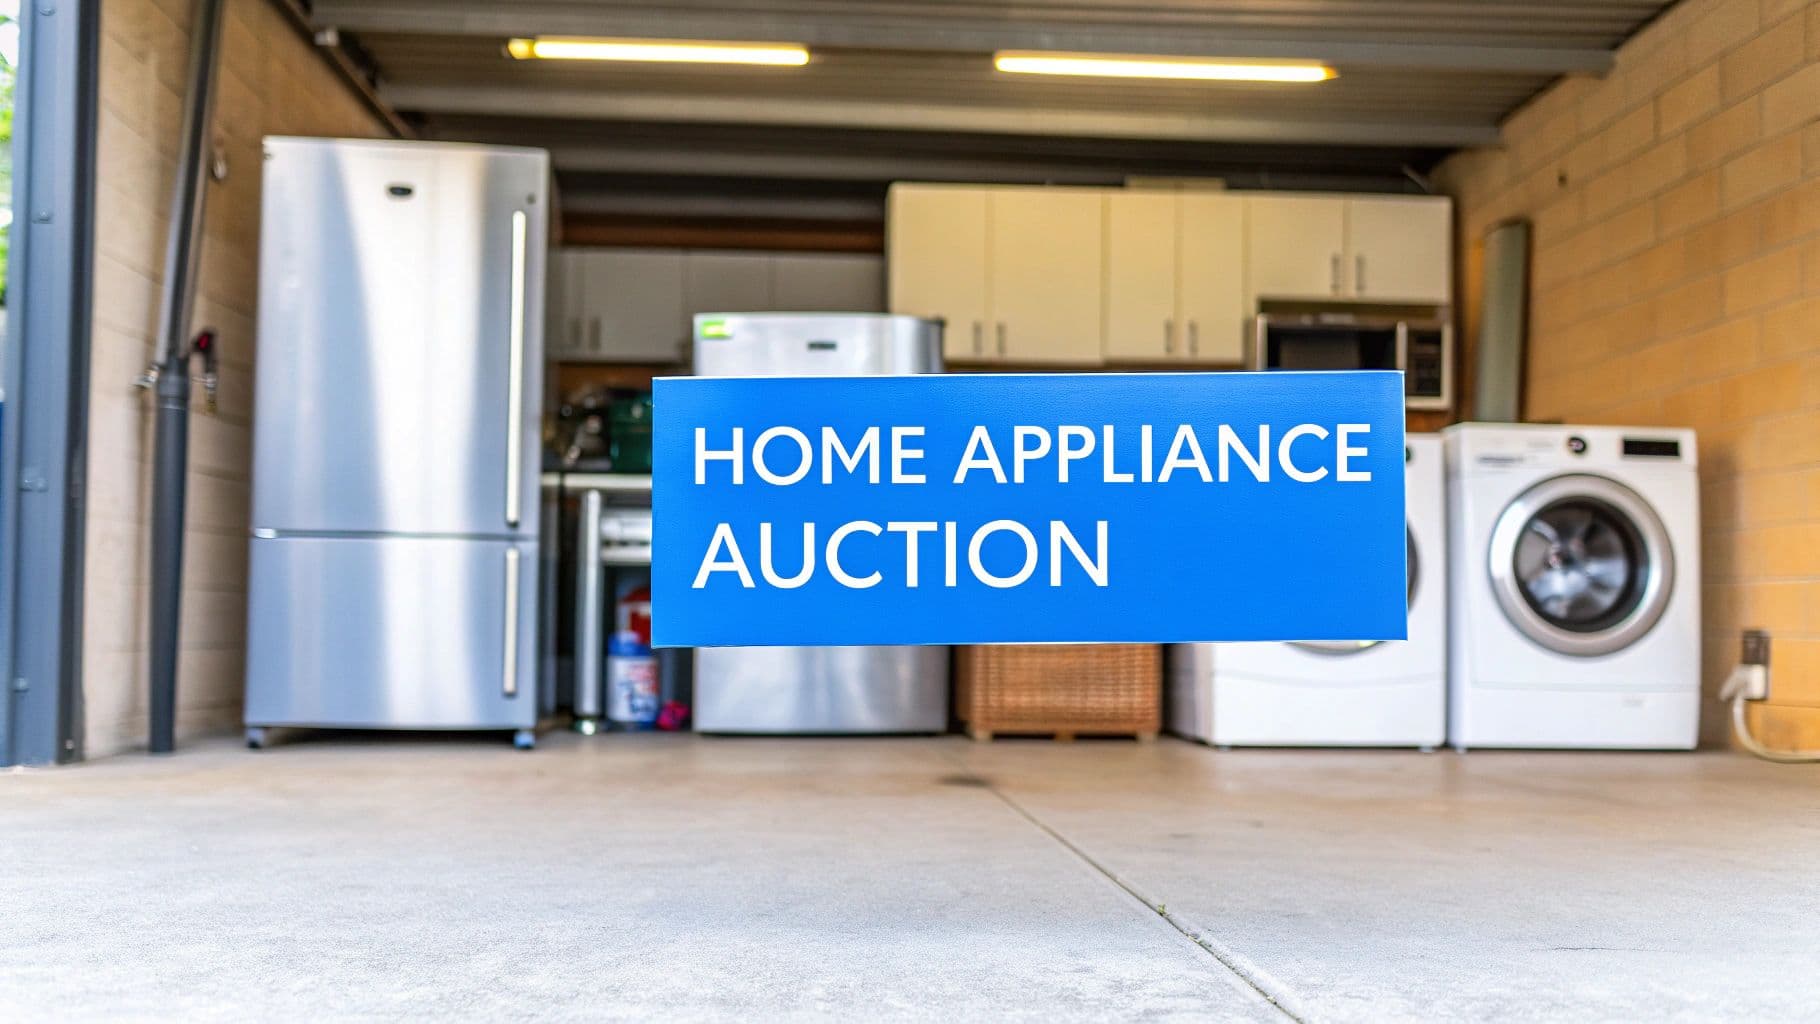
Got a perfectly good refrigerator that just doesn't fit the new kitchen? Or maybe a washer and dryer set left over from an upgrade? You're not just looking at a logistical headache—you're looking at a real cash opportunity. A DIY home appliance auction puts you in the driver's seat, letting you skip the lowballers and connect directly with motivated buyers ready to bid.
Why a Home Appliance Auction Makes Sense Right Now
Let's be honest, the usual ways of selling used appliances can be a total pain. Tossing a listing on a classifieds site or social media marketplace often means wading through a sea of ridiculous offers, endless haggling, and the classic "I'll be there in an hour" no-show. It's a process that can seriously undervalue your items and, frankly, waste a ton of your time.
A home appliance auction flips that entire script.
By creating a competitive bidding environment, you let the market decide what your items are really worth. Instead of you chasing down buyers, you'll have motivated bidders competing against each other. This dynamic often drives the final price well above what you'd get from a simple fixed-price listing, especially for popular brands and well-maintained units.
The Financial Upside of Auctioning Appliances
The market for secondhand goods is absolutely massive and it's only getting bigger. The U.S. home appliance market is a giant, valued at an estimated $129.83 billion in 2024, and auctions are becoming the go-to for savvy homeowners looking to sell during a move, downsizing, or liquidation. This isn't a niche trend; it's a huge opportunity to tap into strong demand for quality used goods.
Modern platforms like ours make the whole thing incredibly straightforward. You get the tools to:
- Maximize Your Profits: Keep the vast majority of the final sale price. You avoid the huge commissions that traditional consignment shops or estate sale companies take.
- Attract Serious Buyers: The auction format itself weeds out the time-wasters. The people bidding are there because they genuinely want to buy.
- Streamline the Logistics: You can manage everything—from listing to payment and pickup—all in one organized place. No more chaotic DMs and texts from a dozen different people.
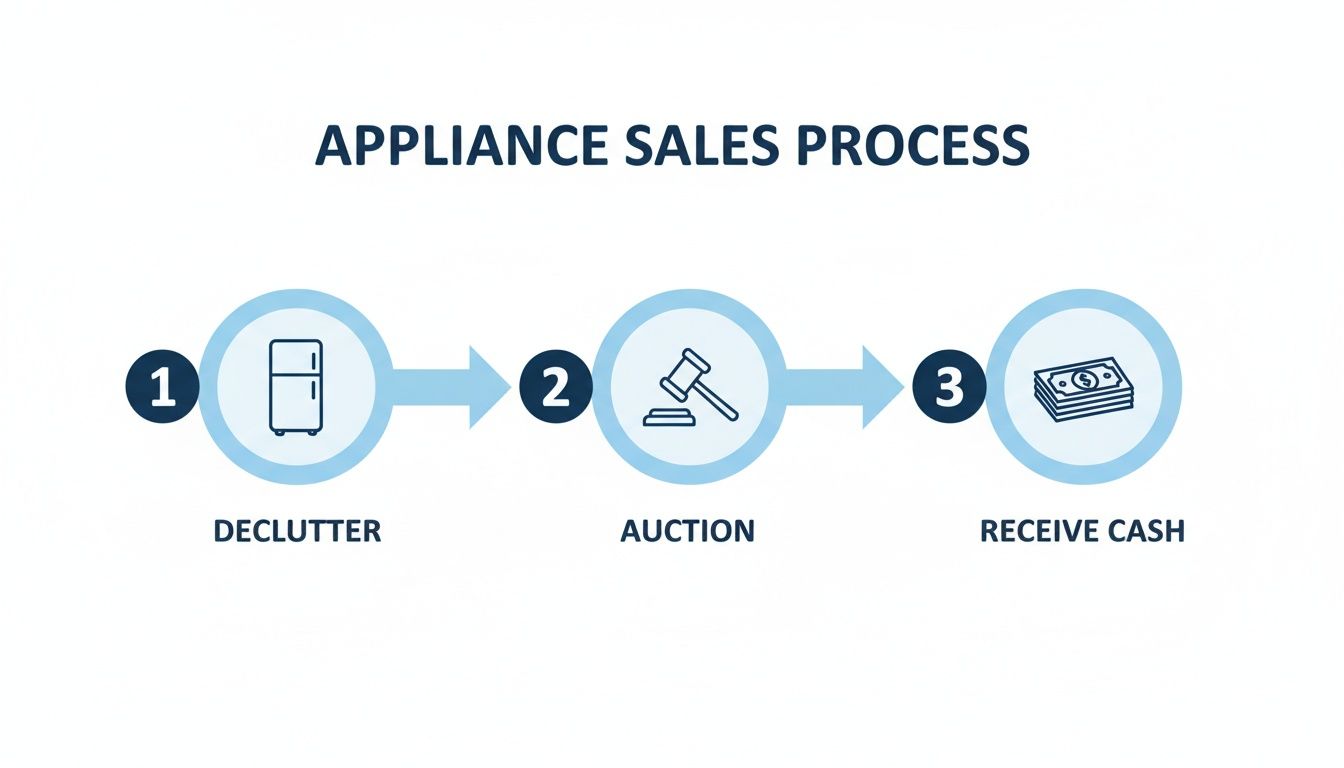
By taking control of the sale, you're not just getting rid of an old appliance; you're essentially running a small, profitable venture right from your home. The auction model ensures you get fair market value, determined by actual, real-time demand.
Ultimately, choosing an auction is about being efficient and profitable. Of course, for items that might not be in selling condition, it's always smart to look into appliance recycling options. But for everything else, an auction transforms that surplus appliance from a burden into a financial win. You can learn more about this approach in our comprehensive guide to running a successful https://www.diyauctions.com/learn/household-items-auction.
How to Prepare Appliances for Maximum Bids
What’s the difference between a disappointing final bid and a full-blown bidding war? More often than not, it all comes down to preparation. When you’re running a home appliance auction, presenting items that look, feel, and function reliably is the name of the game.
This isn’t about trying to make a ten-year-old fridge look like it just came off the showroom floor. It's about building trust with your bidders and showing them that your item is a smart, solid purchase. A little effort upfront signals that you’ve taken care of the appliance, and that perception alone can lead directly to higher bids and a much faster sale.
The Foundation: A Thorough Deep Clean
First impressions are everything, especially online. A grimy oven door or a refrigerator covered in dusty fingerprints can instantly tank an appliance's value in a buyer's mind. A deep clean is your single most powerful tool for boosting its perceived worth.
Start with the basics. For stainless steel, a simple mix of mild dish soap and warm water, followed by a rinse and polish with a microfiber cloth, works wonders. Just be sure to avoid abrasive cleaners that can leave behind ugly scratches. If you need some pointers, check out these excellent spring cleaning tips for your home appliances.
This simple process helps transform your old appliances from household clutter into valuable auction assets.
Performing Essential Function Tests
Once an appliance is sparkling clean, you’ve got to prove it works as well as it looks. Bidders will have questions, and being able to answer them with confidence builds incredible credibility.
Put yourself in a potential buyer's shoes and test the core functions of every appliance.
- Refrigerators & Freezers: Pop a thermometer inside for a few hours. Is it holding a safe temperature? Don't forget to check the ice maker and water dispenser.
- Ovens & Ranges: Fire up every burner to make sure they all heat up properly. For the oven itself, test the bake, broil, and convection settings. Oh, and make sure the interior light works!
- Dishwashers: Run a complete cycle. Listen for any weird noises and give it a once-over for leaks. Make sure the spray arms spin freely and the racks slide out without a fight.
- Washers & Dryers: Toss in a small load of towels and run a full cycle. Test the different settings, especially the spin cycle. For the dryer, confirm it heats up and the drum tumbles smoothly.
Making a note in your listing that you've performed these tests adds a layer of professionalism that separates you from the casual sellers.
Adding Value with Minor Fixes
Look, you don't need to be a certified repair technician. But tackling small, obvious issues can have a huge impact on the final sale price. We're talking about fixes that cost next to nothing but remove a major reason for a buyer to hesitate or lowball you.
Here are a few high-impact, low-effort repairs to consider:
- Replacing a burnt-out oven light or microwave bulb.
- Tightening a wobbly refrigerator door handle.
- Ordering a missing knob for the stove or a new silverware basket for the dishwasher.
- Touching up minor dings and scratches with a manufacturer-approved paint pen.
These little touches show a level of care that bidders truly appreciate—and are often willing to pay more for.
Remember, every small flaw you fix is one less objection a potential bidder has. Your goal is to make it as easy as possible for them to picture your appliance in their own home.
The Final Touch: Assembling the Complete Package
Before you grab your camera, take a moment to gather all the paperwork and accessories that came with the appliance. This is such a simple step, but it dramatically boosts buyer confidence and reinforces the item's value.
Hunt down these items:
- Original User Manual: This saves the new owner a ton of hassle.
- Warranty Paperwork: Even if it's expired, it provides a history of the item.
- Original Receipts: Helps establish the appliance's age and what it originally cost.
- Extra Parts & Accessories: Think extra dishwasher racks, that oven probe you never used, or spare refrigerator water filters.
Presenting a complete package shows the appliance has been thoughtfully maintained from day one. This final step, combined with your cleaning and testing, gets your item ready to fetch the highest possible price. Now, it's time to capture all that hard work with great photos. To learn how, check out our guide on how to take professional product photos.
Crafting Auction Listings That Attract Bidders
You’ve cleaned, tested, and prepped your appliances. Now it's time to create the digital storefront where your hard work pays off. A compelling auction listing is more than just a title and a price—it's your master sales pitch, working 24/7 to build trust and drive bids.
Think of it this way: your listing has to do all the heavy lifting of a traditional salesperson. It needs to showcase features, highlight value, and give buyers the confidence to commit. Getting this right is the difference between an okay result and a fantastic one.

And make no mistake, the opportunity is huge. The global home appliances market hit a staggering $503.03 billion in 2024 and is projected to climb to nearly $675.73 billion by 2030. A growing piece of that pie is the secondary market, where platforms like ours connect sellers like you with motivated buyers. You can dig into the numbers yourself in this comprehensive industry report.
The Art of Strategic Photography
Before a potential bidder reads a single word, they’ll judge your appliance by the photos. It’s just human nature. Dark, blurry images can make a pristine machine look like junk, while bright, clear photos can make a well-loved item feel like a bargain.
Your goal is to tell a complete visual story. Don’t just snap a single picture of the front and call it a day. Serious buyers want to see everything.
- Let There Be Light: Natural light is your best friend. Set up near a window, but try to avoid harsh, direct sunlight that causes glares. If you're stuck inside, use a couple of lamps from different angles to kill any weird shadows.
- The 360-Degree Tour: Capture the front, back, sides, and top. Then, open the doors to show off the interior—shelves, drawers, ice makers, the works. For a stove, that means the cooktop and the inside of the oven.
- Get Up Close and Personal: Take a picture of the control panel, any accessories, and—this is a big one—the manufacturer's tag showing the model and serial number. This is gold for savvy buyers who want to look up the exact specs and age.
- Show the Scars: It feels wrong, but trust me on this. If there’s a noticeable scratch or dent you plan to mention, take a clear, well-lit photo of it. This builds instant credibility.
Being transparent with your photos isn't just about being honest. It's a power move. By showing the flaws, you prove you have nothing to hide, which makes bidders trust everything else you say even more.
Writing Descriptions That Build Unshakeable Trust
Once your great photos have hooked a bidder, the description seals the deal. This is where you fill in the blanks, manage expectations, and really sell the item. A vague line like "Used fridge, works good" just screams low-effort and attracts lowball offers.
Instead, get organized. A clear, scannable format makes you look professional and helps buyers find the info they need fast.
Every solid description should have these key pieces:
- Brand and Model: Get specific right away. E.g., "Whirlpool 25 cu. ft. French Door Refrigerator - Model WRF555SDFZ."
- Age and History: If you know it, share it. "Purchased new in 2019, used in a smoke-free home by one owner."
- The Tape Measure Test: Always provide the height, width, and depth. This is a deal-breaker for buyers who have a tight space to fill.
- The Honest Condition Report: This is where honesty pays off big time. Instead of "some wear and tear," be specific. Try something like, "Fully functional. There's a minor 2-inch scratch on the left side door (see photo #8) and a small crack in one of the crisper drawers."
Being upfront about the little things heads off any potential disputes later. A buyer who feels misled is a headache waiting to happen. A buyer who knows exactly what they're getting is a happy customer.
The Power of a Detailed Listing
To really see the difference, let's compare a weak listing with a strong one. The gap between them can mean hundreds of dollars in the final sale price.
Appliance Listing Comparison Good vs Bad Examples
The table below shows just how much impact the details have. A weak listing creates questions and doubt, while a strong one provides answers and builds confidence, leading to more aggressive bidding.
| Listing Element | Weak Listing Example | Strong Listing Example |
|---|---|---|
| Title | "Used Stove" | "GE 30" Freestanding Electric Convection Range - Model JB735SPSS" |
| Photos | 2 dark photos, one of the front, one of the inside. | 10 bright photos showing all angles, the model tag, cooktop, oven interior, and a close-up of a small scratch on the side. |
| Description | "Works great. Needs a good cleaning. Pick up this weekend." | "Purchased in 2020. All burners and oven functions (bake, broil, convection) tested and working perfectly. Features self-cleaning oven and a fifth warming zone. Dimensions: 30" W x 47" H x 28.75" D. Minor scratch on the right side panel, not visible from the front." |
| Keywords | stove, oven, kitchen | home appliance auction, GE electric range, convection oven, freestanding stove, self-cleaning oven |
See the difference? The strong example gives a bidder everything they need to know. It removes all the guesswork and hesitation. This level of detail doesn't just attract more bidders; it attracts better bidders who are willing to pay a premium because they know exactly what they’re getting.
Smart Pricing and Timing Strategies for Your Auction
Figuring out the right price for your home appliance auction is a delicate dance. If you start too high, you'll scare off potential bidders before the action even begins. But if you start too low without a plan, you might leave cash on the table.
The secret is to generate excitement from the very first bid.
The psychology behind an auction is a powerful thing. A super low starting bid—even just $1—acts like a magnet. It completely removes the barrier to entry, turning casual browsers into active bidders. Once someone places that first easy bid, they're psychologically invested. They've got skin in the game, and they’re far more likely to come back and bid again.
This initial flurry of activity signals to everyone else that your appliance is in demand. It creates a natural feedback loop that often pushes the final price way past what a higher, more intimidating starting bid ever would have achieved. It feels like a gutsy move, but it's one that consistently pays off by sparking a bidding war right from the start.
Finding Your Pricing Sweet Spot
While a low starting bid is fantastic for getting things moving, you still need a solid idea of your appliance's actual market value. This is where a little bit of homework makes all the difference.
Spend some time digging into what similar items have actually sold for. Your goal is to ground your expectations in reality.
Check out recently completed auctions for the same or similar models on platforms like DIYAuctions or even eBay. Make sure you're looking at the final sale price, not just what people were asking.
When you're doing your research, keep these details in mind:
- Brand and Age: A five-year-old Bosch dishwasher is in a completely different ballpark than a ten-year-old Kenmore.
- Condition: Look for listings that described appliances with similar wear and tear to yours. How did dings, scratches, or other signs of use impact the final price?
- Location: Local demand is a real factor. An extra chest freezer might fetch a higher price in a rural area with homesteaders than in a city where apartments are tiny.
This data gives you a clear picture of what real buyers are willing to pay today.
A reserve price is your safety net. It’s a hidden minimum price that must be reached for the item to sell. If the bidding doesn’t hit your reserve, you’re not obligated to complete the sale.
Think of a reserve as your insurance policy for high-value appliances where you absolutely can't risk a low outcome. But use them carefully. Setting a reserve too high can kill momentum just as fast as a high starting price. For a deeper look at valuation, our guide on pricing strategies for estate sales is a great resource.
Strategic Timing for Maximum Exposure
Beyond price, when your auction runs is just as important. You want your items in front of the maximum number of eyeballs when people are actually online and ready to shop. Launching an auction in the middle of a Tuesday workday is asking for a slow start.
The best time to start and end a home appliance auction lines up with when people are relaxing at home.
- Best Days to End: Sunday and Monday evenings are prime time. People are unwinding from the weekend and scrolling on their devices.
- Optimal End Times: Try to have your auction close between 7 PM and 10 PM in your local time zone. This sweet spot catches bidders after dinner but before they’ve called it a night.
A standard auction length of 7 to 10 days usually hits the mark. It’s long enough to get plenty of visibility and attract serious bidders, but short enough to create a sense of urgency.
The global household appliances market is booming, expected to grow from $648.52 billion in 2024 to $897.16 billion by 2029. Timing your auction perfectly helps you tap into that strong demand. You can learn more about these market trends and opportunities.
Managing a Flawless Auction Day and Pickup
The final countdown has begun. All your hard work preparing, photographing, and listing your appliances has led to this moment—the live auction and the pickup. This final stage is all about execution.
Smooth logistics, clear communication, and a secure handover will make sure your home appliance auction ends on a high note, leaving both you and your buyers happy.
Nailing this phase transforms a potentially chaotic day into a streamlined, professional transaction. It reinforces the trust you’ve built with bidders and solidifies your reputation, encouraging them to jump into your future sales.
Navigating the Live Auction Finale
As the clock winds down, get ready for a spike in activity. This is when bidders come up with last-minute questions that could make or break their decision to place that final, winning bid. Your responsiveness here is everything.
Be ready to answer questions quickly and publicly through the auction platform’s messaging system. I’ve seen the same types of questions pop up time and time again:
- Final measurements: Someone will always need to double-check if your fridge will fit through their narrow hallway.
- Power requirements: Is that electric dryer a 3-prong or 4-prong cord? Be ready with the answer.
- Pickup assistance: Bidders need to know if they have to bring their own muscle for heavy lifting.
Answering these promptly doesn't just help one person; it informs all the other watchers and can spark even more bidding. A seller who is engaged and helpful in the final hours is one that buyers feel confident dealing with.
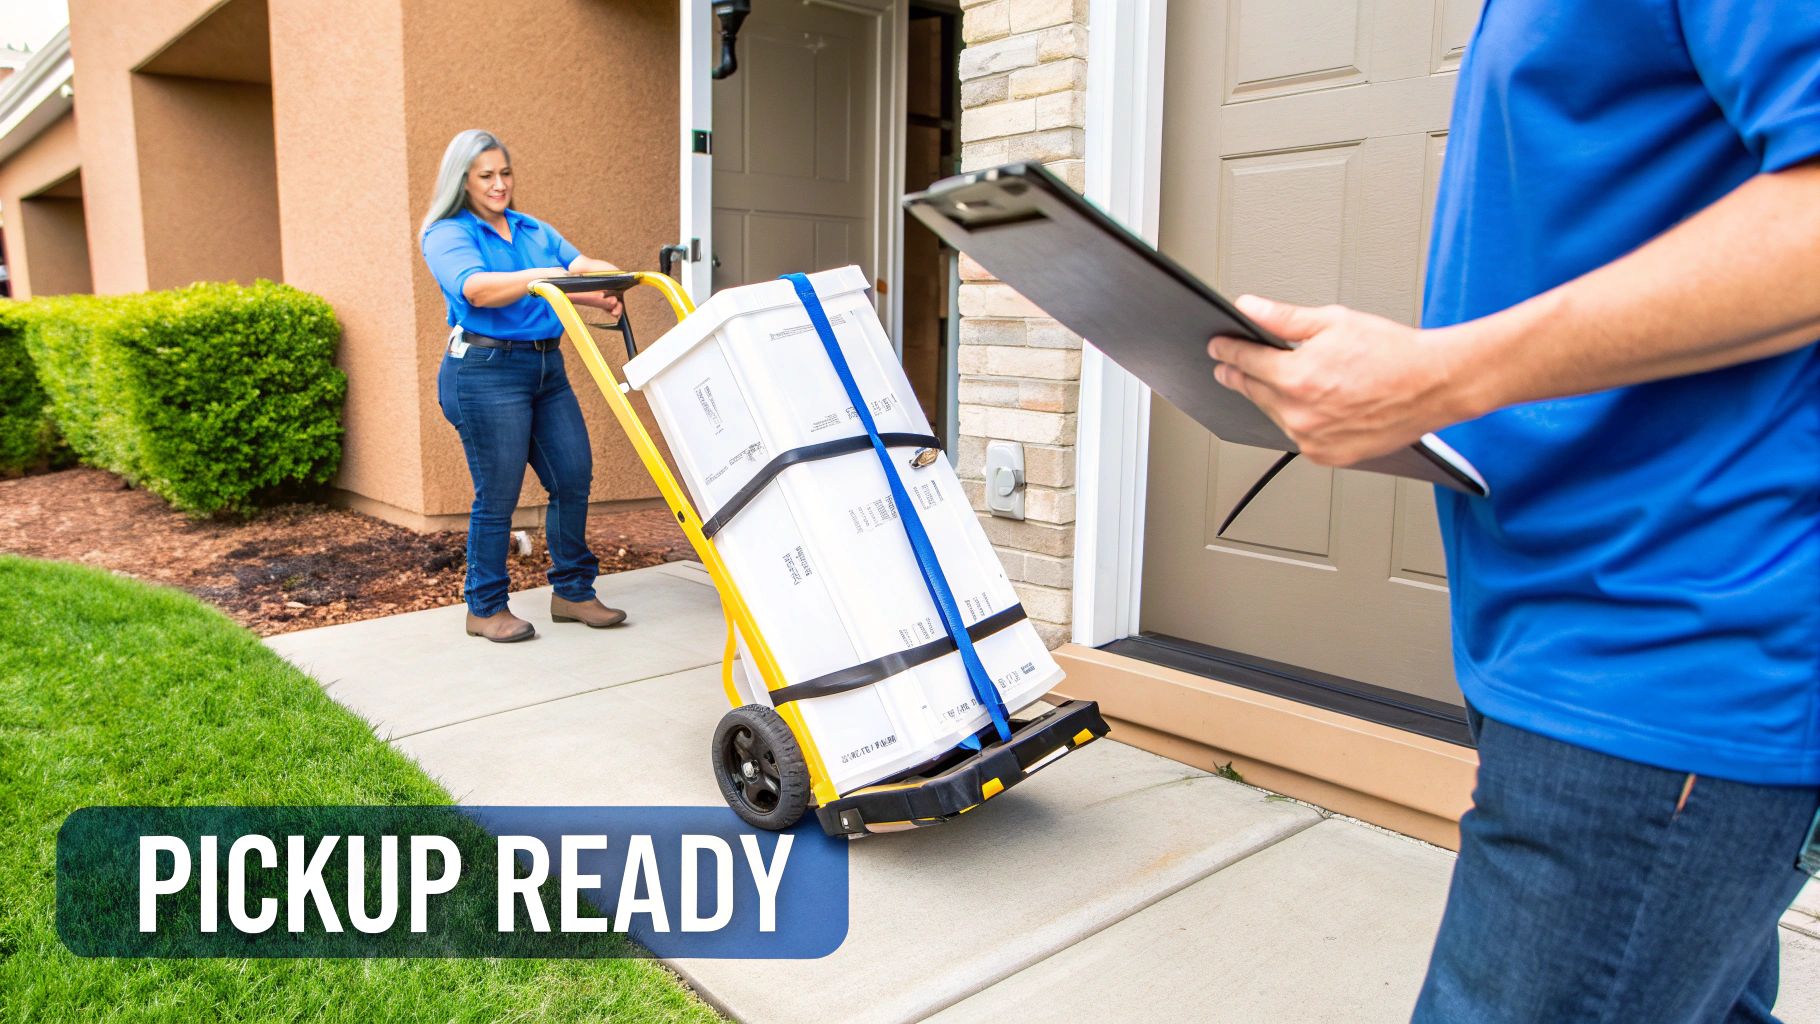
Organizing a Secure and Staggered Pickup
Once the auction ends and the winners are declared, it's time to coordinate the handoff. The key to a stress-free pickup day is simple: structure. Don't leave it as a free-for-all. Schedule pickup windows for each buyer.
This simple step prevents a logistical and security nightmare of multiple strangers with large trucks showing up at your home at once. Instead, offer specific time slots—for instance, the washer/dryer set is Saturday between 10 AM and 12 PM, and the freezer is from 1 PM to 3 PM. It’s an organized system that respects everyone’s time.
The most successful sellers over-communicate. A detailed post-auction email to each winner should include everything they need to know—no assumptions. This single act prevents 90% of potential pickup day problems.
Think of your instruction email as the buyer's playbook. It needs to clearly state:
- The full pickup address.
- Their confirmed time slot.
- A reminder to bring an appropriately sized vehicle.
- Instructions to bring their own help, dolly, and straps.
- Your contact number for any day-of issues.
Clarity at this stage is non-negotiable.
Preparing for a Safe and Smooth Handover
On pickup day, your goals are safety and efficiency. Before anyone arrives, do a final walkthrough. Make sure appliances are unplugged, disconnected from water lines, and ready to go.
Clear a path from the appliance to the exit. Move any furniture, rugs, or anything else that could be a trip hazard. The last thing you want is a buyer damaging their new appliance—or your home—on the way out. Having your own dolly or a few moving blankets on hand is a nice touch, even if you’ve told buyers to bring their own.
When the buyer arrives, verify their identity against the winner's information before a single thing gets moved. A quick check of their name and the item they won is a simple but critical security step.
This is where a platform like DIYAuctions provides incredible peace of mind. All payments are handled securely online, which completely eliminates the risks that come with cash. You don’t have to handle money, deal with last-minute haggling, or worry about bounced checks.
The item is already paid for. You can focus solely on a safe and efficient handover. That built-in financial security is a cornerstone of a modern, successful home appliance auction.
Common Questions About Home Appliance Auctions
Even with the best prep work, questions always pop up during a live auction. Being ready for them is the key to keeping your sale running smoothly and finishing strong.
Think of these last-minute inquiries as a good thing. A quick, confident, and helpful answer can be just the push a hesitant bidder needs to place their bid, helping you get the best possible price for your appliances.
How Should I Handle Last-Minute Technical Questions?
It's almost a guarantee. With just hours left on the clock, a bidder will ask a super-specific question—the decibel level of a dishwasher or the exact interior capacity of a freezer. Don't panic.
First, double-check your own photos. The answer is often right there on the model number tag you (hopefully) photographed. If a bidder asks for the model number and you've already posted it, you can just politely point them back to the photo gallery.
For trickier questions, a quick Google search of the model number usually brings up the manufacturer's original spec sheet. You can often find a direct link and share it with the bidder.
Pro Tip: Never, ever guess. If you can't find a concrete answer, it’s much better to say, "I'm not 100% certain, but here is the model number (Model XYZ) so you can look up the detailed specs." Honesty builds more trust than a wrong answer ever will.
This tactic shows you're transparent and helpful, but it also puts the final verification on the buyer—something serious bidders actually appreciate.
What if the Winning Bidder Backs Out?
This is a huge fear for first-time sellers, but it happens a lot less than you'd think, especially on a real auction platform. The whole process of registering and bidding tends to weed out the casual, non-serious crowd.
But if a winner does go silent, your next move depends on the platform. Most auction sites have a clear game plan for this.
Typically, the process looks like this:
- Reach Out: Send a polite message or two through the platform, reminding them about their winning bid and the payment deadline.
- Report the Bidder: If they don't respond, report the non-paying bidder. This protects you and usually puts a strike on their account.
- Second Chance Offer: Many platforms, including DIYAuctions, let you offer the item to the next-highest bidder. This can save you from having to relist everything from scratch.
Using a managed platform like DIYAuctions is your best defense here. Because our system handles the secure payments, we confirm the funds before you ever schedule the pickup. This pretty much eliminates the risk of someone backing out or trying to haggle with you on your doorstep.
How Do I Manage Buyer Expectations for Pickup?
The hand-off is where things can get tricky. Clear communication right after the auction is just as important as a great listing. The single biggest headache during pickup is a buyer showing up unprepared—like trying to fit a French door refrigerator into a tiny sedan.
Your post-auction instructions are your best friend here. Be crystal clear about what the buyer is responsible for.
Your pickup message should explicitly state that:
- The item is sold "as-is, where-is."
- The buyer is 100% responsible for bringing their own muscle for lifting and moving.
- The buyer must bring their own dolly, straps, or any tools they might need.
- The buyer is responsible for any damage to your property during removal.
Reiterating these points protects you and forces the buyer to come prepared. It sets a professional tone and makes it clear that your part of the deal is done. This firm-but-fair approach leads to a much smoother and safer pickup for everyone.
More guides in Online Auction Platform
June 2, 2026
10 Best Online Silent Auction Sites for 2026
Find the best online silent auction sites for your needs. We compare 10 top platforms for nonprofit fundraising, estate sales, and personal asset liquidation.
Read guideMay 30, 2026
A Complete Guide to Online Auctions in Cincinnati Ohio
Your expert guide to finding, bidding on, and running profitable online auctions in Cincinnati Ohio. Learn local logistics, pricing tips, and how to sell.
Read guideApril 18, 2026
Mastering Kitchen Appliances Auctions
Maximize profit at kitchen appliances auctions! Our expert guide teaches you to prepare, price, and sell appliances for downsizing or estate management.
Read guideGet the estate sale pricing guide
Enter your email for pricing ranges, planning notes, and a clearer path to launch.