How to Take Professional Product Photos That Sell
Learn how to take professional product photos with our guide. Master your camera, lighting, and editing to create stunning images that drive e-commerce sales.
Taking killer product photos isn't about some secret trick. It's about nailing the fundamentals—your camera settings, lighting, and background—to build a consistent, high-quality look that sells. You'll need to get comfortable shooting in manual mode, understand how settings like aperture and ISO work together, and use a simple, clean setup to make your product the hero.
Mastering Your Camera and Photography Setup
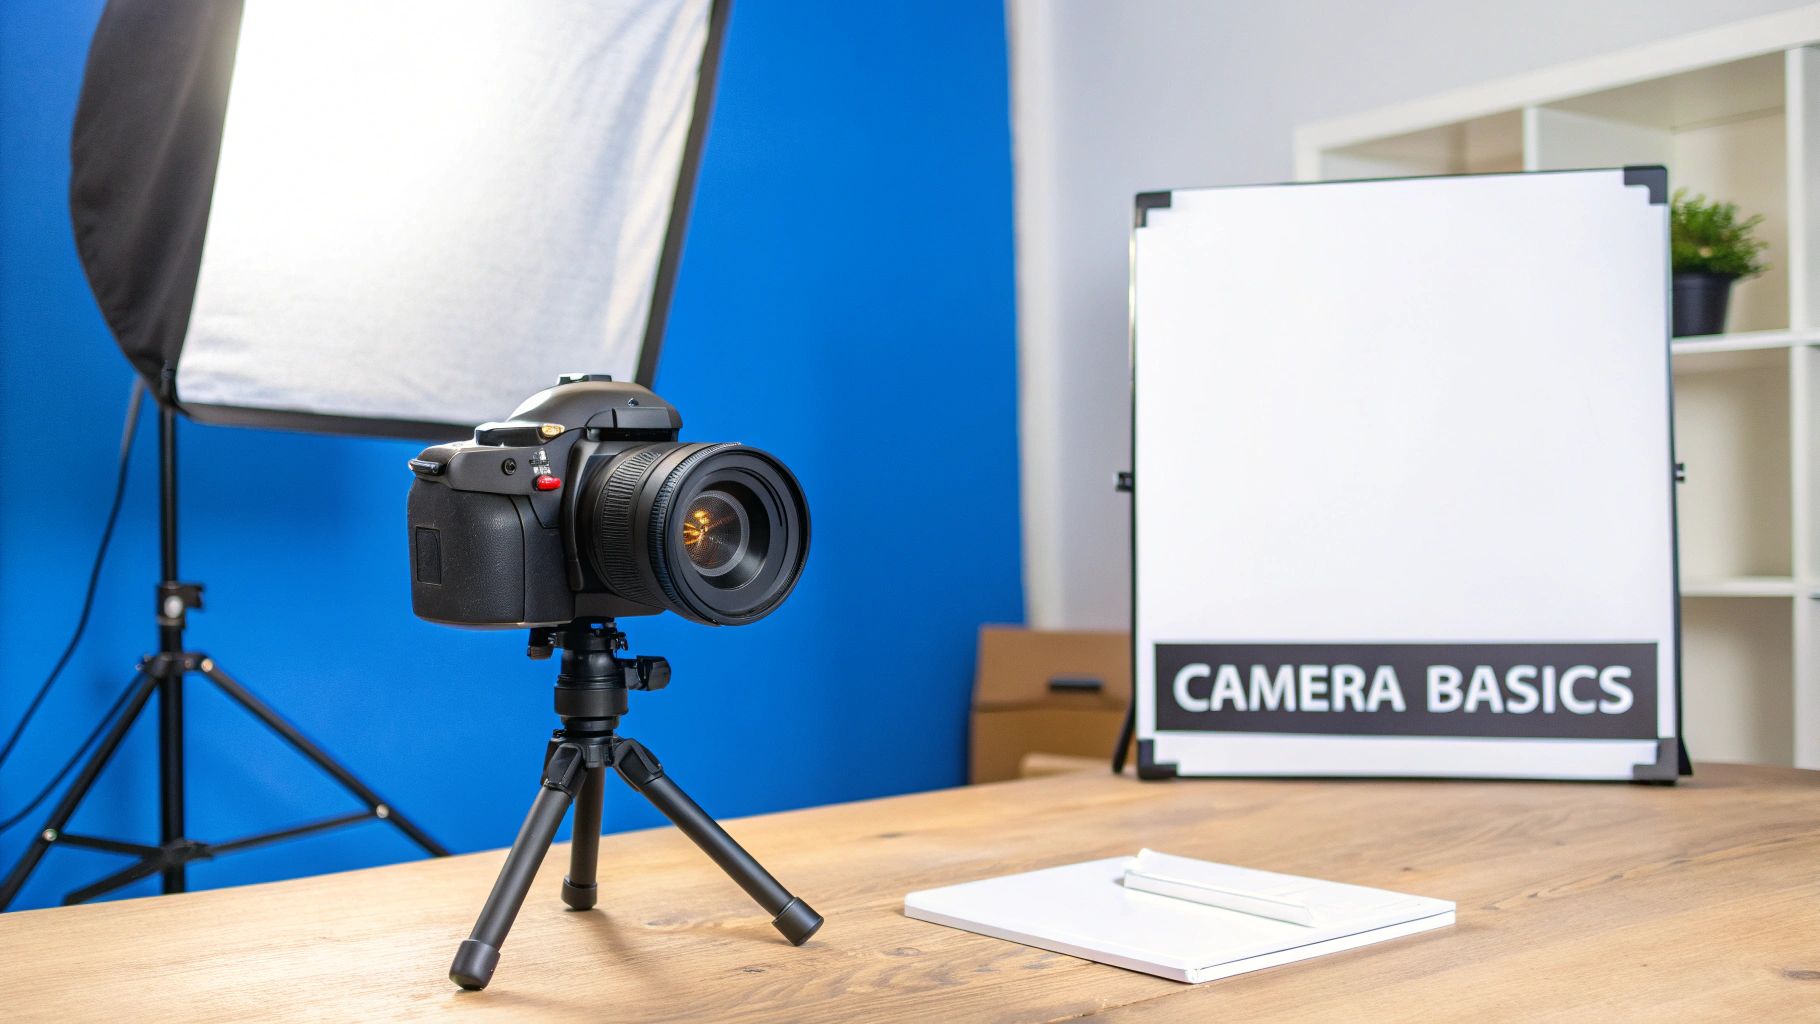
The secret to consistently amazing product shots isn't a magic button—it's a solid, repeatable process. While today's smartphones are surprisingly capable, a DSLR or mirrorless camera is the real game-changer. Why? Because shooting in manual mode gives you total creative control. This is non-negotiable if you're aiming for that polished, commercial look.
Core Camera Settings to Know
Your first big step is getting a handle on the "exposure triangle." This is just a fancy way of talking about the three core settings that control the brightness and clarity of your photos: aperture, ISO, and shutter speed.
-
Aperture (f-stop): This is all about focus. For a single product where you want every last detail to be tack-sharp, you'll want a narrow aperture like f/8 or f/11. Shooting a lifestyle photo where you want that soft, blurry background? Open it up to something like f/2.8.
-
ISO: Think of this as your camera's sensitivity to light. For product shots, your mantra should be: keep it low. Always aim for the lowest native setting your camera offers, usually ISO 100 or 200. This keeps your images super clean and free of that ugly digital grain.
-
Shutter Speed: Because your camera should absolutely be on a tripod, you don't have to worry about shaky hands. This allows you to use a slower shutter speed (like 1/60 or even slower) to soak up more light, resulting in a brighter, better-exposed photo. A tripod is your best friend here.
Pro Tip: Feeling intimidated by full manual? Start with Aperture Priority mode (A or Av on most dials). You set the aperture and ISO, and the camera picks the right shutter speed for you. It's a fantastic stepping stone.
This table is a great quick-reference guide to have handy while you're getting the hang of things.
Essential Camera Settings for Product Photography
| Setting | Recommended Range | Impact on Photo |
|---|---|---|
| Mode | Manual (M) or Aperture Priority (Av) | Gives you full control over the final look. |
| Aperture (f-stop) | f/8 - f/16 | Ensures your entire product is in sharp focus. |
| ISO | 100 - 200 | Minimizes digital noise for the cleanest possible image. |
| Shutter Speed | Varies (e.g., 1/60s or slower) | Adjust to get the correct exposure; tripod required. |
| White Balance | Custom (or preset like "Flash") | Ensures your colors are accurate and consistent. |
Getting these settings dialed in from the start saves you a world of headaches in post-production.
Choosing Your Lens and Background
The lens you use has a massive impact on how your product looks. A wide-angle lens, for example, will distort the shape of your product, making it look warped and unprofessional.
That’s why the 50mm prime lens is an industry favorite. It’s often called the "nifty fifty" because its perspective is very close to what the human eye sees, resulting in natural, distortion-free images. It's an affordable and incredibly effective starting point.
Finally, your background needs to be clean and simple. You want all eyes on your product, not on a distracting backdrop.
Here are two easy ways to create a professional setup:
- Lightbox: A small, enclosed box with built-in lighting. It’s perfect for providing that seamless white background for smaller items like jewelry or cosmetics.
- Seamless Paper: This is just a big roll of paper that you can sweep from the wall down onto the floor. It creates a beautiful "infinity" curve, eliminating any hard lines or corners behind your product.
Mastering these basics creates a repeatable workflow that ensures quality from the very first click. This makes your entire photoshoot process faster, easier, and much more effective. And if you're ready to really dive deep into your studio setup, don't miss our guide on the best lighting for product photography.
Choosing Between Natural and Artificial Lighting
Lighting is the sculptor of your product photo. It carves out shapes, defines textures, and sets the entire mood, turning a simple item into something people have to own. The biggest decision you'll make right out of the gate is whether to use natural light from a window or go with an artificial studio setup.
Harnessing Natural Light
Natural light is beautiful, soft, and best of all, free. When you're just starting out, there’s no better way to get a high-end, airy look than by shooting next to a big window on an overcast day. You don't need to spend a dime. The clouds act as a giant, natural diffuser, softening the light and killing any harsh shadows.
The trick is to place your product to the side of the window, not directly in front of it. This creates gentle shadows that give your product some much-needed dimension. To control those shadows, just grab a cheap piece of white foam board from any craft store.
Position that foam board on the side of your product opposite the window. You’ll see it instantly bounce light back, filling in the dark areas for a clean, professional finish. This reflector trick is one of the most powerful techniques you can master for natural light.
Controlling Your Environment with Artificial Light
As great as natural light is, it’s also completely unpredictable. It changes from hour to hour and vanishes at night. This is where artificial lighting gives you total control and, more importantly, consistency. You can shoot at 2 PM or 2 AM and get the exact same result every single time.
That consistency is non-negotiable for e-commerce. It ensures all your product photos look like they belong to a cohesive, trustworthy brand. High-quality, consistent images make a huge difference in sales—in fact, 67% of customers say a product photo's quality is 'very important' when deciding to buy. Great photos can even boost your conversion rates by up to 30%.
When building an artificial setup, you’ve got two main choices:
- Continuous LED Panels: These lights stay on, so you see exactly how the light is hitting your product in real-time. They’re fantastic for beginners.
- Studio Strobes (Flashes): These produce a powerful burst of light. They have a bit of a learning curve but offer incredible power for creating super crisp, sharp images.
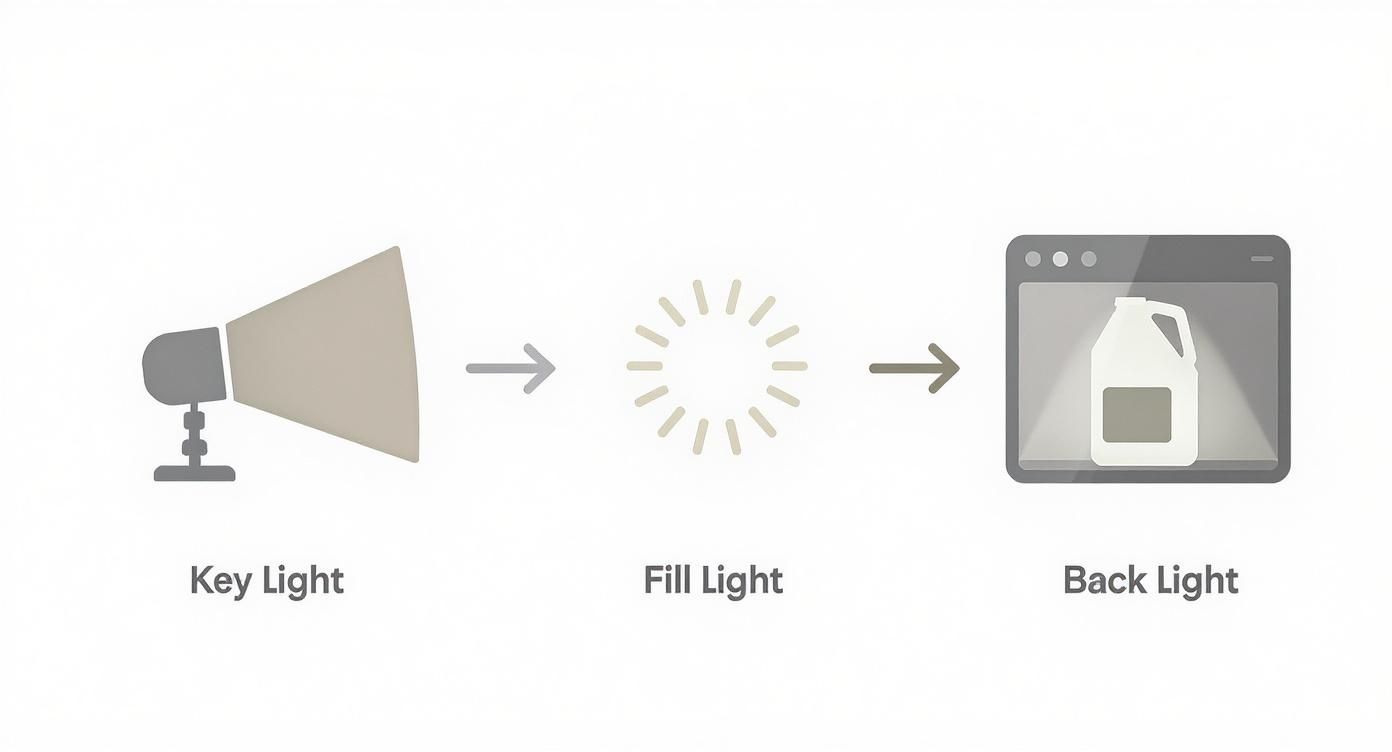
A classic three-point lighting setup is an industry standard for a reason. It uses a key light (your main, brightest light), a fill light (a softer light to reduce shadows), and a back light (to separate the product from the background).
This controlled approach lets you manipulate light with absolute precision. For example, if you're getting a nasty glare on a shiny object, you can use a large diffuser (like a softbox) and tweak your light's angle until the reflection just disappears from your camera’s view.
Getting this right is a cornerstone of a great product photography lighting setup. With artificial light, you're the director, sculpting every detail to perfection.
Composing Shots That Tell a Story
A technically perfect photo can still fall flat if the composition is boring. You've nailed your lighting—fantastic. But the next real step in taking professional-level product photos is mastering the art of arranging your shot to tell a compelling story. This is what separates a simple snapshot from an image that actually drives a sale.
The angle you choose dramatically changes how a customer sees your product. A straight-on, eye-level shot is non-negotiable for your main image on a product page, but it's the other angles that add depth and character.
- The 45-Degree Angle: There's a reason this is a classic. Shooting slightly from above and to the side showcases the top and side of your product at the same time. This gives it a three-dimensional feel that helps people instantly understand its shape and size.
- The Flat Lay (Overhead Shot): This top-down view is a go-to for lifestyle and social media content. It's perfect for arranging multiple items, like a skincare routine or a complete outfit. The look is clean, organized, and very modern.
- The Low Angle: Want to make your product feel more substantial or luxurious? Shoot from slightly below it. This trick works especially well for items you want to portray as premium—think a bottle of high-end whiskey or a statement piece of home decor.
Styling with Purposeful Props
Props are there to add context. They help customers imagine the product in their own lives. But the key is to be intentional. Every single prop should support the story you're telling, not just create clutter on the screen.
For example, placing a few fresh coffee beans next to a bag of espresso grounds the product in its natural environment. A sleek, modern pen placed beside a leather-bound journal suggests sophistication and creativity.
The rule of thumb for props is simple: if it doesn't add to the story or show the product's scale, it doesn't belong in the shot. Your product must always be the hero.
Think about the feeling you want to evoke. For a handmade soap, you might bring in a soft linen towel and a sprig of lavender to suggest natural relaxation. This kind of thoughtful styling transforms a simple item into a desirable experience.
Applying Fundamental Composition Rules
Beyond just angles and props, some basic composition principles can guide the viewer's eye exactly where you want it to go.
Instead of always placing your product dead-center, try using the rule of thirds. Imagine your frame is divided by a tic-tac-toe grid. Placing your product along one of those lines or at an intersection creates a much more dynamic and visually pleasing image. It’s a small shift that makes a huge difference.
Another powerful technique is using leading lines. Arrange props or use natural lines in your background to draw the viewer’s eye directly toward your product. A spoon, a piece of fabric, or even a simple shadow can act as a subtle arrow pointing to the main event.
When you compose your shots with these ideas in mind, you create images that aren't just seen—they're felt.
Essential Photo Editing and Post-Production
 Snapping the photo is just the beginning. The real magic, the professional polish that makes customers click "buy," happens in post-production. This isn’t about slapping on heavy filters or faking reality; it’s about making precise, subtle adjustments that show your product in its best, most accurate light.
Think of it as enhancing the truth, not changing it. Using software like Adobe Lightroom or even a powerful mobile app, your goal is to make the product on screen look exactly like the one in the box.
The Foundational Editing Workflow
First things first: nail the basics.
Start with the white balance. If the whites in your photo have a yellow or blue tint, this tool neutralizes them, guaranteeing every other color is spot-on. This is absolutely critical for things like clothing or makeup, where color accuracy can make or break a sale.
Next, tweak the exposure. You want the image bright enough to show off all the details, but not so blown-out that you lose texture in the highlights. A little bit of sharpening can then make edges and textures pop, giving the photo that crisp, high-quality feel.
Key Takeaway: Your main goal in editing is always accuracy. Strive to make the photo a perfect digital twin of the physical product. This simple rule will guide every adjustment and keep you from over-editing.
E-commerce Specific Adjustments
For online storefronts, a couple of techniques are non-negotiable. No matter how clean your setup is, tiny dust specks or minor scuffs will inevitably show up. The spot healing tool is your secret weapon here—just click to erase these tiny distractions for a flawless final image.
Isolating your product on a pure white background (#FFFFFF) is another standard for platforms like Amazon. This means using selection tools to cleanly cut out your product and place it on a fresh white layer, creating a clean, consistent look across all your listings. For digital products, you can also learn how to use mockups effectively to showcase your designs professionally.
Creating Consistency with Batch Editing
Editing photos one by one is a huge time sink, especially with a full product line. This is where batch editing in a program like Lightroom will save your sanity.
Once you’ve perfected the edits for one photo, you can save those settings as a custom preset. Then, you can apply that preset to all the other photos from that same shoot. In one click, every image will have the exact same color tone, brightness, and contrast. This creates the cohesive, professional look that defines a trustworthy brand.
Turning Your Photography Skills Into a Business
Knowing how to take a great product photo is one thing. Turning that skill into a real, sustainable business? That’s a whole different ball game. Your technical abilities are the foundation, but your business sense is what will actually build your career.
It all starts with a portfolio that does the selling for you. Don't just throw your best shots in there. Think strategically. If you want to shoot clean, minimalist photos for clothing brands, your portfolio should be packed with exactly that. A focused portfolio acts like a magnet for your ideal clients, so the inquiries you get are already a great fit.
Structuring Your Pricing and Services
Okay, let's talk about money. This is where so many talented photographers get stuck, but it doesn't need to be intimidating. Most pros use one of three common models.
- Per-Image Pricing: Simple and direct. A client knows exactly what they’re getting. Charging something like $25 per photo is perfect for big e-commerce jobs where a brand needs hundreds of straightforward, consistent shots.
- Hourly Rate: This is your best friend for complex lifestyle shoots. When you’re spending significant time on styling, propping, and getting the scene just right, an hourly rate ensures you’re paid for all that creative labor, not just the final click.
- Project-Based Fee: For bigger, more involved projects, a flat fee is often the cleanest approach. It wraps everything—planning, shooting, editing, and delivery—into one clear price, so there are no surprises for you or the client.
Your pricing should always reflect the value you bring, not just the hours you clock. You can also get creative with your services. In fact, adapting your workflow is becoming essential. A 2025 industry survey found that photographers who added in-person photo review sessions with clients saw their revenue jump by an average of 20% compared to those who only delivered files digitally. You can read the full research about these photography business findings to get more ideas on how to expand what you offer.
Creating an Unforgettable Client Experience
Here’s the secret to a long-lasting photography business: make your clients’ lives easier. A smooth, professional process from the first email to the final image delivery is what turns a one-time gig into a long-term relationship.
Your goal should be to make your client's job as easy as possible. Be communicative, set clear expectations, and deliver on your promises. A happy client is your best marketing tool.
Using online galleries for proofing is a perfect example. It lets clients easily look through the images, leave comments, and make their final selections. It feels professional and keeps them involved in the process.
This level of service is what separates a decent photographer from a great business owner. Building these systems is vital, whether you're shooting for a national brand or just helping someone sell household items online with photos that make their stuff look amazing.
Common Product Photography Questions
As you get your hands dirty with product photography, you're going to run into questions. It’s inevitable. Below are some of the most common hurdles I see new photographers face, along with some straightforward, actionable advice to get you past them.
What Is the Best Camera for Product Photography?
This is easily the most common question, and the answer might surprise you. You absolutely do not need a top-of-the-line, expensive camera to get started.
Any DSLR or mirrorless camera that lets you shoot in manual mode will do the job perfectly. The real game-changer isn't the camera body—it's the lens you pair it with. A 50mm prime lens, often called a "nifty fifty," is a fantastic and surprisingly affordable choice. It gives you a natural perspective with very little distortion.
Honestly, you'll see a much bigger improvement in your photos by mastering lighting and composition than you ever will by buying a more expensive camera. Your technique will always trump your gear.
How Do I Get a Pure White Background?
Getting that crisp, pure white background (#FFFFFF) you see on major e-commerce sites starts with your lighting setup, not just with a slider in Photoshop.
The trick is to light your backdrop separately from your product. This is a crucial step that so many people miss. A common and highly effective way to do this involves a few lights:
- Use your main light to illuminate your product perfectly.
- Then, aim one or two other lights directly at your white seamless paper background.
Your goal here is to intentionally overexpose the background—to "blow it out"—so it becomes pure white. The key is to do this without letting that harsh light spill over and wash out your actual product. Once you've got it close in-camera, you can pop into a program like Lightroom or Photoshop and use the levels or curves tools to push those whites just a tiny bit more until they're perfect.
Pro Tip: Whatever you do, never use your on-camera flash to get a white background. It creates flat, harsh light and ugly shadows that instantly make a product look cheap. A properly lit backdrop is the only way to go.
How Can I Avoid Reflections on Shiny Products?
Ah, reflections. Glass, metal, jewelry, and polished plastics are the bane of many a product photographer's existence. The solution is all about carefully controlling your light and your camera angle.
Start by using the largest, softest light source you have, like a big softbox or a window with a sheer curtain acting as a diffuser. The bigger and softer the light, the smoother and less distracting the reflection will appear.
From there, it’s a game of inches. Position your light at an angle where you can't see its reflection from your camera's point of view. It often takes a lot of tiny, patient adjustments—moving the light, tilting the product, shifting your camera—to find that sweet spot where the glare disappears.
For anyone just starting out and wanting to get a handle on the fundamentals, there's a great breakdown on what is product photography and tips for stunning shots. It's a solid resource for getting a grip on these core concepts.
More guides in FAQs & How-To Guides
February 5, 2026
Sample Article Title for Testing
A sample article for testing webhook integration with Outrank
Read guideOctober 2, 2025
What Are Transaction Fees? A Guide for Your Business
What are transaction fees and how do they impact your business? This guide demystifies payment processing with clear examples and actionable cost-saving tips.
Read guideOctober 1, 2025
How to Take Product Photos at Home Like a Pro
Learn how to take product photos at home with our complete guide. Discover the gear, lighting, and editing tricks to make your products stand out.
Read guideGet the estate sale pricing guide
Enter your email for pricing ranges, planning notes, and a clearer path to launch.