How to Take Product Photos at Home Like a Pro
Learn how to take product photos at home with our complete guide. Discover the gear, lighting, and editing tricks to make your products stand out.

You don't need a fancy studio to take incredible product photos. In fact, you can get stunning, sales-driving shots right from home. It all comes down to three simple things: a good light source, a clean background, and a stable camera.
Whether you're using a high-end DSLR or just your smartphone, nailing these fundamentals is the secret to creating images that build your brand and convince customers to click "buy."
Why Great Product Photos Are Your Secret Weapon
Before we get into the nuts and bolts, let's talk about why this is one of the most valuable skills you can learn for your business. In the endless scroll of the digital marketplace, your photos do all the talking. They're your storefront, your salesperson, and your brand ambassador, all rolled into one.
Often, your photos are the first—and only—impression a potential buyer gets of what you're selling.
Great images do more than just show off your product; they build instant trust. A crisp, well-lit photo screams professionalism and attention to detail. It sends a powerful signal to shoppers that your product is high-quality, which can make all the difference in their decision to purchase.
The Real Impact on Your Business
This isn't just a hunch; the data backs it up. Content with strong visuals gets way more engagement because most of us are visual learners. For e-commerce, it gets even more specific: high-quality product photos can boost conversion rates by an incredible 250%. That’s a massive return on the time you invest in your photography.
This isn't just for traditional websites, either. Whether you’re selling on Etsy, listing items for an https://www.diyauctions.com/learn/how-to-do-an-online-auction, or growing a social media following, your photos are what seal the deal. These skills are also gold for platforms like TikTok Shop, where Mastering TikTok Shop UGC can seriously amplify your reach and sales.
Your product photo is the closest a customer can get to holding your item in their hands. It needs to answer their questions about quality, size, and texture before they even think to ask.
When you get this right, you unlock some serious advantages for your business:
- Fewer Returns: When photos are clear and accurate, customers know exactly what they’re getting. This sets realistic expectations and means fewer headaches with returns.
- A Stronger Brand: A consistent, professional photography style makes your brand instantly recognizable. It creates a cohesive look that people remember.
- Higher Perceived Value: Let's be honest—great photos make products look more expensive. High-quality images can make your items feel more premium, allowing you to price them accordingly.
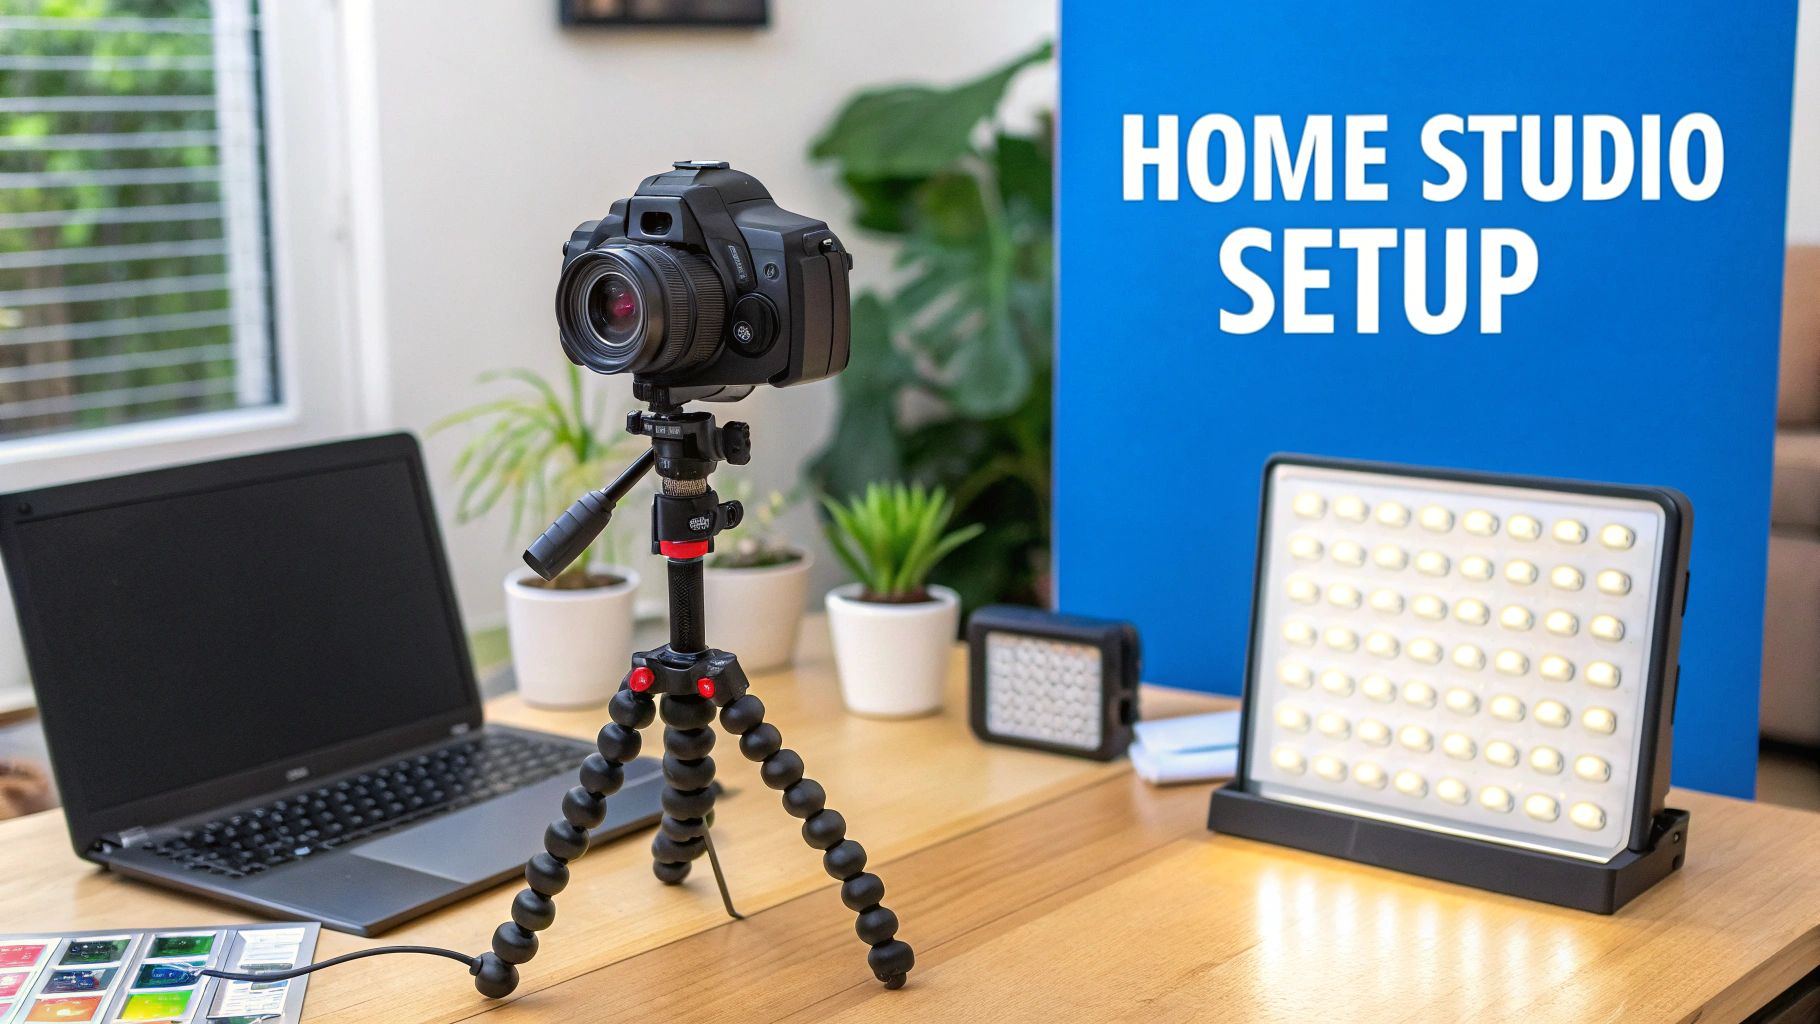
Building Your Home Photography Kit on a Budget
You absolutely do not need a high-end studio to capture stunning product photos. The real secret to learning how to take product photos at home is building a smart, simple kit, likely using tools you already own.
Let's start with the camera you probably have in your pocket right now: your smartphone.
Modern phone cameras are seriously impressive. They're sharp, handle different lighting conditions well, and come with software that does a lot of the heavy lifting for you. Before you even think about buying a new camera, get comfortable with the powerhouse you already have.
That said, the camera alone isn't enough. If you buy just one accessory, make it a tripod. Even the steadiest hand will have a little shake, which is all it takes to make a photo look blurry and unprofessional. A basic tripod with a smartphone mount solves this instantly, guaranteeing you get crisp, focused shots every time.
Essential vs. Optional Home Photography Gear
Getting started is one thing, but as you grow, your gear needs might change. Here’s a quick breakdown of what you absolutely need versus what's nice to have as you get more serious.
| Gear Category | Essential (Beginner) | Optional (Intermediate/Advanced) |
|---|---|---|
| Camera | Your current smartphone | A DSLR or mirrorless camera with manual controls |
| Stability | A basic tripod with a smartphone mount | A more robust tripod with a fluid head; a remote shutter |
| Lighting | A large window for natural light | A set of studio strobes or continuous LED panels |
| Light Modifiers | White foam boards (for bouncing light) | Softboxes, umbrellas, diffusers, and dedicated reflectors |
| Background | White paper or poster board | Seamless paper rolls, vinyl backdrops, lifestyle props |
This table shows just how little you need to get started. The essentials will get you professional-looking photos, while the optional gear offers more creative control down the line.
The Non-Negotiable Essentials
With your camera stable, the next two things to control are light and background. Forget expensive studio strobes and fancy backdrops for now. The most effective tools are often the simplest—and cheapest.
Here are the absolute must-haves for your starter kit:
- Foam Boards: Seriously, go to a craft store and buy a few sheets of white foam board. They are your secret weapon. Use them as a clean, simple background or, more importantly, as a reflector to bounce light back into shadowy areas. This one simple trick instantly makes products look brighter and more professional.
- A Large Window: Natural light is your best friend. If you have a large window (north-facing is ideal), you have a free, high-quality light source. It provides soft, diffused light that looks amazing on almost any product.
- Affordable LED Lights: No window? No problem. A couple of basic LED lamps will do the trick. Just make sure you get "daylight" balanced bulbs (look for something around 5000K on the box) to mimic that clean, neutral look of the sun. Simple clamp lights from a hardware store work perfectly.
This visual shows just how much a simple background choice can impact the final shot.
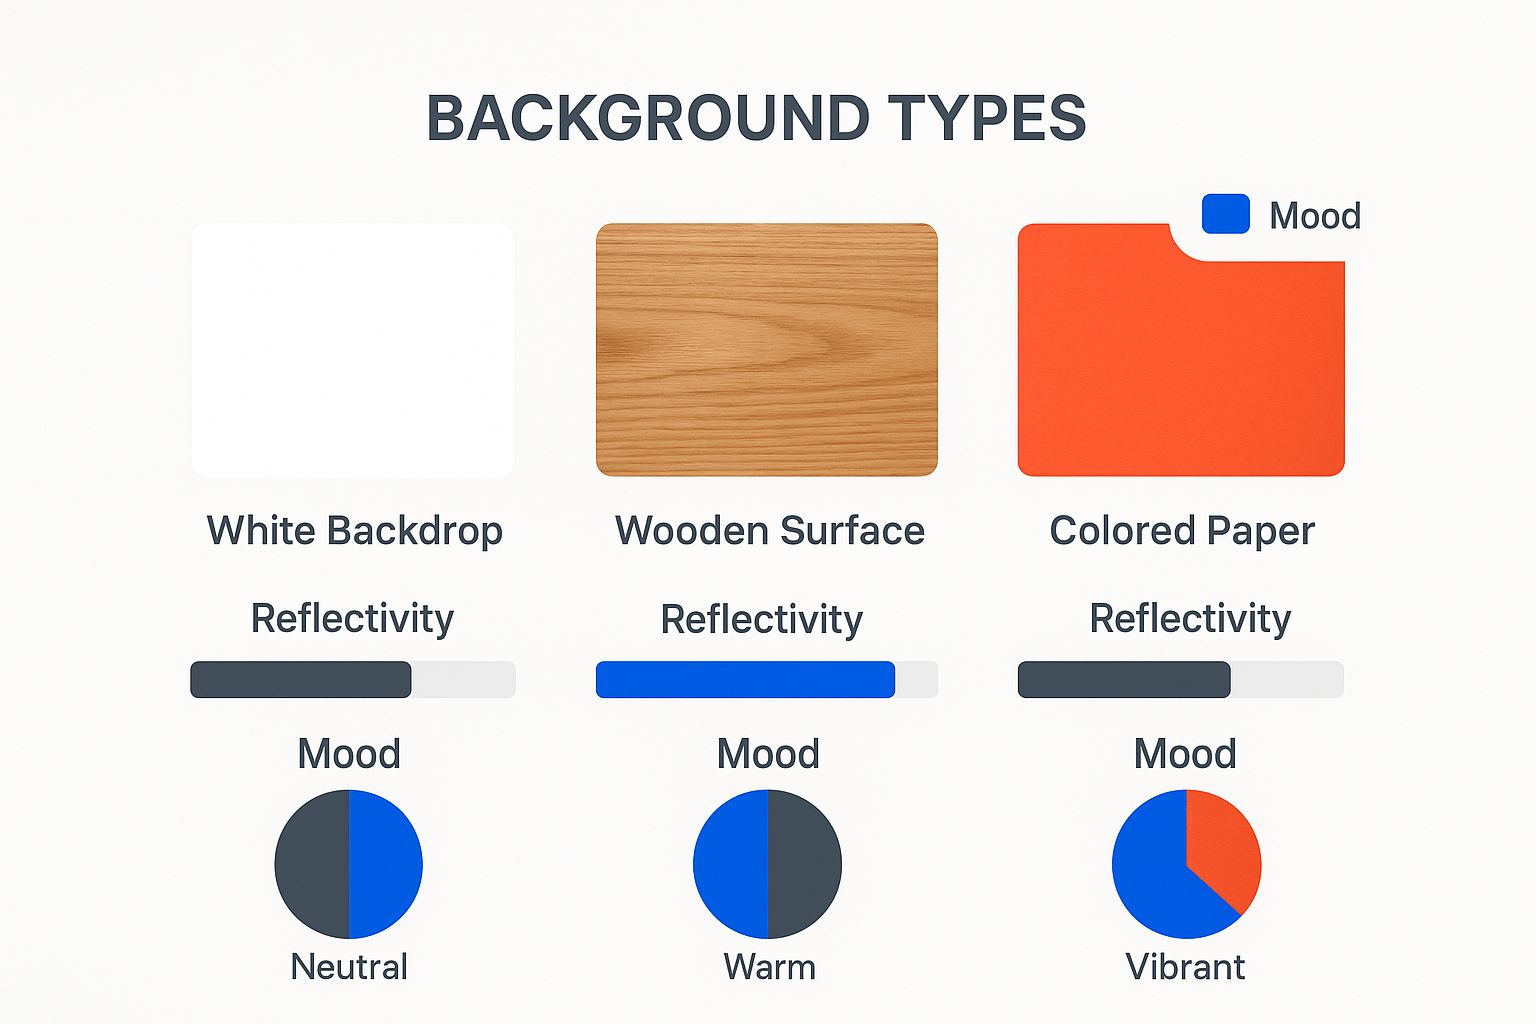
As you can see, a plain white backdrop is perfect for clean e-commerce shots where the product needs to be the hero. A warmer background, like wood, completely changes the mood, giving it a more rustic, handmade feel.
DIY Tools for Professional Results
Beyond the absolute basics, a few things you have lying around the house can take your photos from good to great. When you're on a budget, a little creativity goes a long way.
For example, you can create a seamless "infinity sweep" background with a roll of tape and a large sheet of white paper. Just tape the top of the paper to a wall and let it curve down naturally onto your shooting surface. This trick eliminates the harsh line where the wall meets the table, making your product look like it's floating in a clean, professional space.
I once used crumpled aluminum foil as a background for shooting a metallic watch. The way it caught the light created a dynamic, textured backdrop that made the product stand out—all for less than a dollar.
And don't forget about diffusion! If your light source feels too harsh and is creating dark, ugly shadows, you need to soften it. You can easily do this by clipping a thin white bedsheet or even a piece of parchment paper a few inches in front of your lamp. This simple trick scatters the light, wrapping it gently around your product for a much more polished, even look.
Mastering Light to Create Flawless Images
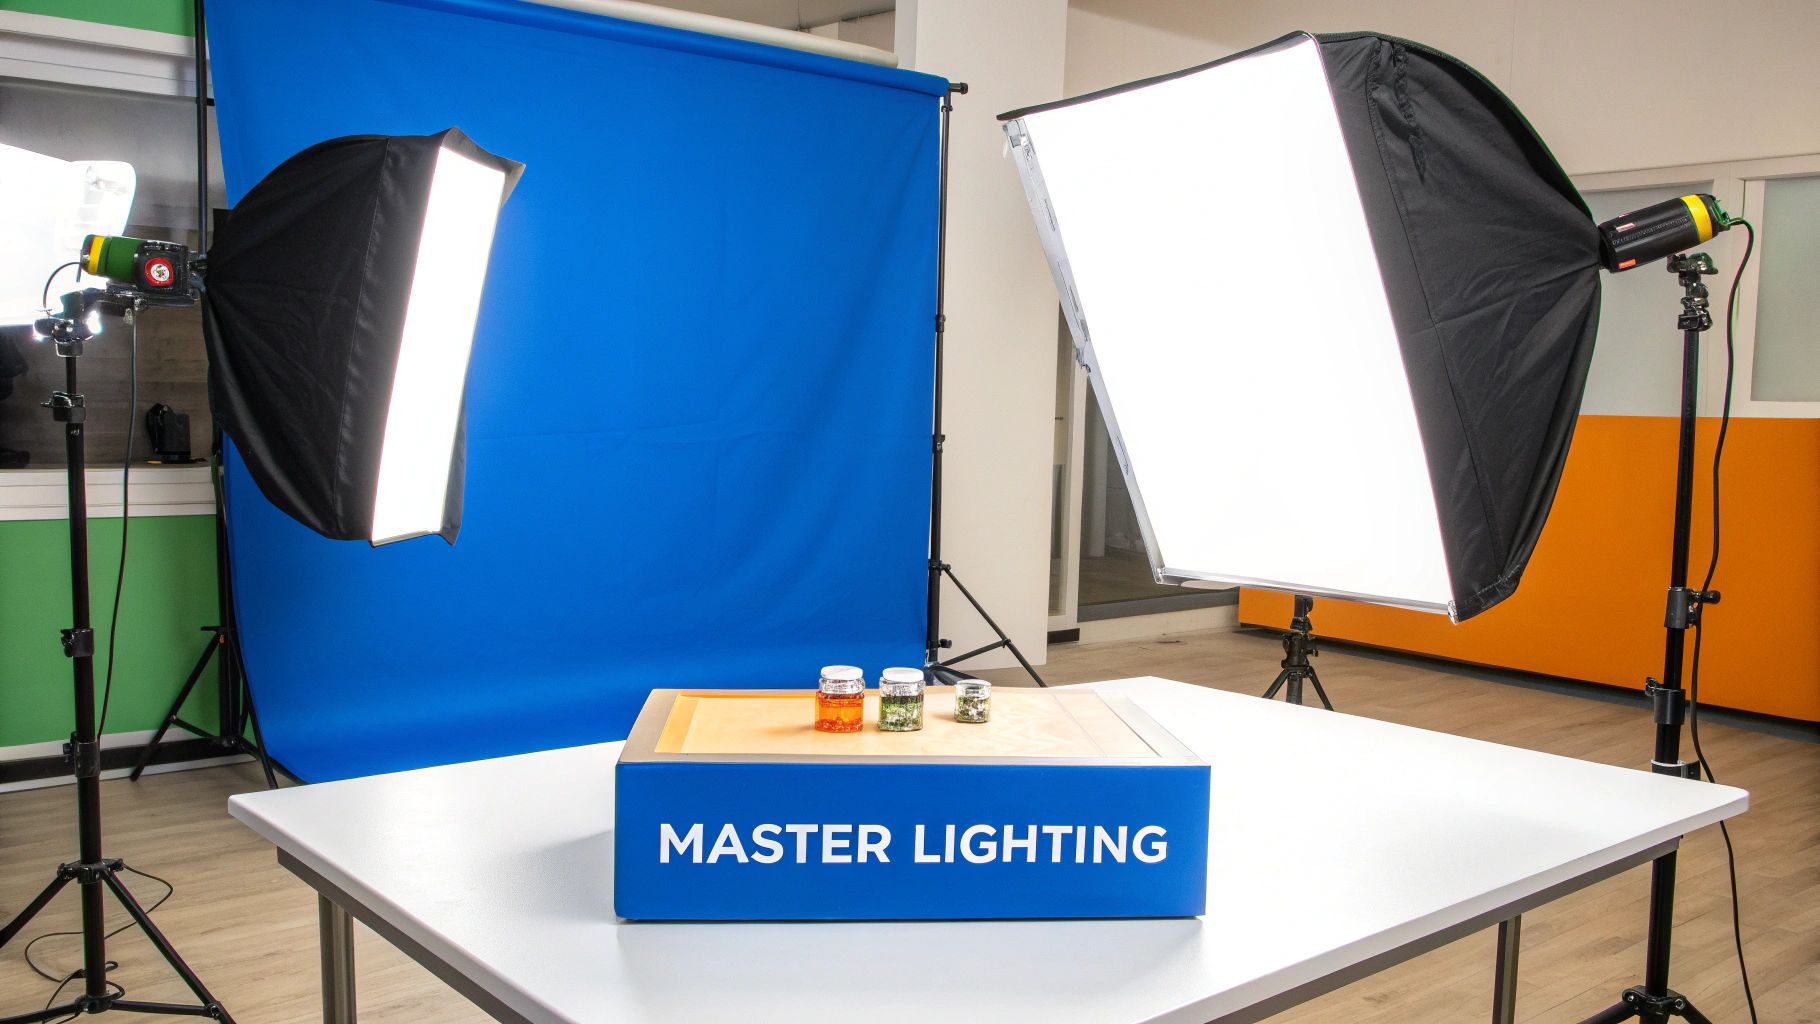
Here's a secret that surprises most people: light is far more important than your camera. It’s the single element that will make or break your product photos. Light sculpts your product, defines its texture, and sets the entire mood of the shot.
The good news? You don’t need an expensive studio setup to get it right. Your best light source is often completely free.
Harnessing Natural Window Light
Natural window light is your secret weapon. It’s soft, diffused, and incredibly flattering for almost any item you can imagine. The trick is simply finding the right window and the right time of day.
Your goal is to find a large window that lets in bright, indirect sunlight. Direct sun is your enemy—it creates harsh, distracting shadows and hotspots that blow out the details on your product. A north-facing window is often the holy grail because it gives you consistent, soft light all day long without any direct sunbeams.
Once you’ve found your spot, place your product and camera at a 45-degree angle to the window. This classic side-lighting technique creates gentle shadows that beautifully reveal your product's shape and texture. If you're shooting a textured sweater, for example, this is how you make the knit pattern pop.
Key Takeaway: Always turn off every other light in the room. Mixing the cool tones of daylight with the warm, yellow tones from your indoor lamps will confuse your camera’s white balance and give your photos a strange, unnatural color cast.
You’ll probably notice the side of your product facing away from the window is a bit dark. This is where a simple white foam board becomes your best friend. Just prop it up on the shadow side to bounce light back onto the product, instantly brightening those dark spots. This is a classic photographer's trick called using a fill light, and it creates a balanced, professional look with almost zero effort.
Creating Your Own Light When Needed
What if you don't have a good window, or you need to shoot after the sun goes down? No problem. You can easily create a simple and effective lighting setup with a couple of lamps you already own. The most important part is using the right kind of bulbs.
Look for daylight-balanced LED bulbs, usually marked as 5000K on the packaging. These produce a clean, neutral white light that mimics natural daylight, ensuring your product colors look true-to-life. Using two identical lamps is a fantastic starting point.
For a deeper dive, check out our guide on creating a versatile product photography lighting setup.
Place one lamp at a 45-degree angle on one side of your product and the second lamp at the same angle on the other. This two-light approach cancels out most shadows, giving you that clean, evenly lit look that’s perfect for e-commerce sites.
If you’re shooting something shiny, like a glass bottle, you can soften the light to avoid harsh reflections. Just tape a piece of parchment paper or a thin white t-shirt over your lamps. This diffuses the light, wrapping it gently around your product for a much softer effect.
Styling Your Scene to Tell a Brand Story
Once you've got your lighting dialed in, it's time to focus on styling. This is where the magic really happens. A great product photo does more than just show an item; it tells a story, creates a mood, and helps your customer picture that product in their own life. Your background and props are the supporting cast in that story.
The backdrop you choose sets the entire tone. For that clean, classic e-commerce look—the kind required by platforms like Amazon—a pure white sweep is your best friend. You can easily create one by curving a large piece of white paper or poster board from the wall down onto your table, which gets rid of any distracting corners or seams.
But let's be honest, a simple white background isn't always the right move, especially when you're building a unique brand identity on your own website or Instagram.
Choosing the Right Backdrop
Textured surfaces can add a level of depth and character that plain white just can't match. Think about your brand's personality. Is it rustic and earthy? A weathered wooden board or a piece of linen fabric could be perfect. Modern and sleek? Try a polished marble tile or a solid-colored poster board.
- Wooden Surfaces: Fantastic for handmade goods, food, or anything with an organic, natural feel.
- Fabric Textures: Linen, burlap, or even a soft sweater can add a cozy, tactile quality to the shot.
- Colored Paper: This is a super cost-effective way to inject your brand colors into photos and create a vibrant, energetic vibe.
Using Props with Purpose
Props should always add context, not clutter. The golden rule is this: every single prop in your shot should either support the main product or help tell its story. Before you add anything to the scene, stop and ask yourself, "Does this actually make sense here?"
For instance, a sprig of lavender next to a bar of handmade soap is a great touch if lavender is an ingredient. A random succulent plant? Not so much. Props are also brilliant for demonstrating scale—a simple coffee mug placed next to a handmade journal instantly gives the viewer a clear idea of its size.
To really nail the visual narrative for your products, it helps to think like an interior designer. Applying a few essential home staging tips can make all the difference in how you arrange your backgrounds and props.
The best props feel like they were already part of the scene, not just placed there for a photo. They should complement the product without ever stealing the spotlight.
If you’re photographing vintage or antique items, your props can help ground the piece in a specific era or aesthetic. This is especially important if you're learning how to sell vintage items, as the right styling can seriously boost an item's perceived value. Pairing a mid-century vase with a simple teak coaster, for example, reinforces its design heritage.
Ultimately, your goal is to create a scene so compelling that it stops the scroll and invites the customer right into your brand’s world.
Dialing in Your Camera and Smartphone Settings
Getting out of "auto" mode is probably the fastest way to make your product photos look truly professional. It doesn't matter if you're using a fancy DSLR or just your phone—learning a few key settings gives you total creative control over the final shot. You’re telling the camera exactly what to do instead of letting it guess.
Think of it as the difference between using a microwave and cooking on the stove. Auto mode gets the job done, but manual control lets you tweak everything until it's perfect. We're going to focus on what photographers call the "exposure triangle": aperture, ISO, and shutter speed.
Aperture: Your Secret Weapon for Background Blur
Aperture, measured in f-stops (like f/2.8 or f/11), controls how much of your photo is in focus. This is your number one tool for creating a specific mood or look.
A wide aperture (that's a low f-stop number, like f/1.8) creates what's known as a shallow depth of field. Your product stays tack-sharp, but the background melts away into a beautiful, soft blur. This is the go-to technique for a classic "hero shot" where you want a single item, like a piece of jewelry, to be the undeniable star.
On the flip side, a narrow aperture (a high f-stop number, like f/16) gives you a deep depth of field. This keeps nearly everything in the frame sharp, from the front to the back. It’s essential when you’re shooting a group of products or something where every detail matters, like a curated gift basket.
For most of what you'll be shooting at home, a sweet spot is somewhere between f/5.6 and f/11. This range keeps your whole product sharp without making the background too busy or distracting.
ISO and Shutter Speed: The Keys to a Crisp Image
Next up is ISO, which is just your camera's sensitivity to light. Your goal here is simple: keep it as low as possible. An ISO of 100 or 200 will give you the cleanest, highest-quality images without any of that ugly digital grain or "noise." Since you're using a tripod and have full control over your lighting, you should be able to stick to a low ISO almost all the time.
Shutter speed is the final piece of the puzzle. It determines how long the camera's shutter stays open to capture light. Since your product isn't going anywhere and your camera is locked down on a tripod, you don't have to worry about motion blur. You can use a slower shutter speed (like 1/60th of a second) to let in plenty of light, which works perfectly with your low ISO to create a super sharp photo.
My Go-To Starting Point for a DSLR/Mirrorless: I almost always start by putting my camera in Aperture Priority mode ("A" or "Av"). From there, I'll set the aperture to f/8 and the ISO to 100. The camera then figures out the right shutter speed for me. This simple setup is a rock-solid foundation for crisp, perfectly lit product shots.
Taking Control With Your Smartphone
No DSLR? No worries. Today's smartphones have incredible cameras, you just need to know how to unlock their power. Most default camera apps now have a "Pro" or "Manual" mode tucked away in the settings.
If yours doesn't, downloading a third-party camera app is a total game-changer. These apps let you manually control your phone’s camera just like you would with a DSLR:
- Focus: Tap and hold on your product to lock in the focus. This is crucial!
- Exposure: Once focus is locked, you’ll usually see a little sun icon. Just slide your finger up or down to brighten or darken the image before you snap the picture.
- White Balance: If your photos are coming out too yellow (warm) or too blue (cool), you can adjust the white balance until the whites in your scene look pure white.
And don't forget about Portrait Mode! It’s an amazing tool that uses software to mimic a wide aperture, giving you that coveted blurry background. For single-product shots, it's a fantastic way to make your subject pop right off the screen.
Polishing Your Photos: The Magic of Editing
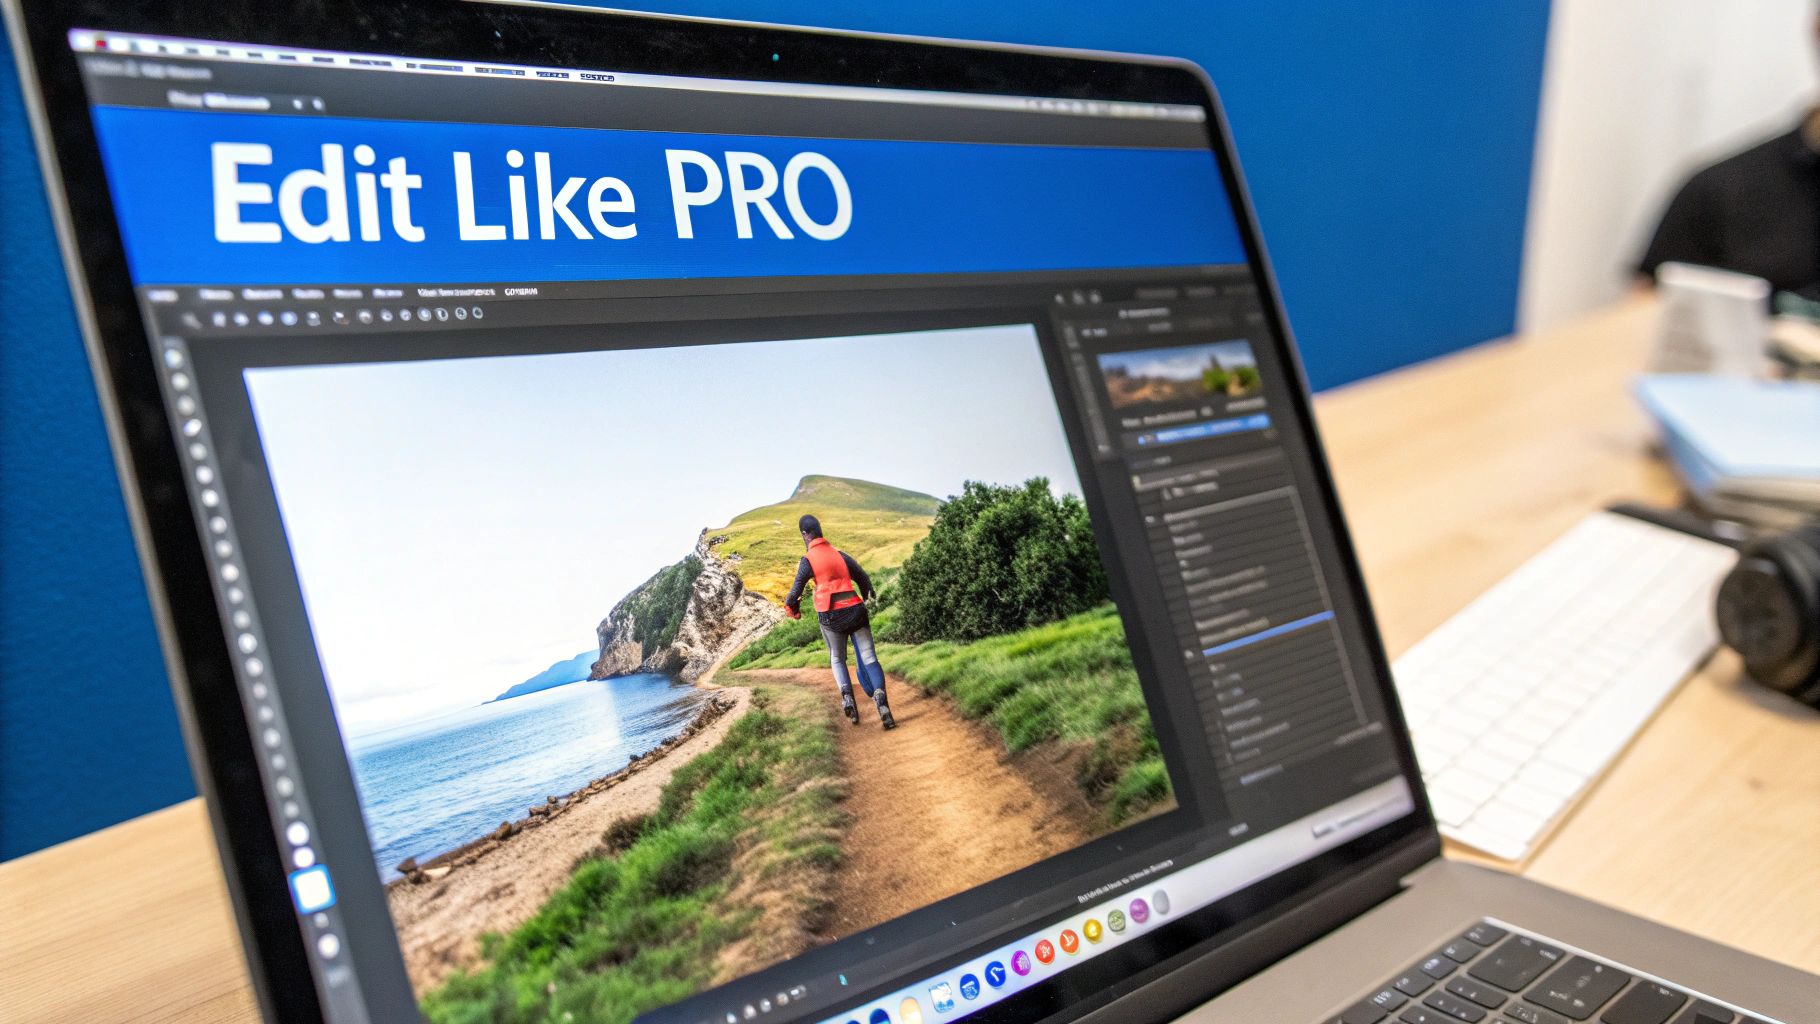
The click of the shutter isn't the finish line. Honestly, some of the most crucial work happens after the shot is taken. Post-processing is where you transform good raw images into polished, professional assets ready to make sales.
The goal here isn't to deceive or misrepresent your product. Think of it as the final cleanup—a way to make sure the photo on screen is a true, and appealing, reflection of the real thing.
This last step is a massive part of a booming industry. The global eCommerce product photography market hit around USD 1 billion in 2024 and is expected to double to USD 2 billion by 2033. That number alone shows just how vital polished images are for selling online. You can read more about the growth of the product photography market if you're curious.
And no, you don't need to spend a fortune on complicated software. Free mobile apps like Snapseed or the free version of Adobe Lightroom Mobile are incredibly powerful and more than enough to get you started.
The Essential Editing Tweaks
To see the biggest improvement, just focus on a few key adjustments. Getting these four fundamentals right will instantly elevate your photos from simple snapshots to something far more professional.
- Cropping and Straightening: First things first, get your lines straight. A slightly tilted horizon or crooked product just feels off. Crop in to remove any distracting dead space and put the focus right where it belongs—on your product.
- Brightness and Contrast: Next, adjust the brightness (sometimes called exposure) until the photo is well-lit but not blown out. Follow that with a small boost in contrast to make the colors pop and help define the product's edges. This one-two punch adds a ton of life and depth.
- White Balance Correction: This is a big one. If the white background in your photo looks a little yellow or blue, none of your product's colors will be accurate. Use the white balance tool to neutralize that color cast until the whites look genuinely white.
- Sharpening: A final, subtle touch of sharpening can make all the difference, making textures and details look crisp and clear. Just be careful not to overdo it, as that can create a grainy, artificial look. A tiny nudge is all it takes.
The best editing is the editing you don't notice. Your final image should look naturally perfect, like it came straight out of the camera that way. The real goal is to enhance, not to alter.
Erasing Minor Distractions
Every now and then, a tiny speck of dust on your backdrop or a small scuff on the product will sneak into the shot and steal the focus.
Most editing apps have a "healing" or "clone" tool built for exactly this. You just tap on the blemish, and the app will intelligently cover it up using a clean texture from the surrounding area. It's a tiny fix that makes a massive difference in creating a clean, professional final image.
Got Questions About Home Product Photography? I've Got Answers
When you're first diving into product photography at home, a few questions always seem to pop up. Getting these fundamentals sorted out can make all the difference between an amateur shot and a professional-looking image that drives sales.
Let's tackle some of the most common ones I hear.
Can I Really Get Pro-Level Shots With Just a Smartphone?
You absolutely can. Modern smartphones have incredible cameras, packed with high-resolution sensors and really smart processing software. The secret to a great photo isn't the price tag on the camera; it's everything else.
Think of it this way: when you pair your phone with great lighting, a steady tripod to kill any blur, and a few quick edits, you can absolutely create images that compete with those from a much more expensive setup. Nail your lighting and composition first, and the camera will do its part.
What’s the Best (and Cheapest) Lighting to Start With?
Easy. The best and cheapest light source you have is natural light coming through a big window on an overcast day. This gives you soft, diffused light that is incredibly flattering for just about any product. It wraps around objects gently and prevents those harsh, distracting shadows.
Just be sure to set up next to the window, not in direct, harsh sunlight. If you want to take it up a notch, grab a cheap white foam board and place it on the opposite side of your product. It will bounce light back into the shadows, filling them in for a clean, high-end look. It’s a game-changer that costs next to nothing.
Your main goal should always be soft, even lighting. Whether it comes from a window or a lamp, avoiding harsh, direct light is the single most important thing you can do to make your products look amazing.
How Do I Get That Pure White Background Look?
For that classic, clean e-commerce look, what you need is a white "sweep." It sounds technical, but it’s just a large sheet of white paper or poster board that curves smoothly from the surface under your product up the wall behind it. This simple trick gets rid of that hard, ugly line where the table and wall meet.
Once you have the photo, you'll finish the job in editing. Isolate the background and gently increase its brightness and exposure. Nudge those settings up until the background is pure, solid white (#FFFFFF). This is the standard many online marketplaces like Amazon require, and it makes your product the undeniable hero of the shot.
More guides in FAQs & How-To Guides
February 5, 2026
Sample Article Title for Testing
A sample article for testing webhook integration with Outrank
Read guideOctober 27, 2025
How to Take Professional Product Photos That Sell
Learn how to take professional product photos with our guide. Master your camera, lighting, and editing to create stunning images that drive e-commerce sales.
Read guideOctober 2, 2025
What Are Transaction Fees? A Guide for Your Business
What are transaction fees and how do they impact your business? This guide demystifies payment processing with clear examples and actionable cost-saving tips.
Read guideGet the estate sale pricing guide
Enter your email for pricing ranges, planning notes, and a clearer path to launch.